• Skip to content
  • Skip to primary sidebar

A Stack of Dishes

Something good is cooking...

  • Home
  • About
  • Recipe Index
    • Bakery
    • Dessert
    • Chocolate
    • Appetizers
    • Healthy Recipes
    • Main Course
    • Small Meals
    • Breakfast
    • Gluten Free
    • Side Dishes
    • Cocktails
    • Condiments
    • Gifts
  • Delicious Links

bakery

I Made You Oatmeal Love Cookies…

February 28, 2013 by Gail Watson

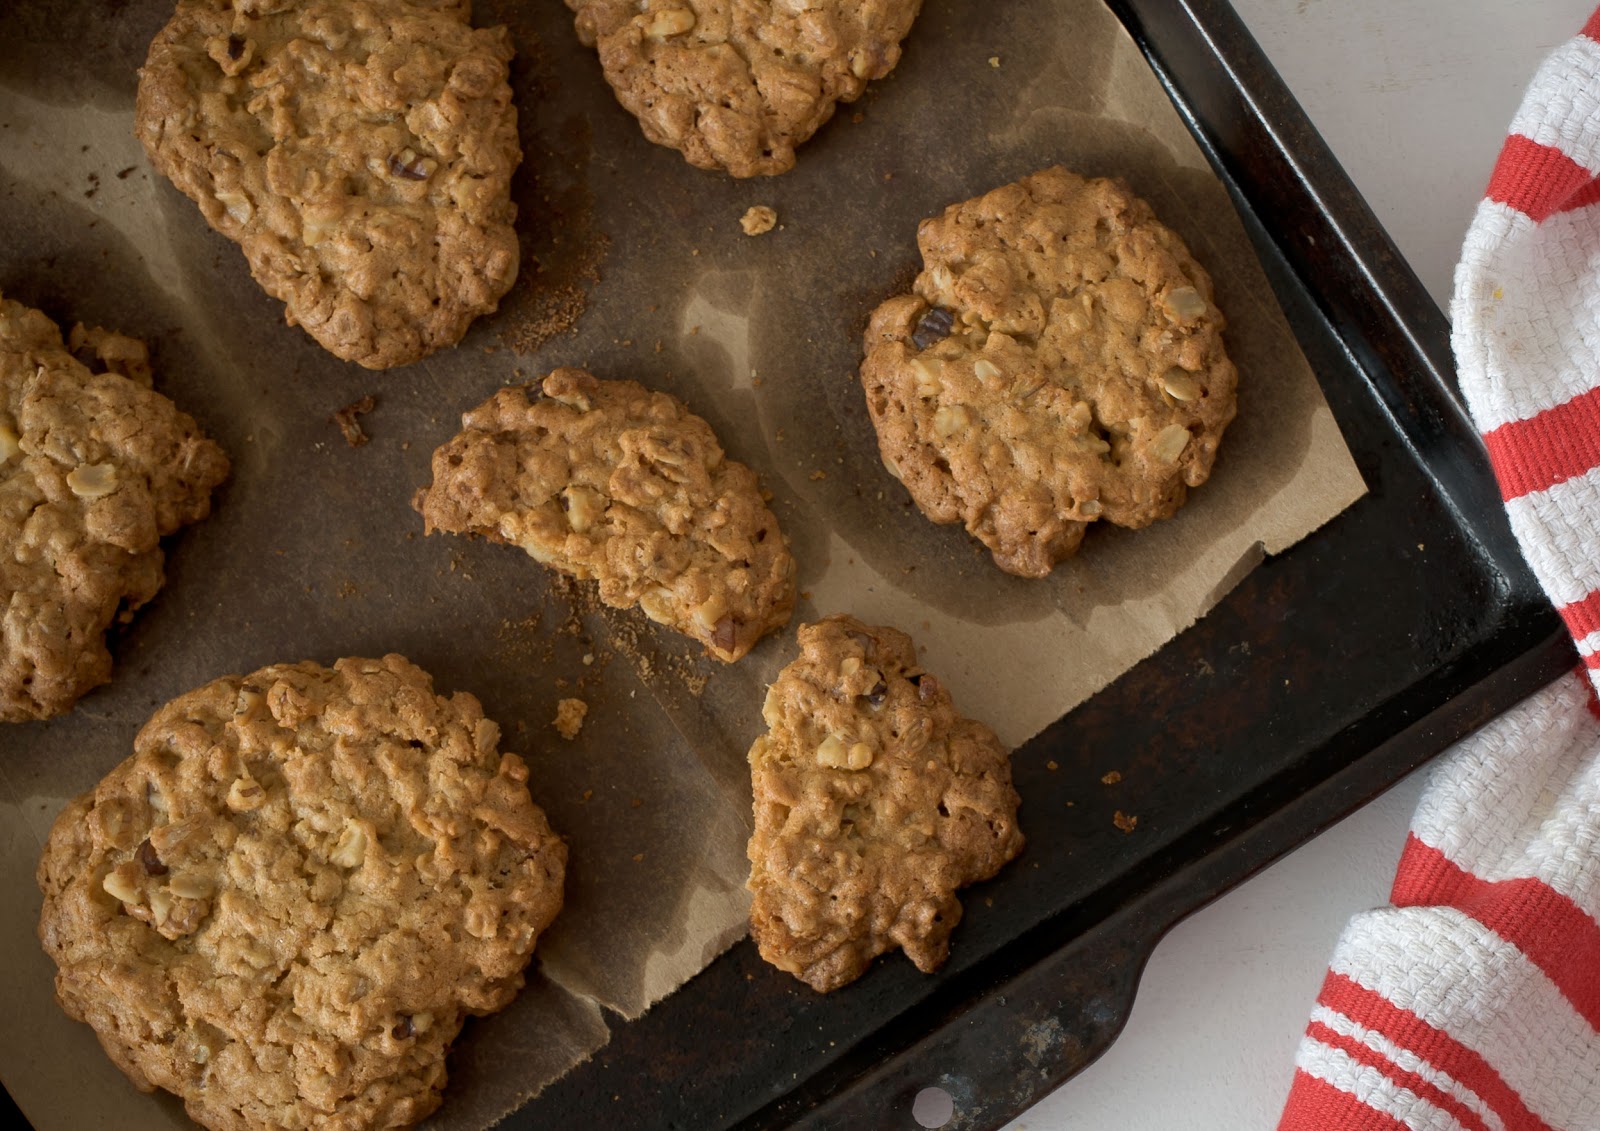
I made you oatmeal cookies today. I left out the raisins, because you don’t like raisins. Instead I added extra walnuts, because I know those are your favorite.

I made you oatmeal cookies today, because I’ve had to sit at my computer a lot as I push to get my projects done. You came all the way to see me, and even though you knew I would have a lot of work to do, it’s still no fun when the one you love is so close, yet so far.

I made you oatmeal cookies today, because it was gray and drizzly outside and you were feeling a little blue. You had hoped to walk the streets of my big noisy city, and the day turned out to be the worst day for it. You went out anyway and braved the chilly wetness- which made it a long and unpleasant day.

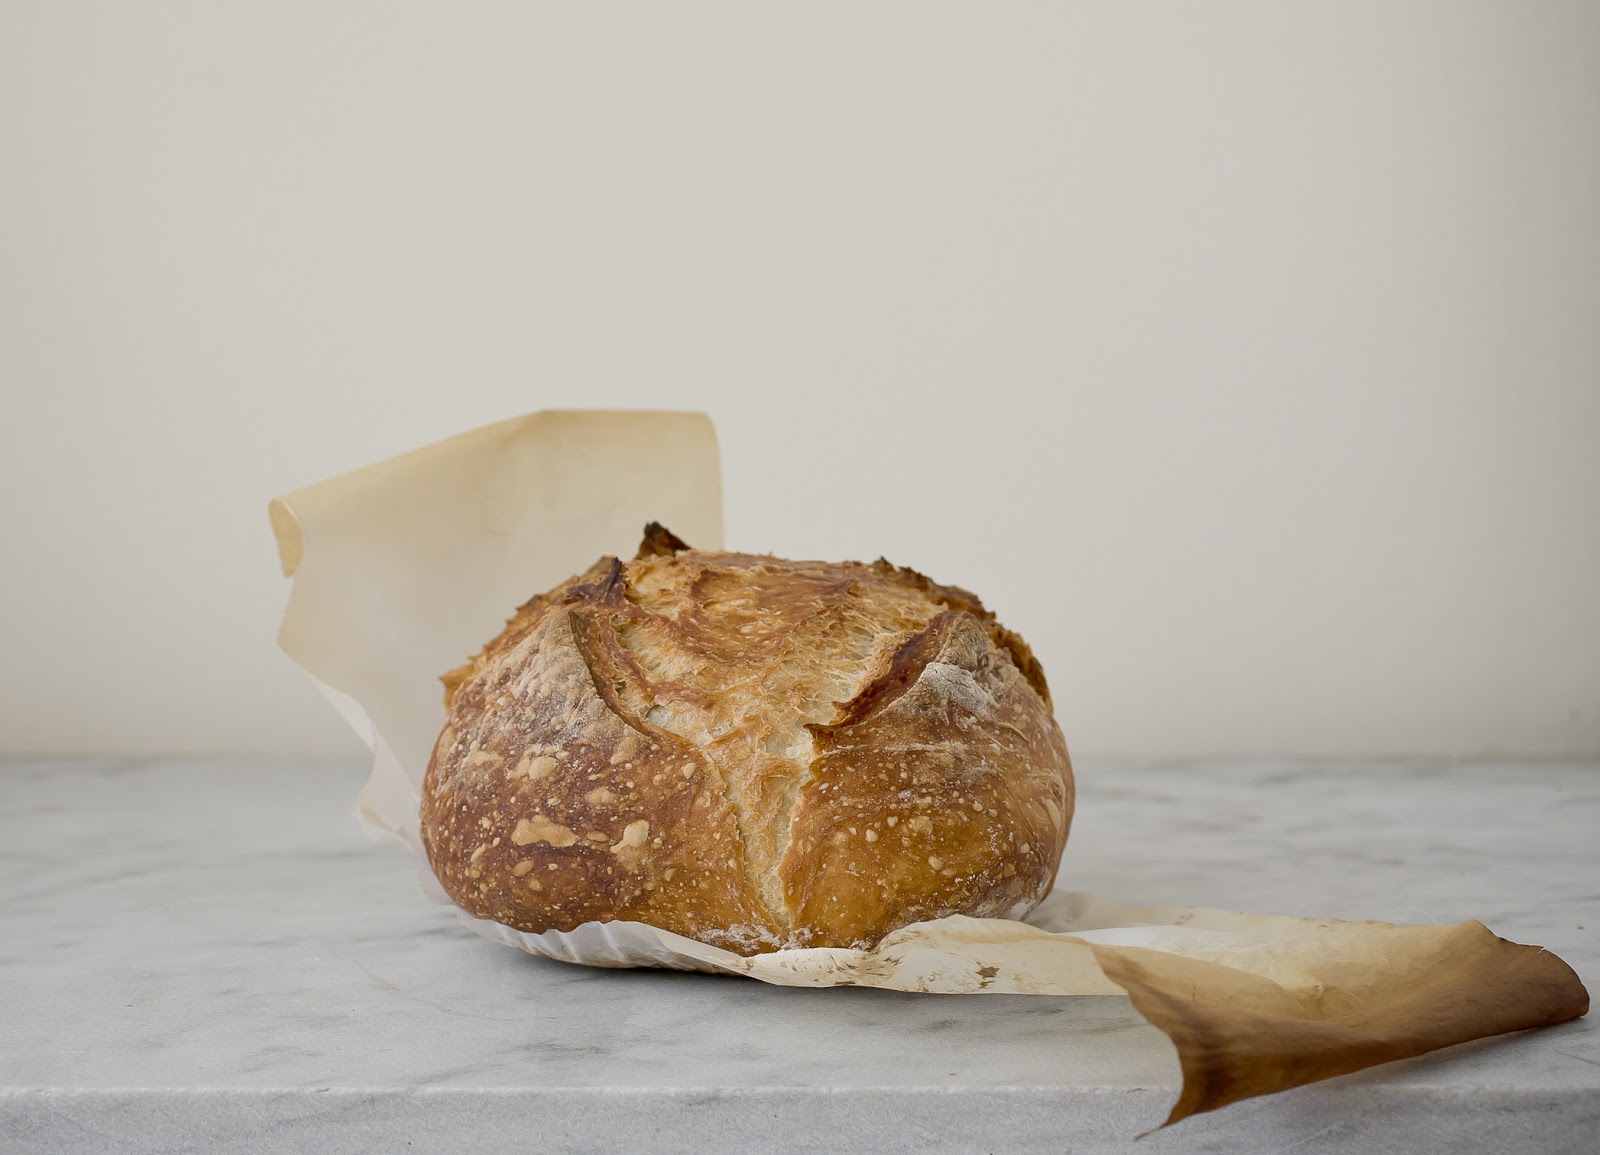
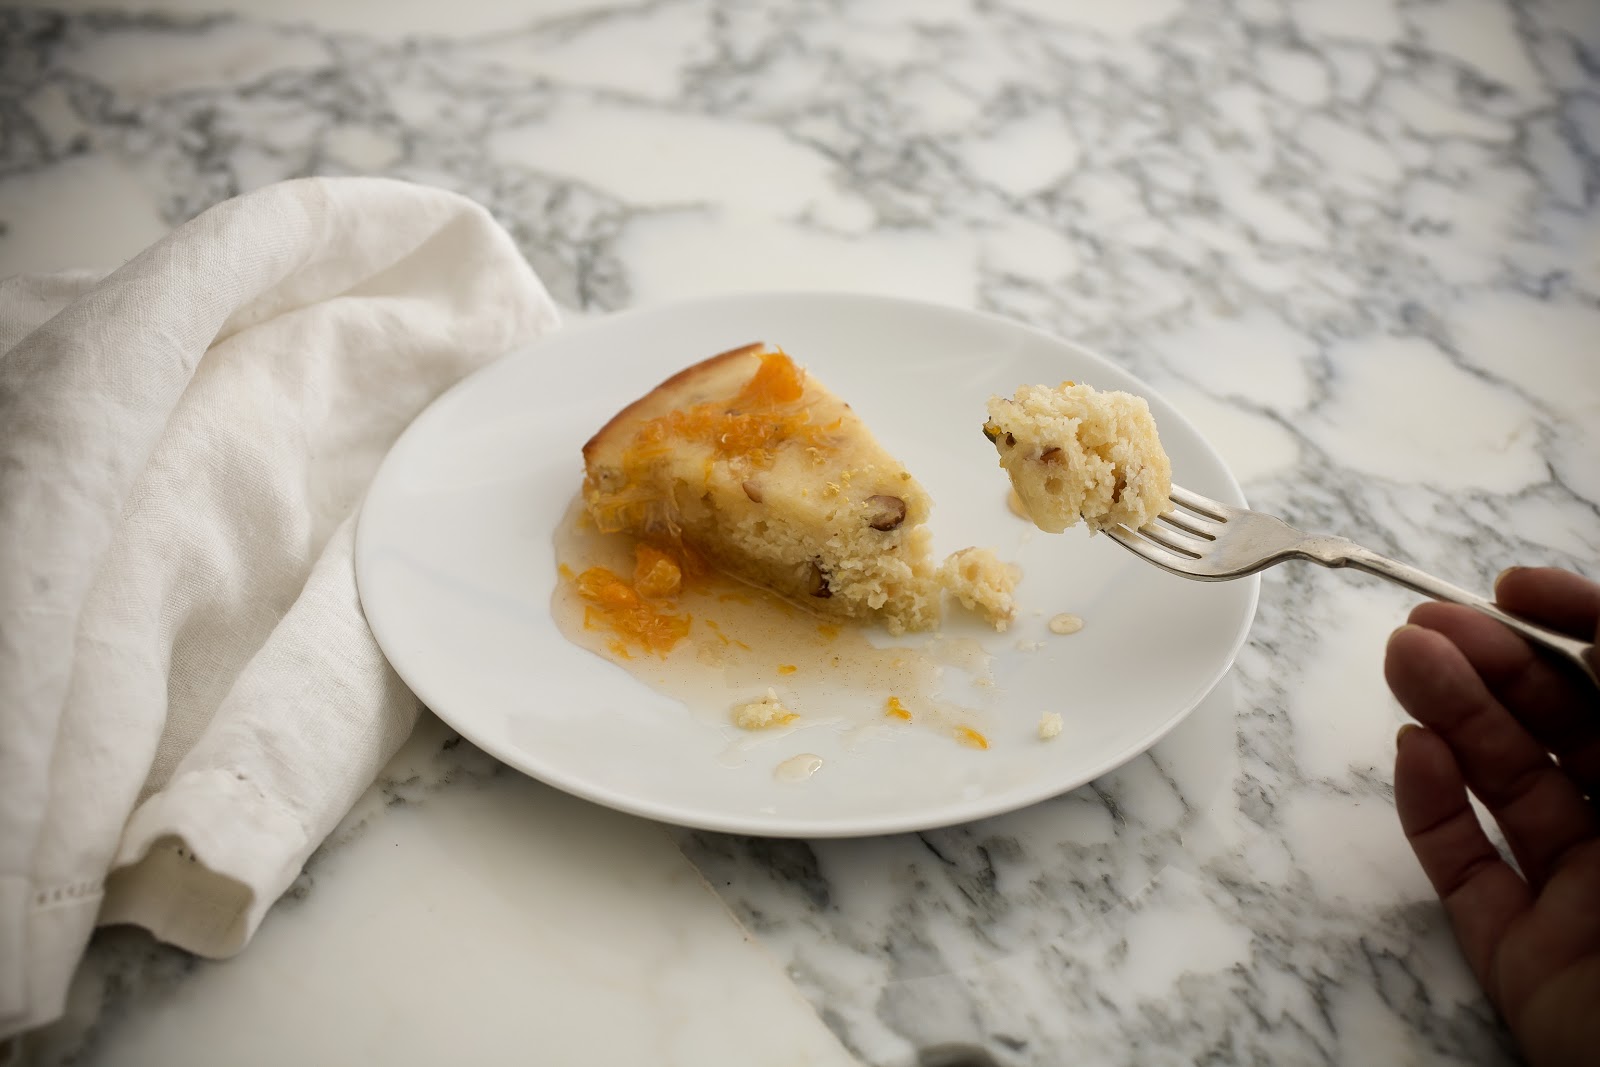
I made you oatmeal cookies today, because I wanted you to come home to sweetness, and warm kitchen smells, and your favorite treat-

I made you oatmeal love cookies today, because I want you to feel cared for, and for me, one of the ways I show you that, is with the movements of my hands, and my steady pace in my kitchen, and the laying out treats onto plates- because one of my greatest expressions of my heart is food.

And because,

I love you.

Oatmeal Love Cookies
 
I make my cookies with canola oil, rather than butter. Aside from the convenience, I find the cookies aren’t much different, and I appreciate the lower saturated fat. They are a crispy cookie when cooked to the fullest. If you like a little cake-y-ness, bake until juuuust golden. Also feel free to add in traditional raisins if you like. My love does not like raisins, no she do not, but yours might.
 
makes approximately 30 cookies
 
1.5 c all purpose flour
.5 t salt
.5 t baking powder
1 t ground cinnamon
16 T canola oil
1.75 c sugar
2 T molasses
2 large eggs
3 c rolled oats (not instant)
1 c chopped walnuts


Preheat oven to 350˚
In a large mixing bowl combine thoroughly the flour, salt, baking powder and cinnamon.
 
In a separate bowl, combine the oil, sugar, molasses and eggs and mix thoroughly to a thick slurry.
 
Add the egg mixture into the flour mixture and stir until mostly incorporated, then add in the oats  and walnuts, and stir smooth.
 
Scoop out enough dough to pat into a 2″ disk and place on a lined baking sheet at least 1.5″ apart. The cookies do not spread.
 
Bake in the middle of the oven until golden and crisp, about 15 minutes.


Share this:

  • Click to share on Pinterest (Opens in new window)
  • Click to share on Twitter (Opens in new window)
  • Click to email a link to a friend (Opens in new window)
  • Click to share on Facebook (Opens in new window)
  • Click to print (Opens in new window)
  • Click to share on Tumblr (Opens in new window)

Filed Under: bakery, dessert Tagged With: cookies, love letter, oatmeal, oatmeal cookies, oats

The {Famous} NY Times- No Knead Bread

February 10, 2013 by Gail Watson

Outside the world is coated in snow, but I’ve been living in a flour dusted apartment for over a week now- and I think you’ll be glad that I did. What fun I have had making this ridiculously easy and wildly famous No Knead Bread.

The recipe made its debut in 2006 in Mark Bittman’s, The Minimalist column in the NY Times. I tore out the recipe from that printing, and it kicked around my office for years. From time to time I would look at it and think that I should give it a try, but never did. When I moved last year it got lost in the shuffle, but I never forgot the idea.

It has been a long standing tradition of mine to bake bread in the early part of the year. It’s hard to explain why, but it’s somewhere in the “monarch butterfly migration” part of my brain. Without thought or plan, I find myself reaching for yeast every January and February. There is no explaining it, it just seems to happen.

Over the years I’ve done quite a bit of perfecting and experimenting of different methods and recipes. My favorite method has always been to make a poolish first, which makes a gorgeous, chewy bread with a crispy crust. My only complaint is it’s a long project that requires a lot of tending. A great thing for a snow bound weekend, such as this one, but for practical reasons it’s tough to make as a regular habit. For some reason, the latent memory of this recipe came back to mind last week, and I went on a search for it. Happily it was not hard to find.

The only similarity between the two methods is that no knead recipe takes as many hours on the clock, but with so little hands on involvement, it’s almost comical. To make this bread all it takes is measuring out the ingredients, mixing them with a SPOON, letting the mess rest for 12-24 hours, shaping it, and baking it! The result is a bread that is so gorgeous and delicious which, after I stop laughing in delight, I found myself sniggering while looking the window of an artisanal bread bakery yesterday. “Pfft!”, I thought, “I can do that!” Shame on me for sure, but it’s hard not to get a little cocky!

This recipe is the brainchild of Jim Lahey, of Sullivan Street Bakery, who devised the recipe as a minimalist technique to bread baking, that anyone could make. The magic to this beauty is in the science. The recipe uses very little yeast, and the water content is very high. Another big difference is that the proofing time is extremely long and slow. Apparently the wetness of the dough, and the long rising time, allows the gluten molecules to align themselves into long strands, creating elasticity, thus eliminating the necessity to do laborious kneading to develop those strands. The high moisture content also creates a beautiful crackly, crust by providing steam from its own moisture during the baking process.

The other difference is the bread is baked in a preheated enamel pot within the oven, which creates an environment for the steam to circulate within, developing that crunchy crust. In professional bakeries they manage this step with built in steam jets, or some people have been known to spray the bread during the baking with water, (raising hand), which is a bit scary as the steam kicks back in your face, while quite a bit of heat dumps out of the oven and into the kitchen. I’ve never been a fan.

The pot I used is a 5 Quart oval Le Creuset Dutch Oven, like this one, which I highly recommend. The oval shape allows you to get your hands into the pot on the long ends of the oval when you drop the dough in. I’ve read of other folks that have used cast iron pots, and even glass casseroles, which apparently work fine. If you have a round pot and get antsy about slipping the dough into the raging hot pot, you can use some parchment paper, which functions as a handle when dropping into the pot (as I have demonstrated in the photo below). This step can save you some anxiety, and make moving the dough easier.

You can find the original recipe HERE, but I’ve made a few other tweaks that I will share with you.

Most everything remains the same with two notable exceptions. First off, I don’t use cornmeal on my board when I turn the dough out. I found that a reasonable dusting of flour is just fine. I’ve been making so much bread lately that I now have a pastry cloth that is dedicated to bread making. The cloth is saturated with flour so it is forever stick free. It does not need to be washed. I simply give it a good shake into the sink, and then store it in a plastic bag when not in use.

The second tweak, as I mentioned, is I have taken to making cuts in the top of my bread, which assists the rise and I think looks nice. Without the cuts I find that the bread will get great cracks, a beautiful rustic look that you might enjoy. Making the cuts assist in the “baking bump” or the rise during the baking, which also makes a rounder loaf. Without that lift, I found my dough a bit too dense and wet for my taste. A longer baking time will eliminate some of that wetness if you prefer to not make the cuts (another 10-15 mins).

I made quite a few loaves this week, testing and retesting my changes. Very early on, after making just two plain loaves, I decided to throw in a few things for fun. The bread above had a generous handful of chopped black olives and rosemary. The bread below had dried cranberries and pepitas tossed into it. Both turned out beautifully, which opens the door for many other possibilities. I invite you to experiment with your own.  I simply added the extras during the last strokes of mixing the dough. Simple as that.

This is one recipe that I really hope that you try. That is, if you’re not already a convert.

I would really LOVE to see what you have done with this recipe. Please comment and post a link to your bread- and please share any insights you may have. I am really interested to hear, and see, what you have done.

The NY Times No Knead Bread
Many people have posted this recipe, and there are quite a few variations. I have made quite a few loaves this week so that I feel very confident about my method. I’ve read of others using gluten free flours, which may work to a point, but without the gluten, you won’t get the same chewiness and rise. You can find the original recipe HERE.
 
makes one loaf
 
3 c all purpose, unbleached flour or bread flour
.25 t instant yeast
1.5t salt
1.5 c water (warm or cold is fine)
 
In a large mixing bowl, combine the flour, yeast and salt. Give it a quick stir to incorporate.
 
Pour in the water, and with a spoon, stir until blended and all the flour is incorporated. The dough will be rough and shaggy, almost like a scone dough, and fairly sticky. This step needs to only take one minute. 
 
Cover the bowl with plastic wrap and let it sit out on the counter for at least 12 hours and up to 24, I baked mine around 14 hours. No need for a “warm” spot, room temperature is fine. The warmer your kitchen though, the quicker the rise.
 
The dough will be ready when the surface is level and bubbly. 
Preheat the oven to 450˚, with the enamel pot inside, and with the lid on.
 
While the oven is heating, turn the dough out onto a well floured surface. The dough will be VERY sticky and stringy. With well floured hand, fold the dough a few times over onto itself, and then shape it into a ball. Other shapes work well too, btw, such as a longer loaf (rolls anyone?)
 
The shaping of the dough should only take a minute or two. No need to knead.
 
If you’re using parchment, dust the paper and lay the dough on top. Other wise, let the dough rest on a well floured surface for an additional 30 minutes. Cover with the plastic wrap.
 
Note: the oven will come to temperature well before the dough has risen, but you really want the enamel pan to be super hot, so that extra heating time is perfect.
 
About 20 minutes after you have shaped the dough, using a sharp or serrated knife, make cuts about .75″ deep into the top of the bread. Then let rest the final 10 minutes.
 
When ready, open the oven and remove the lid of the pot with a cloth or potholder. Either lift the parchment paper, or with well floured hands, carefully lift the dough and lay it into the pot. There is no need to grease the pan. It absolutely will not stick.
 
Using the potholder, replace the pan lid and slide the pot back into the oven and bake for 30 minutes, then remove the lid and bake for another 15 until the bread is browned and beautiful.
 
When ready, I use a cloth and simply grab the bread out of the pot and place it on a wire rack to cool. 
 
Because the pot is so heavy and hot, I simply leave it in the oven and let it cool in the turned off oven. Alternatively you can carefully remove the pot from the oven and allow it to cool. Warning* the lid, after you’ve removed from the oven will retain its heat for quite awhile, so please use protection when handling it until you are quite sure it is cool.
 
It’s tempting to want to cut into the loaf right out of the oven, but it’s better to give it a several minutes to cool. During that time you can sit back and revel in your handiwork, and enjoy the music of the crust making crackling noises. 
 
Bread baking is soul satisfying, I hope you can take the time to enjoy the full experience.


Share this:

  • Click to share on Pinterest (Opens in new window)
  • Click to share on Twitter (Opens in new window)
  • Click to email a link to a friend (Opens in new window)
  • Click to share on Facebook (Opens in new window)
  • Click to print (Opens in new window)
  • Click to share on Tumblr (Opens in new window)

Filed Under: bakery Tagged With: bread, breads, breakfast, no knead bread

Zesty Lemon Almond Cake with Spiced Tangerine Sauce

January 20, 2013 by Gail Watson

Moist Lemon Almond Cake

The winter winds have me looking for excuses to turn the oven on. Since my future Mother-in-Law was coming for dinner, the decision was finalized. Cake for dessert.
When I had my wedding cake business I always had pounds and pounds of butter, stacks and stacks of eggs, and never ending bins of flour and sugar at my disposal. Whenever I wanted to get creative in the kitchen I never had to stop to think about what was in the cupboard.
Now I find myself, for the first time in 25 years, purchasing butter at the supermarket- but I rarely eat it. I trend to the healthier olive oil in my cooking, and that is including baking as well. In many recipes oil and butter may be interchanged, but not always to the best advantage. It’s the buttery goodness in brioche that makes the difference, the same-of course- in a sugar cookie.

Last minute baking may require some forgiveness, in a pinch you could get away with plenty. This cake does not need any apologies or excuses- The oil makes for a moist delicious cake that easily waves a dismissive hand at butter.

When it came to deciding what flavor cake to make, my cupboard yielded plenty of flour, sugar and eggs. There were some almonds, a lemon on the counter, and an ambitious stack of tangerines in the fruit bowl. {I promised I would eat them all when I hoisted that big bag into my cart, but they were starting to best me} I also had a container of buttermilk, something many southern women keep at the ready.

As I acquaint myself with southern living I am amazed at the cultural differences in the market aisles. At my regular store I was amazed to see that there were 8 varieties of buttermilk and mostly in half gallon sizes. In contrast there was one option for ricotta, offered only in 16oz containers. On my NY shelves the offerings are the exact opposite. Perhaps this is just a quirk of the store manager, but I was still baffled to think how was all that buttermilk being used?

I have a few “out of the cupboard” cake recipes that everyone should have up their sleeve. This is a pretty nice one. You can substitute the almonds for other nuts, or simply leave them out. You can also switch up the fruit for the sauce- frozen fruits being a perfect thing.

This particular cake was tangy due to the soaking of a lemon juice simple syrup. It’s a great cake for simple gatherings, coffee klatches and, in my case, my Mother-in-Law.

Zesty Lemon Almond Cake with Spiced Tangerine Sauce
makes a 9″ single layer cake- 10 small slices
 
2.5c ap flour
1.5t baking powder
.5t baking soda
.25t salt
10T vegetable oil
1.33 c sugar
3 large eggs
1c buttermilk
.5c almonds, toasted and rough chopped
zest and juice from one lemon, separated
.5c water
.5c sugar
 
2 tangerines
.5c sugar
1c water
.25t cinnamon
pinch of salt
 
Preheat oven to 350˚ and prepare a 9″ cake pan with cooking spray
 
In a large bowl combine the flour, baking powder, baking soda and salt.
 
In a separate bowl whisk together the oil, sugar and eggs into a thick emulsion. Add the lemon zest.
 
Add the egg mixture and half the buttermilk to the flour and stir until mostly smooth, then add the rest of the buttermilk and the almonds. Stir gently until smooth.
 
Pour batter into the prepared pan and bake until golden and the center of the cake is springy to the touch. Approx 25 mins.
 
While the cake is baking, prepare the lemon syrup and the Tangerine Sauce.
 
In a small saucepan combine the sugar and water and bring to a boil. Remove from the heat and stir in the fresh lemon juice. After the cake is removed from the oven, and still warm, evenly pour the syrup over the top of the cake, and allow to soak in.
 
To prepare the Tangerine Sauce, using a knife cut off the tops of the tangerines and then slice off the sides. Following along the membranes, remove the sections of tangerine flesh and drop into a small saucepan, allowing any juices to drip into the pan as well.
 
Add the sugar, water and cinnamon and bring to the boil. Allow the sauce to gently boil for 3 minutes, then remove from the heat and allow to cool. Serve the sauce either warmed or room temperature. 
 
{A splash of Cointreau or Grand Marnier would be a lovely addition if you’re so inclined}

Share this:

  • Click to share on Pinterest (Opens in new window)
  • Click to share on Twitter (Opens in new window)
  • Click to email a link to a friend (Opens in new window)
  • Click to share on Facebook (Opens in new window)
  • Click to print (Opens in new window)
  • Click to share on Tumblr (Opens in new window)

Filed Under: bakery, breakfast, dessert Tagged With: almond, almond cake, brunch, cake, lemon, lemon cake, tangerines

« Previous Page
Next Page »

Primary Sidebar

Thank you so much for your LIKES!

Thank you so much for your LIKES!
The Inner Circle
Join the Inner Circle For Exclusive Content
No Worries. This is just between us.

Top Posts & Pages

The {Famous} NY Times- No Knead Bread
Country Pate {Pate de Campagne}
Power Packed Oat Scones: One healthy, the other healthier
Lentil and Kale Salad with Carmelized Parsnips
Spaetzle: Delicate Dumplings
Red Curry Chicken with Gingered Black Rice
my healthy aperture gallery
Certified Yummly Recipes on Yummly.com
Homemade Hot Sauce Link~ HuffingtonPost

Copyright © 2025 · Genesis Framework · WordPress · Log in