• Skip to content
  • Skip to primary sidebar

A Stack of Dishes

Something good is cooking...

  • Home
  • About
  • Recipe Index
    • Bakery
    • Dessert
    • Chocolate
    • Appetizers
    • Healthy Recipes
    • Main Course
    • Small Meals
    • Breakfast
    • Gluten Free
    • Side Dishes
    • Cocktails
    • Condiments
    • Gifts
  • Delicious Links

gluten free

8 Tips For Making Successful Caramels

December 18, 2012 by Gail Watson

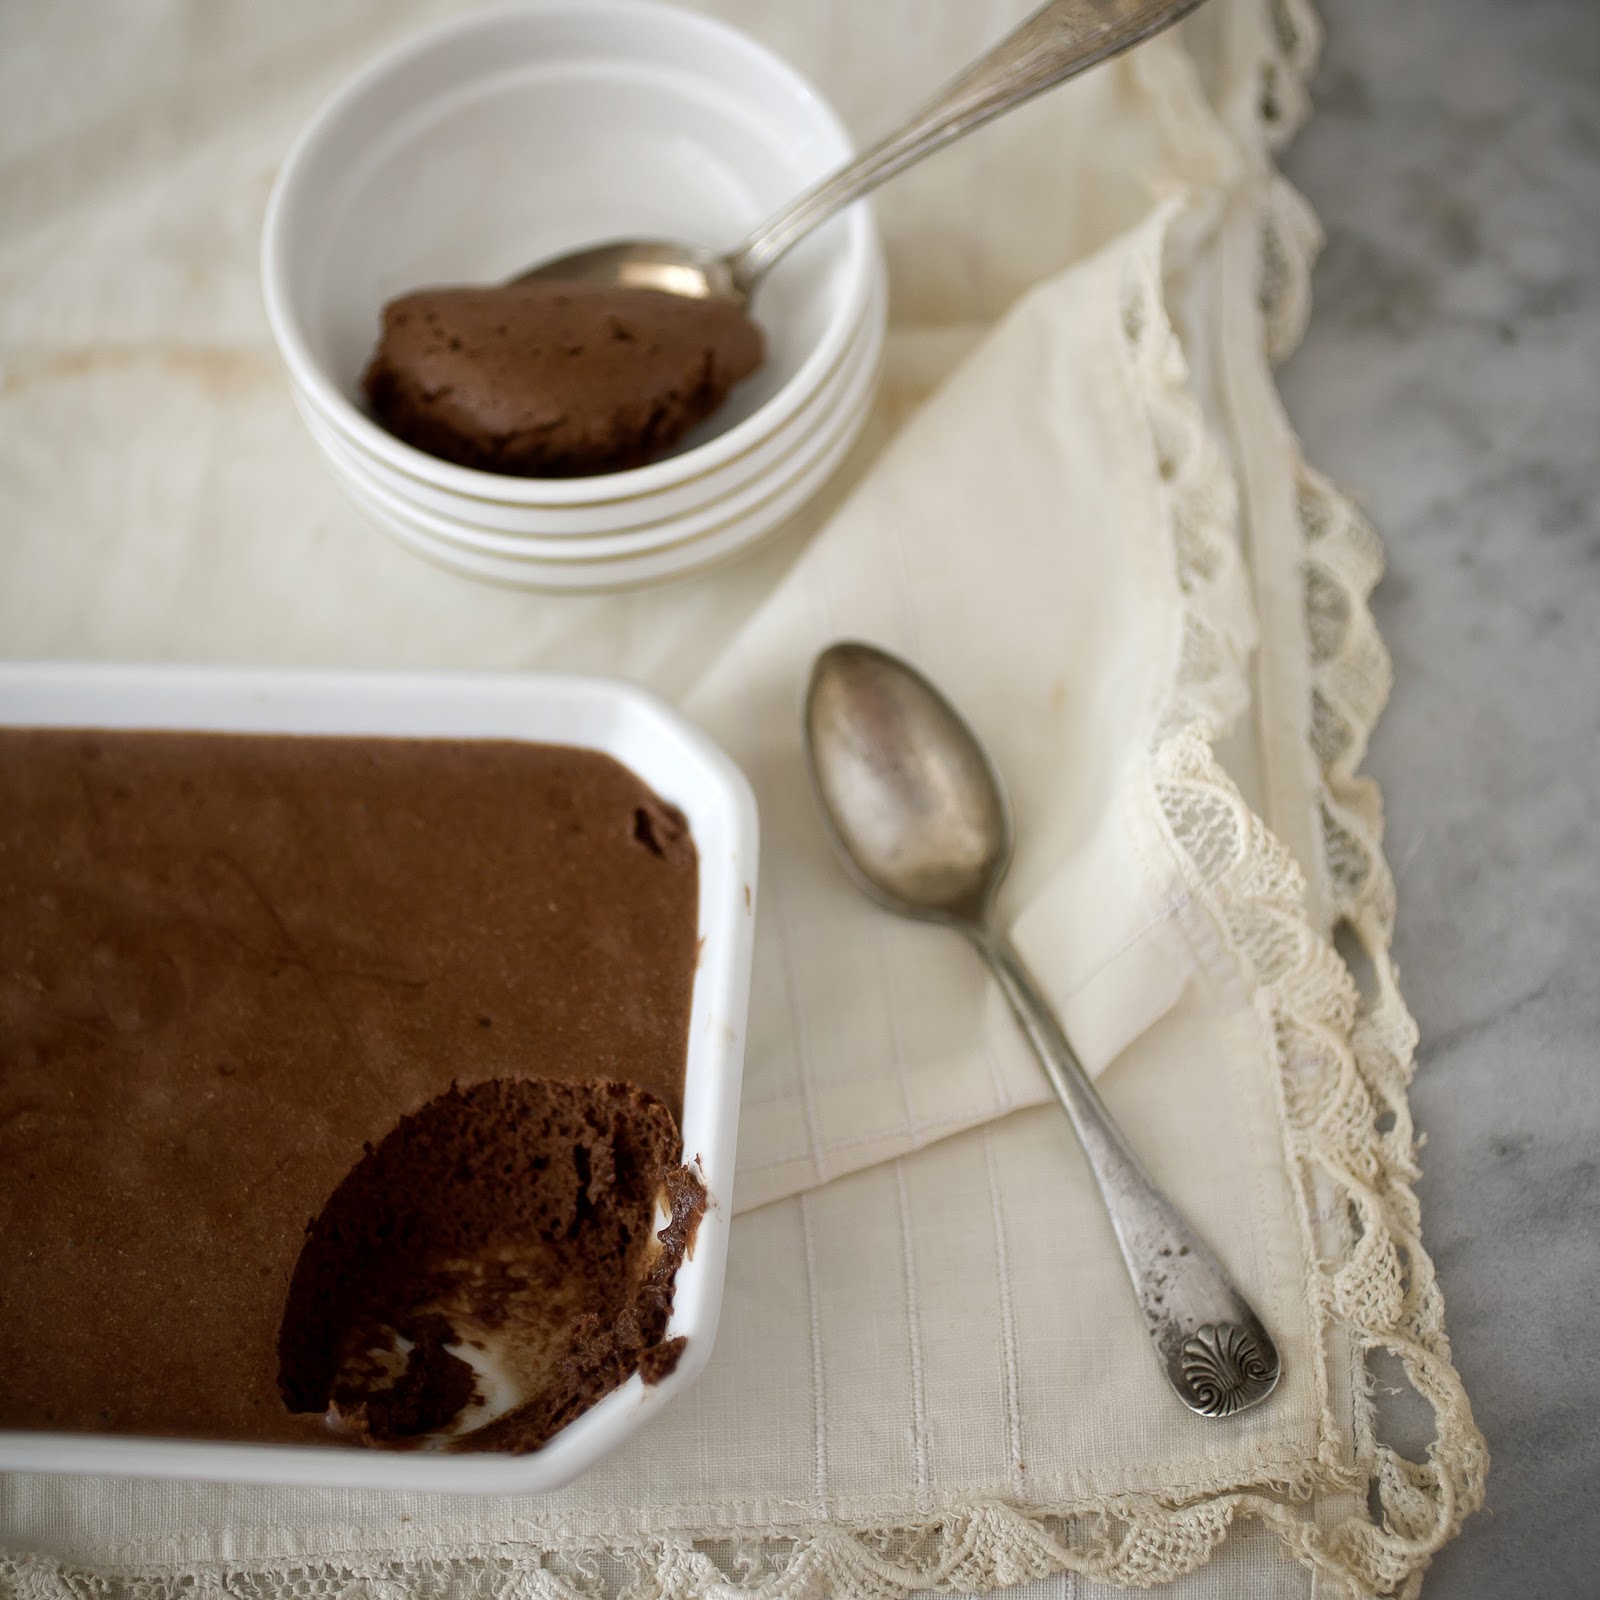
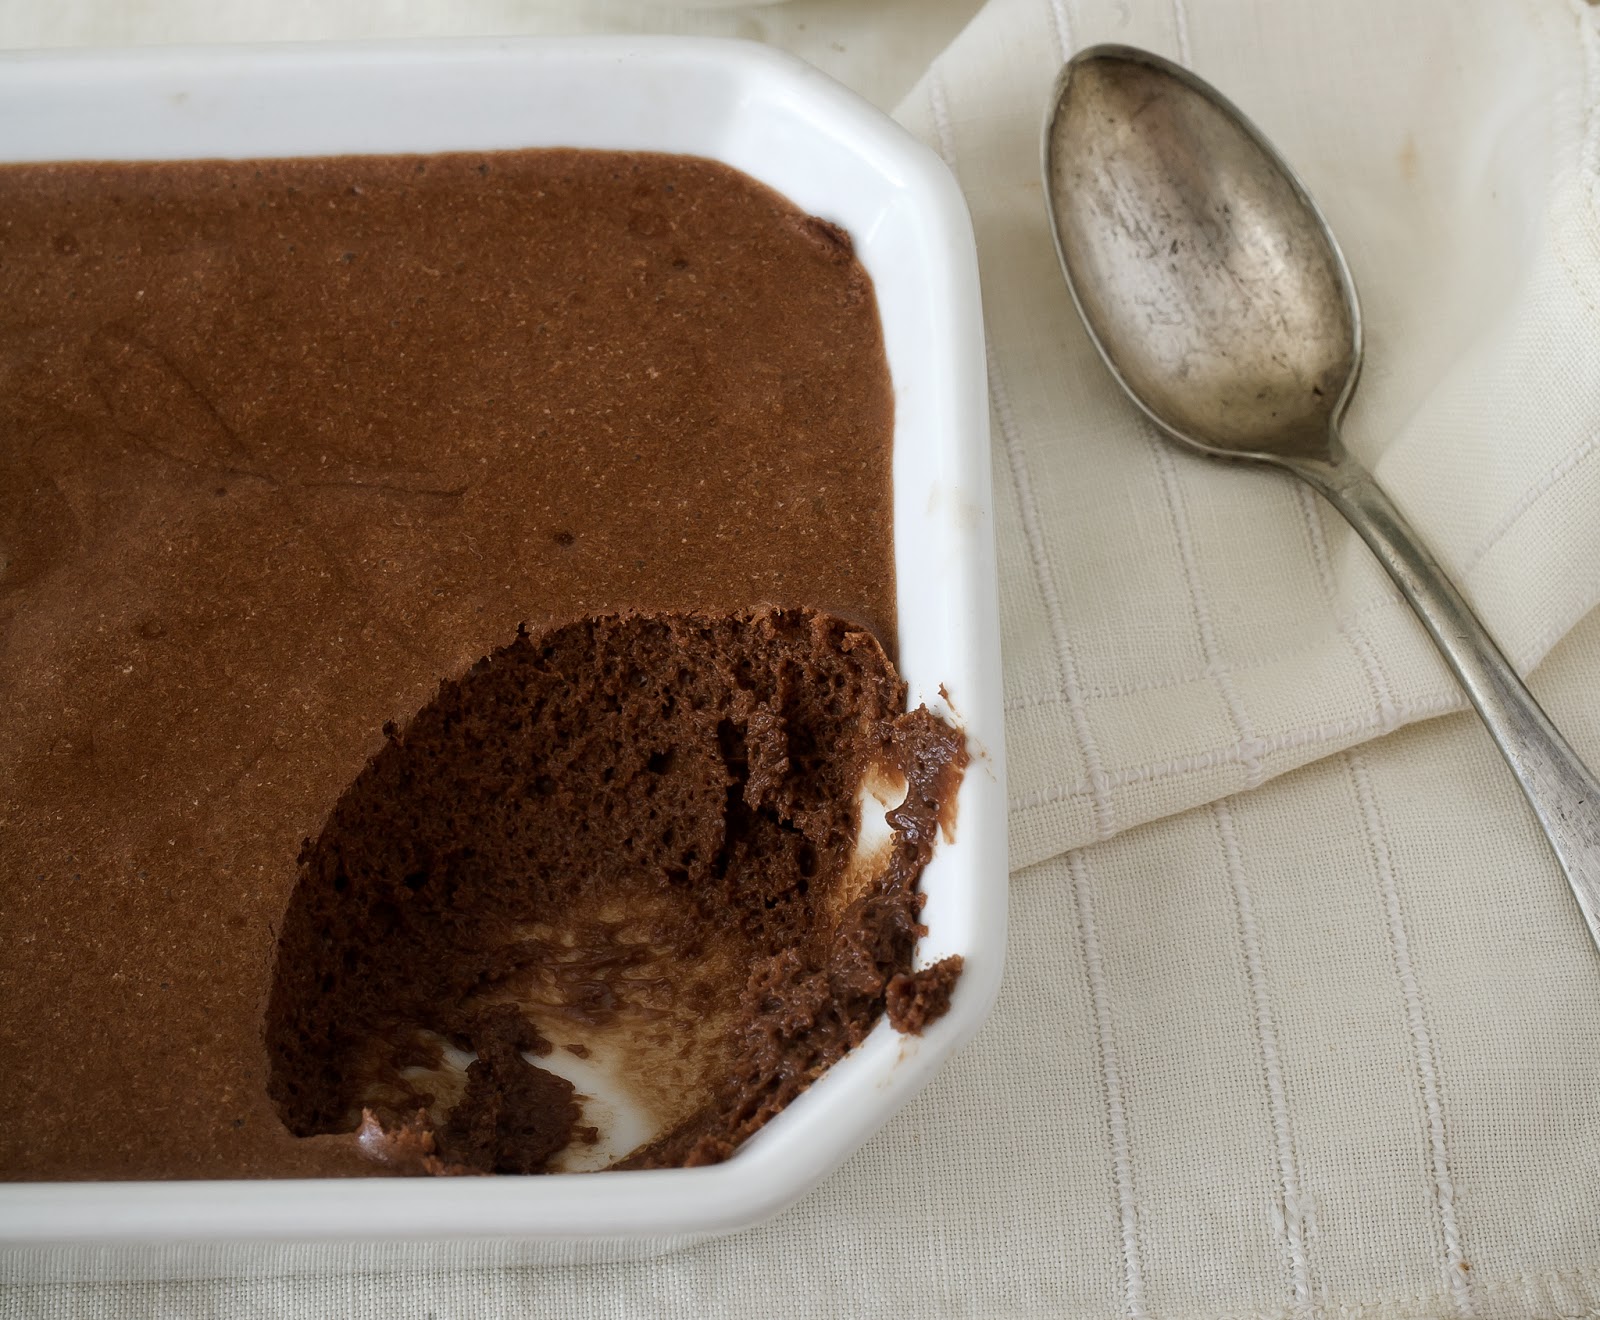
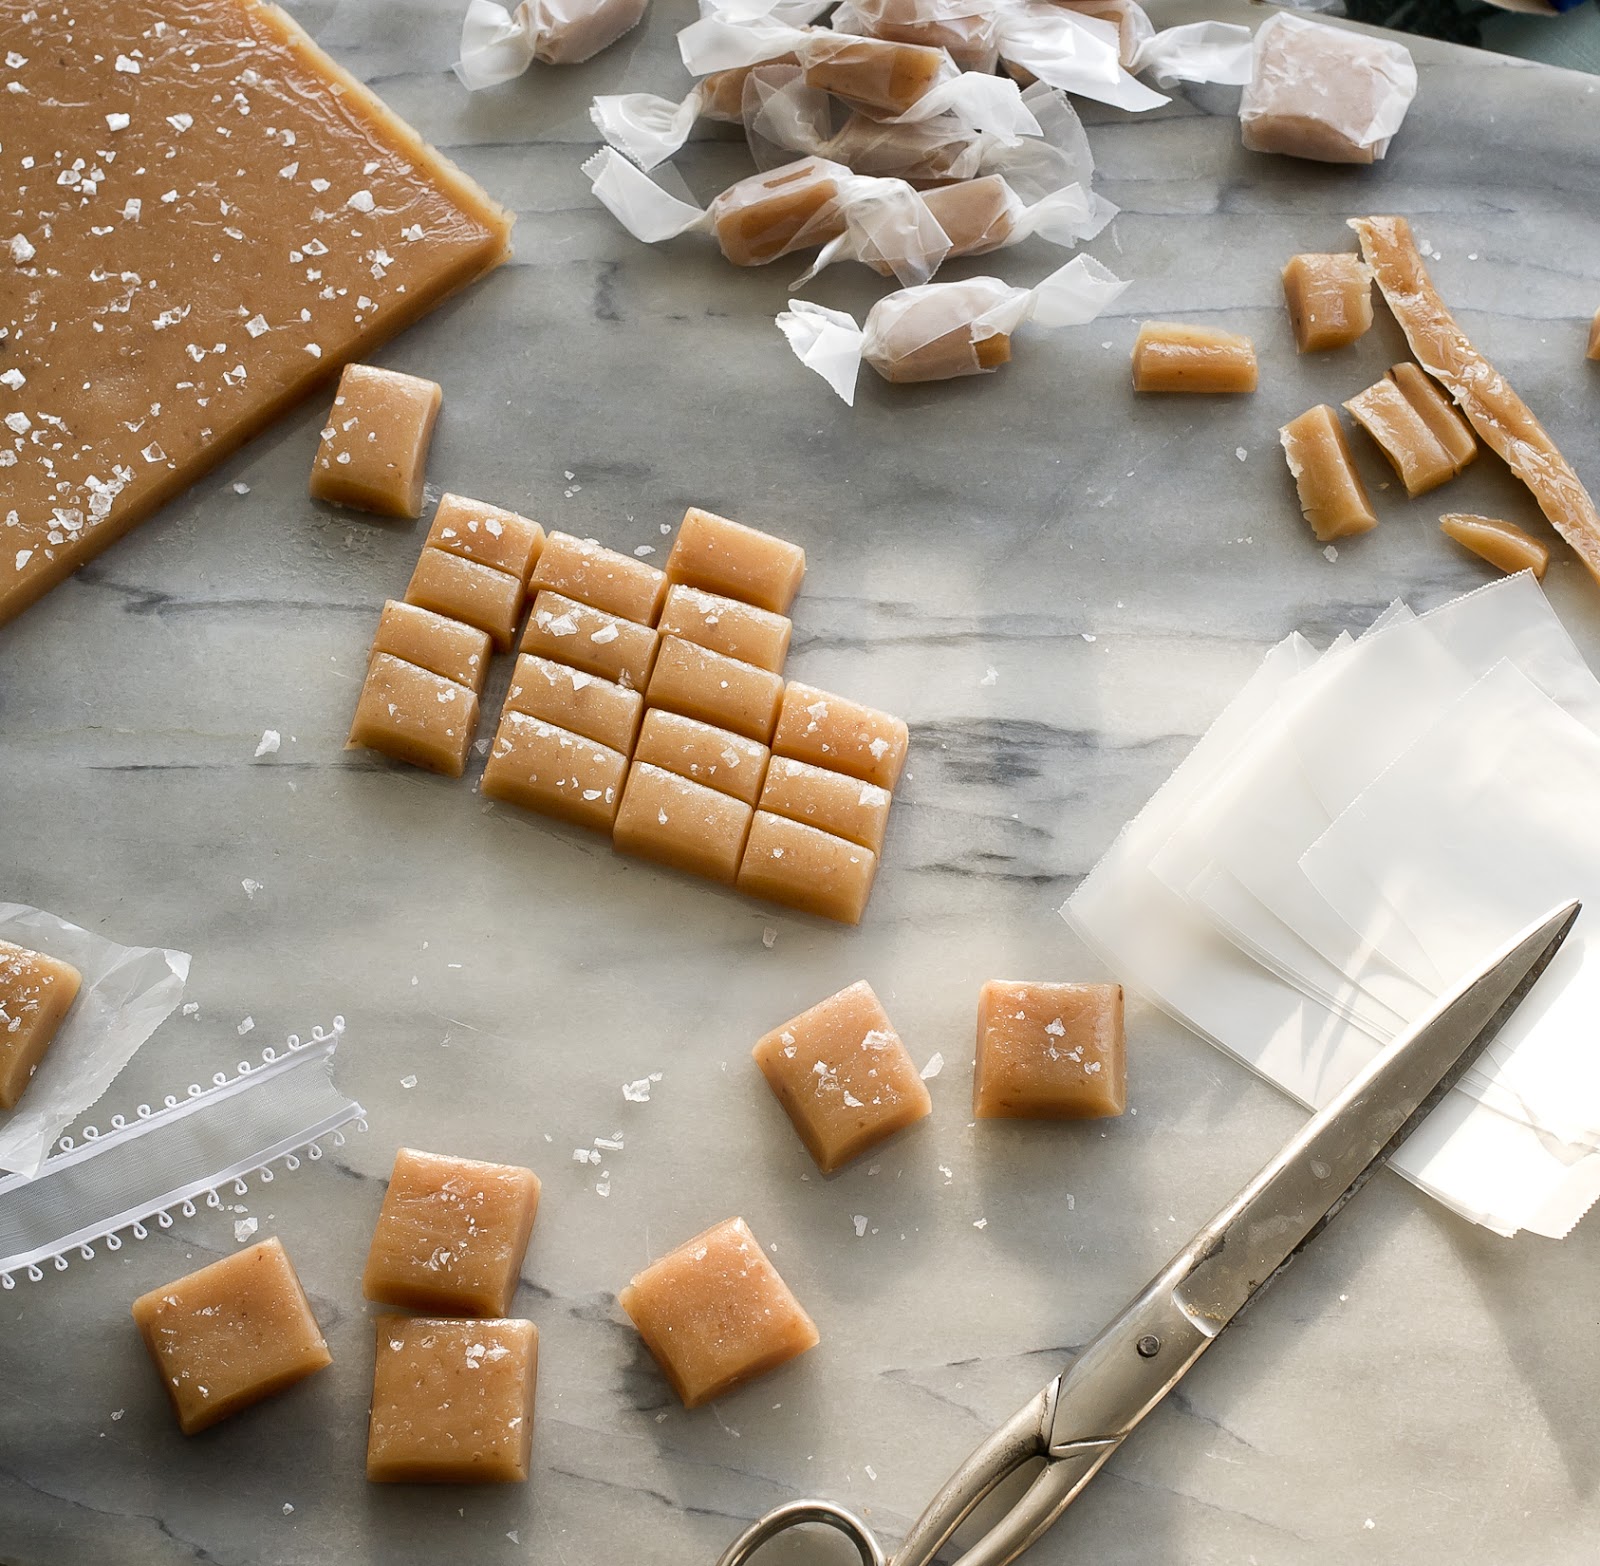
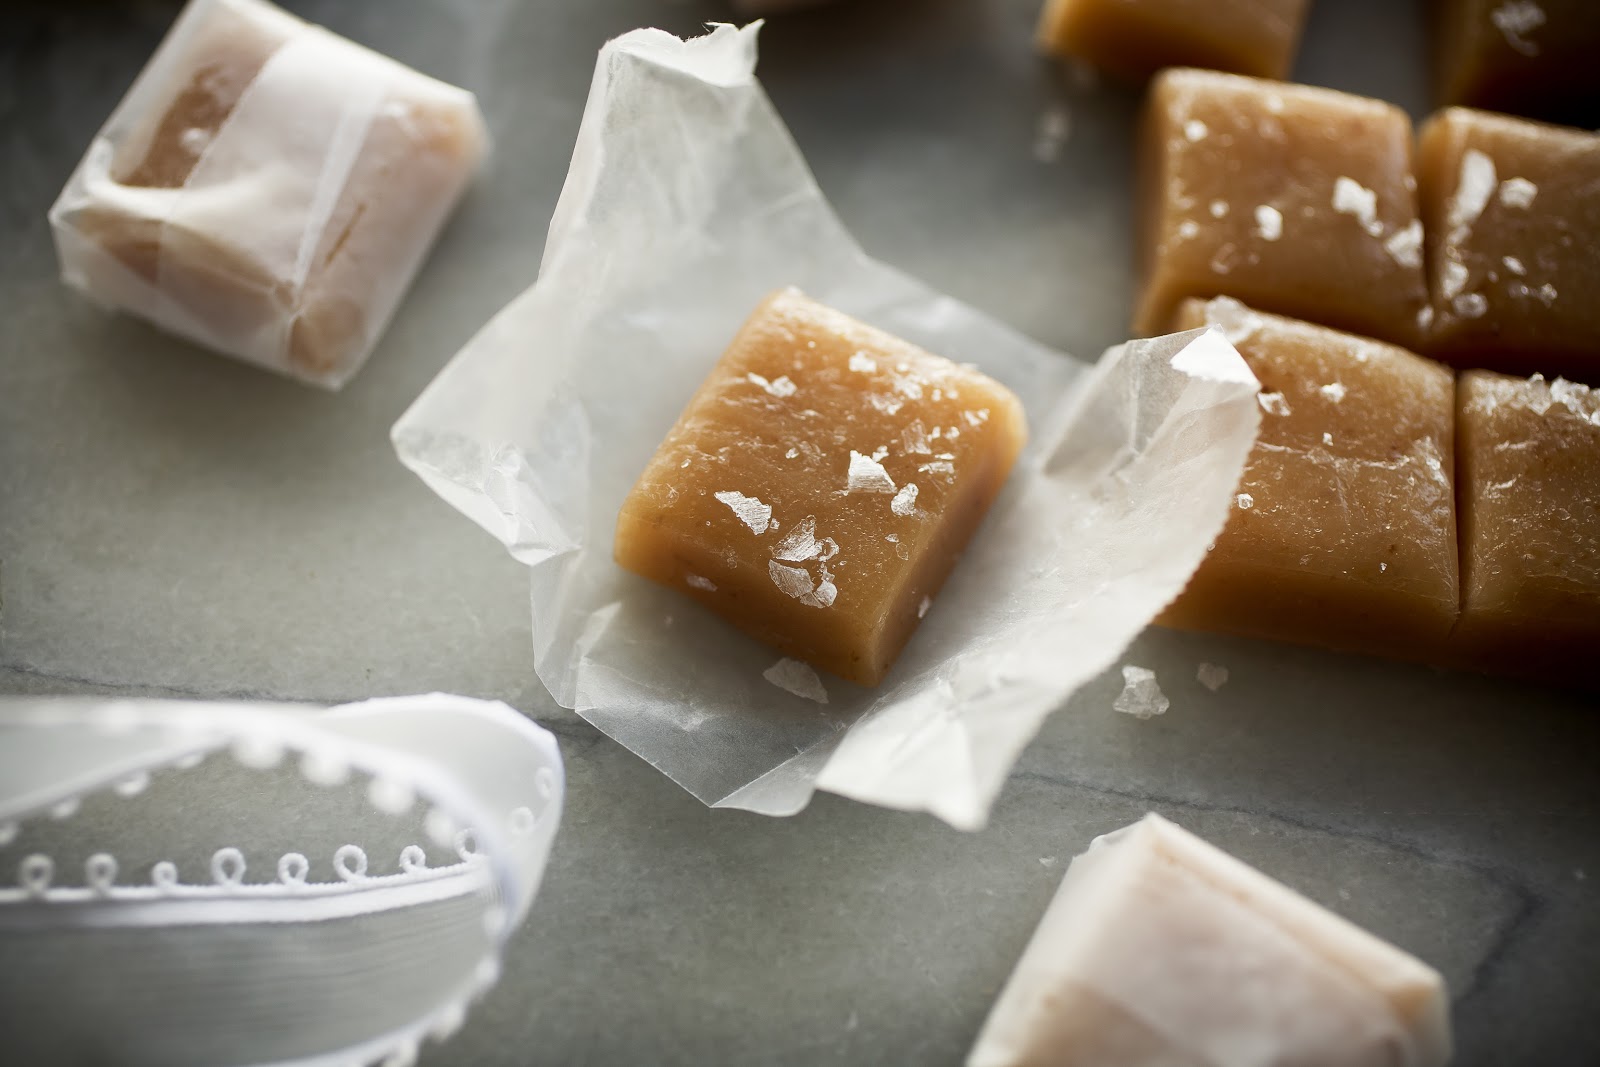
Man do I love me some caramels. They are an awesome holiday food gift and easy to make, and they are also easy to not do well.

People often say to me that they can cook but not bake. Their reasoning is that baking is specific and scientific, whereas cooking is more forgiving. To certain degrees this statement is true, but when it comes to candy making it is hard fact.

Variations in degrees, humidity, ratios or handling can make or break a candy. Some you can get away with, but honestly, not really.

Here are a few best practices and tips for making candies in general and specifically caramels.

1. Thermometer– Pre-test your thermometer for accuracy. A degree or two off can make the difference to how your sugar hardens. To test take a pot of boiling water and completely submerge the thermometer into the water without touching the bottom of the pot. Boiling water is 212˚- no higher or lower. Make a note of where your thermometer lands. If it’s a degree or two off, make a note and adjust your recipe accordingly.

2. Cleanliness– Some recipes call for an absolute grease free environment. Before making candy I rewash all utensils- bowl, pot, spatula, thermometer, measuring instruments, etc.- in hot soapy water and dry with paper towels or air dry. I do NOT use a used kitchen rag.

3. Pure Ingredients– make sure that the sugars you are using are contaminant free. If you used a wet spoon and dipped into the sugar bin, or used a measuring cup that was previously used for flour, this can contaminate the sugar. You can get away with this with baking, but not with candy making.

4. Prepare– Making candy is about timing and readiness. Have all ingredients and utensils prepared and laid out before you begin. Sugar temperatures can change quickly sometimes and you don’t want to be caught unawares.

5. Patience– Don’t rush the sugar boiling stage. A better caramelization happens with a slow development over time. It will also serve you by inadvertently overshooting the temperature when your head was turned for just a moment.

6. Eyes on the Prize– Boiling sugar is it’s own animal. It can turn quickly, and it can also hurt you. Boiling sugar is about the most dangerous thing in the kitchen- boiling oil being second.  If you get splashed with molten sugar it sticks to the skin and can cause nasty burns. So especially with inexperienced kitchen helpers, you MUST stay vigilant.

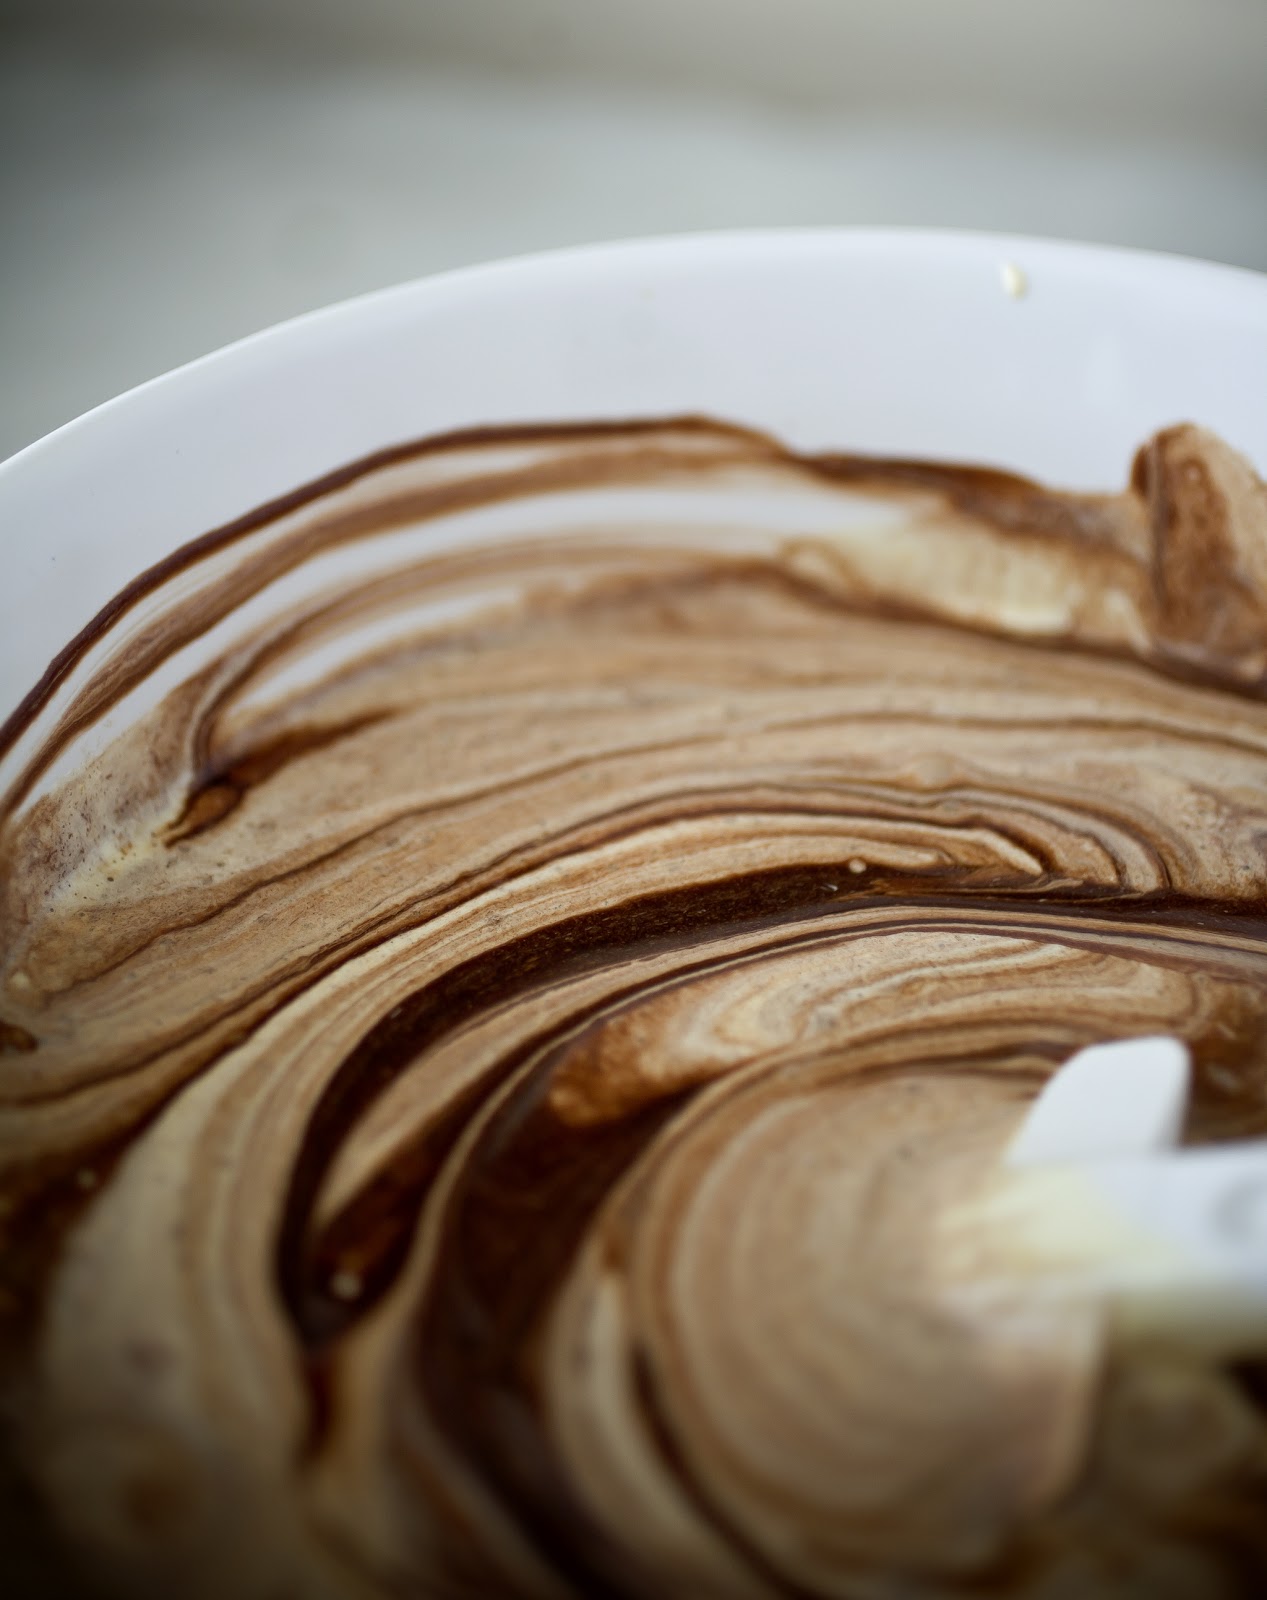
7. Don’t Stir– This is a very common mistake for first time candy making. Stirring boiling sugar causes the crystals to become unstable and start to bind. The result is grainy, cloudy or lumpy candy. When it comes to making pralines this happens to be the effect you want, but with caramels, absolutely not.  You can stir in the very beginning to incorporate the ingredients, but once it gets boiling, hands off! It will be tempting, even if sugar crawls up the sides, just let it go. Promise me-  you’ll be glad you did.

8. Don’t Touch– It’s also very common to want to poke your fingers into the just finished candy. After all it looks SO beautiful- but it will hurt you. Admire your work- from afar, and give it twice as much time as you think to cool. Sugar is dense and holds its temperature very well, so please err on the side of caution.

I’ve used several different recipes over the years. Martha Stewart printed a recipe in the latest Living issue {December 2012, pg 99} that was a bit different. Typically the heavy cream is added into the hot syrup once it has reached temperature. This recipe added the cream at the start. I was skeptical but I tried it and it was great. Pouring cream into hot sugar is a bubbling, steaming, terrifying and dangerous thing, not to mention often messy with cream boiling over onto the stove (the WORST to clean up). Adding the cream at the start avoided all that. This will now be my method of choice.

Martha Stewart’s Salted Caramels
modified from the December 2012 Martha Stewart Living Magazine
makes approx 120 pieces
 
vegetable oil, for greasing baking sheet
2c heavy cream
2.25c sugar
6T unsalted butter, cut into pieces
1.25c light corn syrup
.5t coarse salt- I used Maldon flaked salt
.5t pure vanilla extract
 
wax paper or cellophane wrappers


Lightly brush bottom ans sides of a 9×13″ rimmed baking sheet with oil. Line with parchment, leaving an overhang, and oil that as well.
 
In a heavy 5qt saucepan, combine the cream, sugar, butter and corn syrup. Bring to a boil over medium heat, and continue to boil without stirring, until the thermometer reads 248˚. It took me about 25 mins.
 
The cream will be bubbly and high at first. It will calm down as it reaches temperature and turn a beautiful caramel color.
 
Remove the pan from the heat and stir in the salt and vanilla. Immediately pour into the prepared pan and do not scrape the bottom. Just let whatever pours out fall into the pan.
 
After 3 minutes, sprinkle the top with more salt to your taste.
 
Allow the caramel to rest, uncovered, overnight or at least 8 hrs.
 
Remove the caramel from the pan and peel away the paper. With a sharp knife cut the caramels to the shape you want. .75″x 1.25″ is the size she made.
 
Immediately wrap in cellophane or wax paper. 

Enjoy, be safe and have fun. Your friends will love you for making these.

Share this:

  • Click to share on Pinterest (Opens in new window)
  • Click to share on Twitter (Opens in new window)
  • Click to email a link to a friend (Opens in new window)
  • Click to share on Facebook (Opens in new window)
  • Click to print (Opens in new window)
  • Click to share on Tumblr (Opens in new window)

Filed Under: GF, gifts, gluten free Tagged With: candy, caramels, gifts, gluten free, sweets

Chocolate Mousse {No Cream}

December 17, 2012 by Gail Watson

Growing up my Mother owned a restaurant out on the North Fork called, The Cinnamon Tree. It was a cozy restaurant in the middle of the victorian fishing town. Before the restaurant business my parents had been in the antique business and had a great collection of remarkable things. The restaurant was decorated with antique lights, artwork, giant peer mirrors and stained glass. It provided more of a homey atmosphere, and two Chesterfield leather sofas flanked a large fireplace that, in the colder months, folks would gather around and drink away the darkness.

Most of the other restaurants in the area around served baked clams and shrimp cocktail. On her menu were more elegant things like, Chicken Cordon Bleu, Stuffed Flounder, and a dessert similar to this called: Chocolate Yummy Rummy.

It was a gorgeously decadent dessert that remained on the menu for the entire 24 years that the restaurant was open. It was light and delicate in consistency, and a little went a long way. I used to watch the cooks in the kitchen make enormous bowls of it and then ladle small dollops into individual parfait glasses. It is mesmerizing to watch chocolate fold into creaminess. Somewhere along the line my Mom gave me a copy of the recipe, but I have no idea where it might be, and then, I might not give away the family secret.

What I really liked best about the Chocolate Yummy Rummy is that it did not rely on whipped cream for its loft and moussiness. As a result it’s more chocolately and velvety.

For my holiday meal last night I looked for a comparable recipe and found one that I modified a bit. In retrospect I would add more rum for a slightly more boozy edge, but no complaints here- and if you’re serving a younger crowd you could leave it out entirely.

I served mine with a soft billowy sweetened whipped cream to offset the chocolate- but straight without embellishment is more than fine. This is the time to invest in the best quality chocolate you can get your hands on. If you want someone to fall in love with you, I would put this on the menu.

Chocolate Mousse
This is extremely decadent so a small bit goes a long way. This batch makes enough for 8-10 servings
The mousse needs time to set, so it’s best prepared the day before or morning you plan to serve it.
If you prefer not to add alcohol simply add 2T of water to replace it.
 
6oz best quality dark chocolate
8T unsalted butter, in pieces
2T espresso or strong coffee
4 large eggs, room temp, separated
.66c sugar
3T rum, or other brandy/alcohol of your choosing
.5 t vanilla
pinch of salt
 
Ready multiple glasses or bowls for filling, or a 3qt bowl.
 
Over simmering water in a heatproof bowl, melt the chocolate, coffee and butter, then set aside. Don’t overheat.
 
In a second large bowl, combine the yolks, sugar and rum and place over the water. With a whisk beat the yolks while warming them until the consistency is thick, and they are lemony in color. Take care not to overheat and scramble the yolks. 
 
Remove from the heat until the yolks cool slightly. Then combine the chocolate and yolk mixture and stir to combine. Set aside. The yolks should be quite warm, but not hot.
 
In a very clean stand mixer, combine the egg whites and pinch of salt and beat on high until they get fluffy. Then sprinkle in 1T of sugar over egg whites and continue to beat until they are stiff but not grainy. They should have a slight gloss. When you remove the whip the peak will fold, but not melt back in.
 
With a spatula take a hefty spoonful of the whites and gently stir into the chocolate mixture to lighten. Then add the rest of the whites and gently fold in to the chocolate mixture. Take care not to beat down the airiness. 
 
Ladle or pour the mixture into your glasses or bowl. Cover and refrigerate for 3 hrs at least.
 
The mousse can be made up to 2 days ahead and kept in the fridge.
 
Remove from the fridge right before serving.


Share this:

  • Click to share on Pinterest (Opens in new window)
  • Click to share on Twitter (Opens in new window)
  • Click to email a link to a friend (Opens in new window)
  • Click to share on Facebook (Opens in new window)
  • Click to print (Opens in new window)
  • Click to share on Tumblr (Opens in new window)

Filed Under: chocolate, dessert, GF, gluten free Tagged With: chocolate, chocolate mousse, no cream chocolate mousse, no cream mousse

12 Days of Holiday Food Gifts to Make {Revisited}

December 7, 2012 by Gail Watson


Happy Holidays!
Twelve amazing days of Food gifts for memorable giving.

Last year for the holidays I did a series of 12 food gifts for making and giving. A bunch of folks have been asking about them, so here they are in the order that they were posted in. Just click on the title to take you directly to the original post. Also be sure to check on the page bar at the top of the post for resources for jars, containers, ribbons, etc.

White Chocolate Candies

Day 1- White Chocolate Candies– easy to make drops.

Day 2- Candied Fruits- Sweet and Savory. This post contains recipes for the candied pears shown above, candied spicy tangerines and candied ginger.

Day 3- Rosemary Lemon Biscotti and Dark Chocolate Cherry Biscotti– two classic cookies.\

Day 4- A Tradition Renewed- Marzipan– instructions on how to make cherries, pears and plums.

Day 5- Cowboy Candy- sweet pickled jalapeños that have the added bones of a beautiful syrup leftover that makes the dang best margaritas you’ve EVER tasted!

Day 6- Flavored Oils– Two infusion methods: Hot and Cold. Recipes for Lemon Oil, Basil Oil and Smoked Paprika Oil.

Day 7- Mixed Drinks~Pre-made cocktails. These are the bases for some delicious cocktails. Just add ice a spritz of tonic or soda water and you can kick back and enjoy the evening.

Day 8- Fruit Compotes~ Red & Blueberry Mint, and Orange Lavender– Send along with a batch of homemade scones for a special Christmas morning breakfast.

Day 9- Fregolotta- An Italian tradition. It’s a large cracker like cookie, full of almonds, that is broken and eaten after dinner, served here with a ruby port.

Day 10- Homemade syrups to make your own exotic soda or create a cocktail. Blueberry Thyme, Ginger Ale, and Fresh Mint

Day 11- Apricot Tapenade with Rosemary. A sweet and savory fruit sauce that pairs beautifully with cheese and makes a colorful and sparkling addition to your holiday table.

Day 12- NUTELLA!!!!!!

Happy making and sharing everyone!

Share this:

  • Click to share on Pinterest (Opens in new window)
  • Click to share on Twitter (Opens in new window)
  • Click to email a link to a friend (Opens in new window)
  • Click to share on Facebook (Opens in new window)
  • Click to print (Opens in new window)
  • Click to share on Tumblr (Opens in new window)

Filed Under: chocolate, dessert, GF, gifts, gluten free Tagged With: apricot, biscotti, compotes, fergolotta, holiday gifts, homemade soda, marzipan, nutella, pears, white chocolate

« Previous Page
Next Page »

Primary Sidebar

Thank you so much for your LIKES!

Thank you so much for your LIKES!
The Inner Circle
Join the Inner Circle For Exclusive Content
No Worries. This is just between us.

Top Posts & Pages

The {Famous} NY Times- No Knead Bread
Country Pate {Pate de Campagne}
Pork Chops in a Port, Juniper Berry, Orange Sauce with Individual Pommes Anna
Warm Chocolate Pudding Cake with Caramel Creme Anglaise, Day 4: Irene's Beans
Fregola with Arugula Pesto
Sorghum Salad
my healthy aperture gallery
Certified Yummly Recipes on Yummly.com
Homemade Hot Sauce Link~ HuffingtonPost

Copyright © 2025 · Genesis Framework · WordPress · Log in