• Skip to content
  • Skip to primary sidebar

A Stack of Dishes

Something good is cooking...

  • Home
  • About
  • Recipe Index
    • Bakery
    • Dessert
    • Chocolate
    • Appetizers
    • Healthy Recipes
    • Main Course
    • Small Meals
    • Breakfast
    • Gluten Free
    • Side Dishes
    • Cocktails
    • Condiments
    • Gifts
  • Delicious Links

gluten free

{Day 6} Flavored Oils

December 7, 2011 by Gail Watson

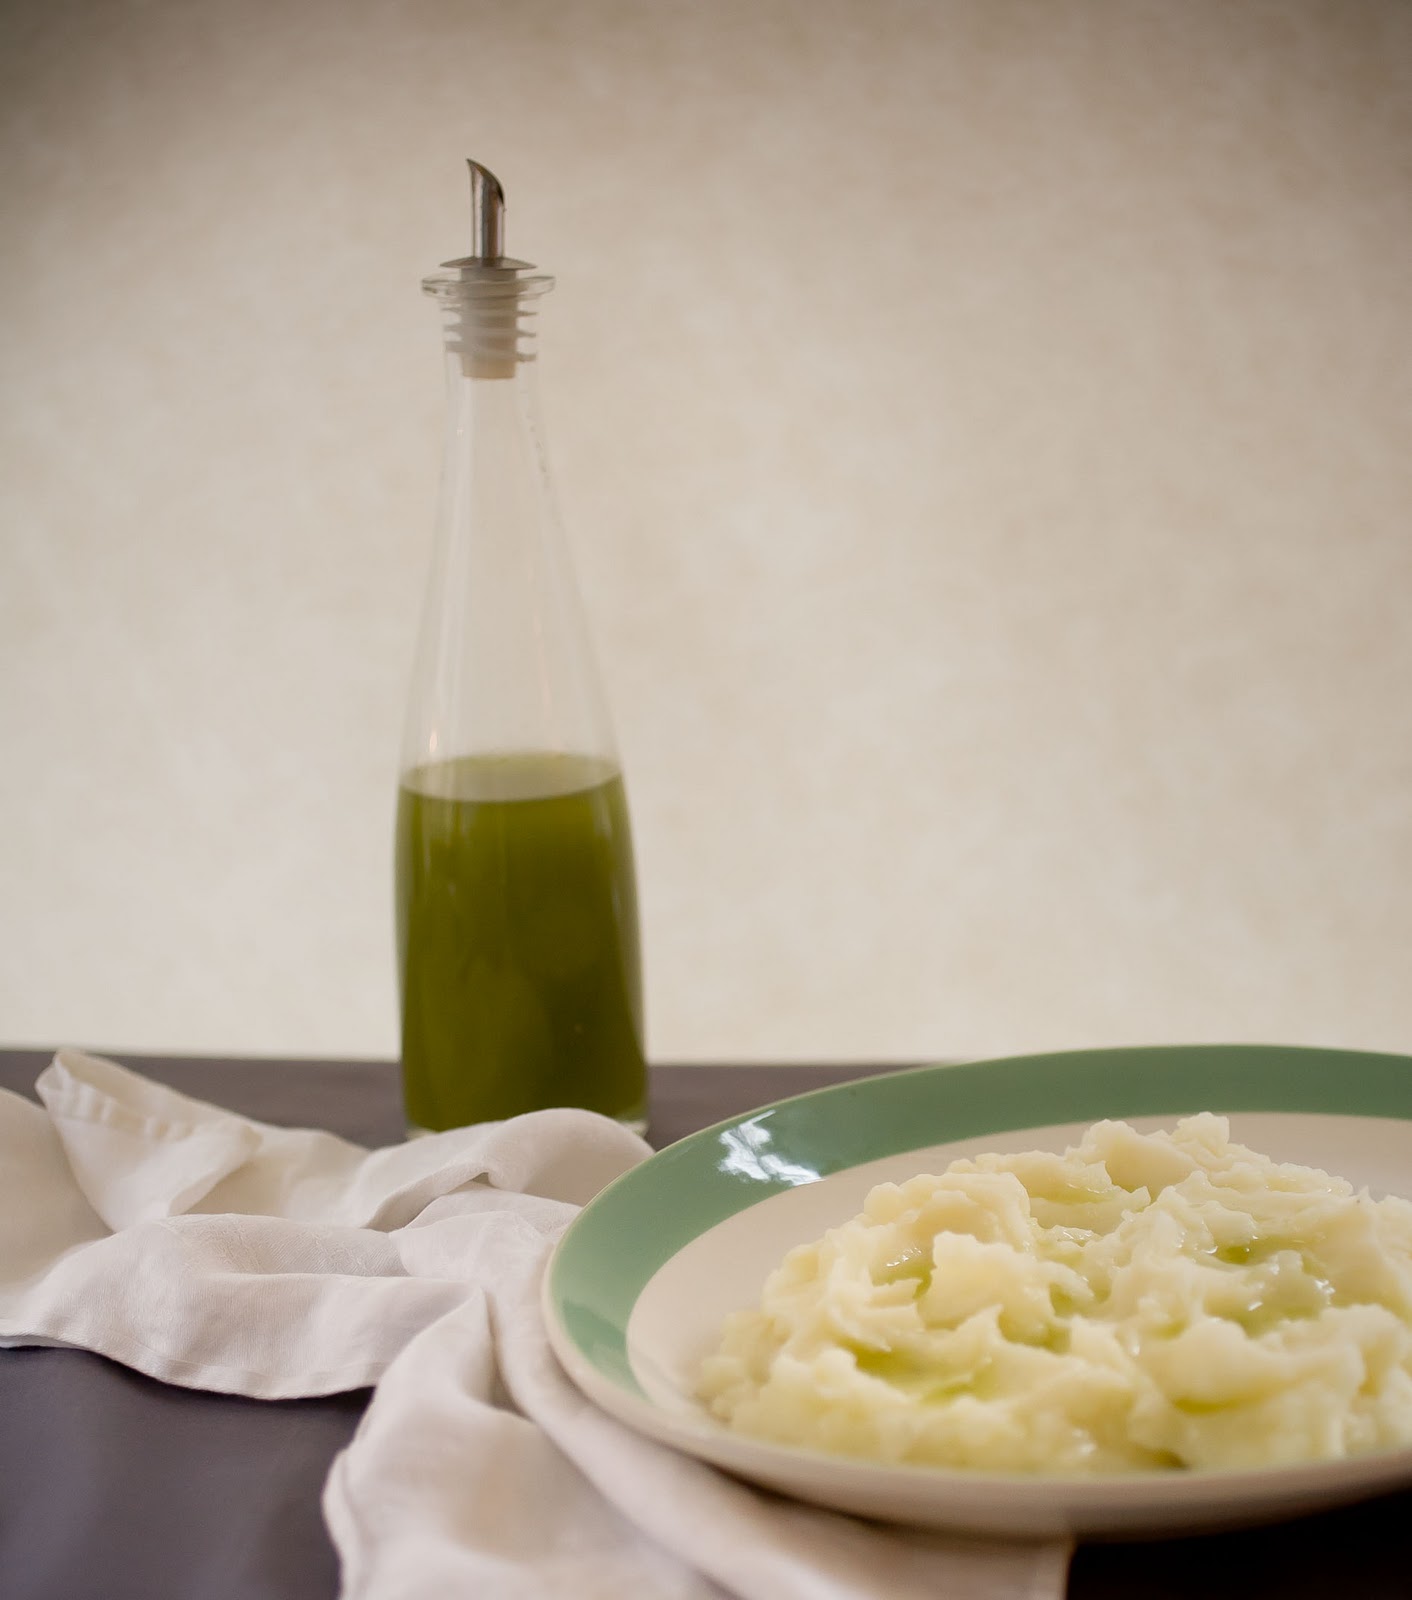
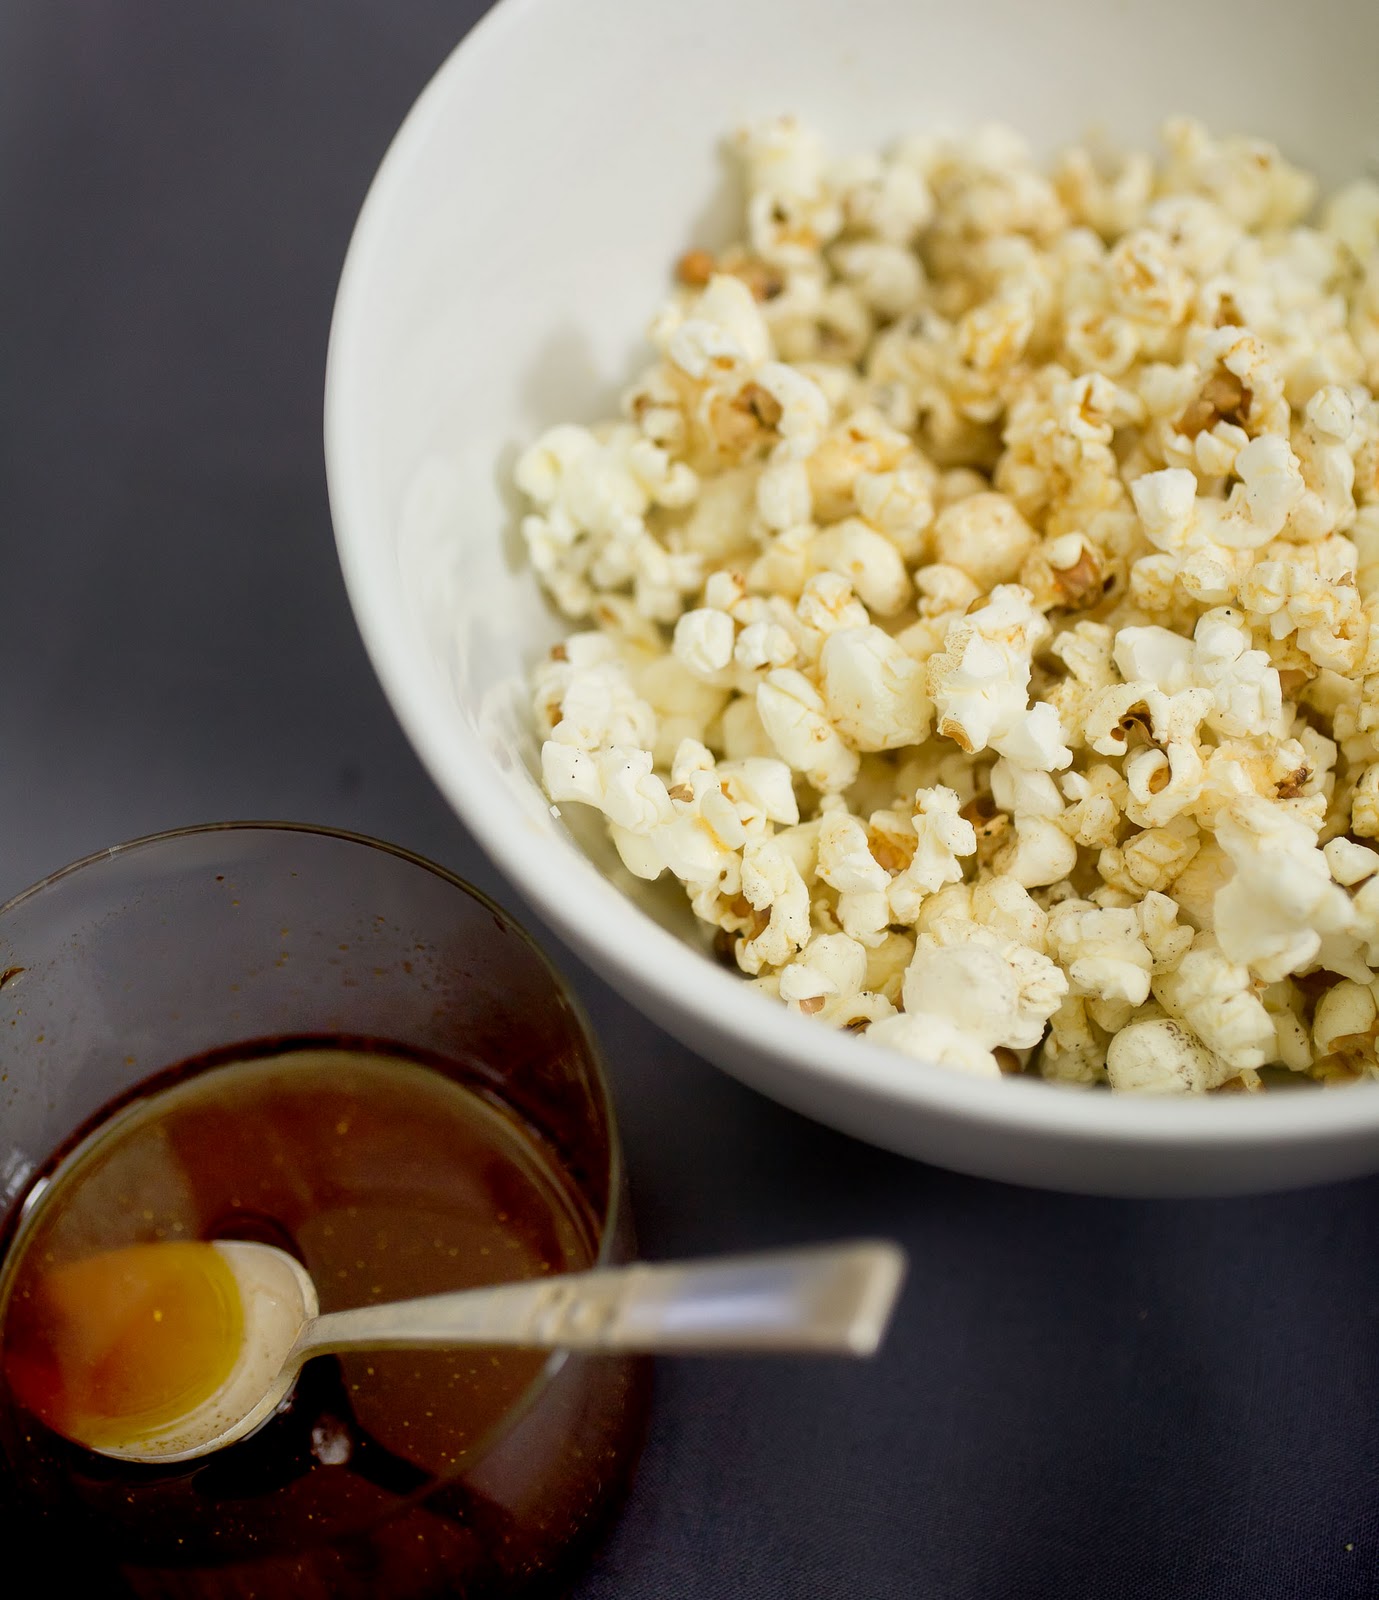
When the day has been long and that chicken in the fridge just looks so, well, geez- another chicken? A splash of flavored oil can make the simple sublime. Mashed potatoes get beautiful chartreusey green puddles of yum with basil oil, take a weeknight pasta and drizzle it with smoked paprika oil and the next time you feel like popcorn- make it the old fashioned way on the stove and use a lemon or rosemary oil to pop the corn and then splash some more on top instead of butter. Sensational in a snap. Love it.
The best part is that flavored oils not only are a great go-to, but easy to make and easily makes smiles when you give them away. Three versions here today, lemon, basil and smoked paprika. I know, sounds way too simple right? why not Thai basil with vanilla and chilis? Because these are the staples, like I said, the go-to’s, the good pals that are there when you need them. From here all things are possible and limitless, but feel free to be creative, I won’t mind. Take these oils as a base and feel free to add to them.
There are two methods to adding flavor to oil, both simple. The hot method: warm oil, add flavoring in the form of herbs or spices and allow to steep, then filter and bottle.  The cold diffusion method requires just adding the flavor to the oil and give it plenty of time to steep. I made the lemon oil this way which infused a brightness from the lemon that is just out of this world.
If you decide to leave leaves, or zests or especially garlic in your bottles- be sure that they be stored in the fridge. Weird things can start growing and that is just not a good thing.
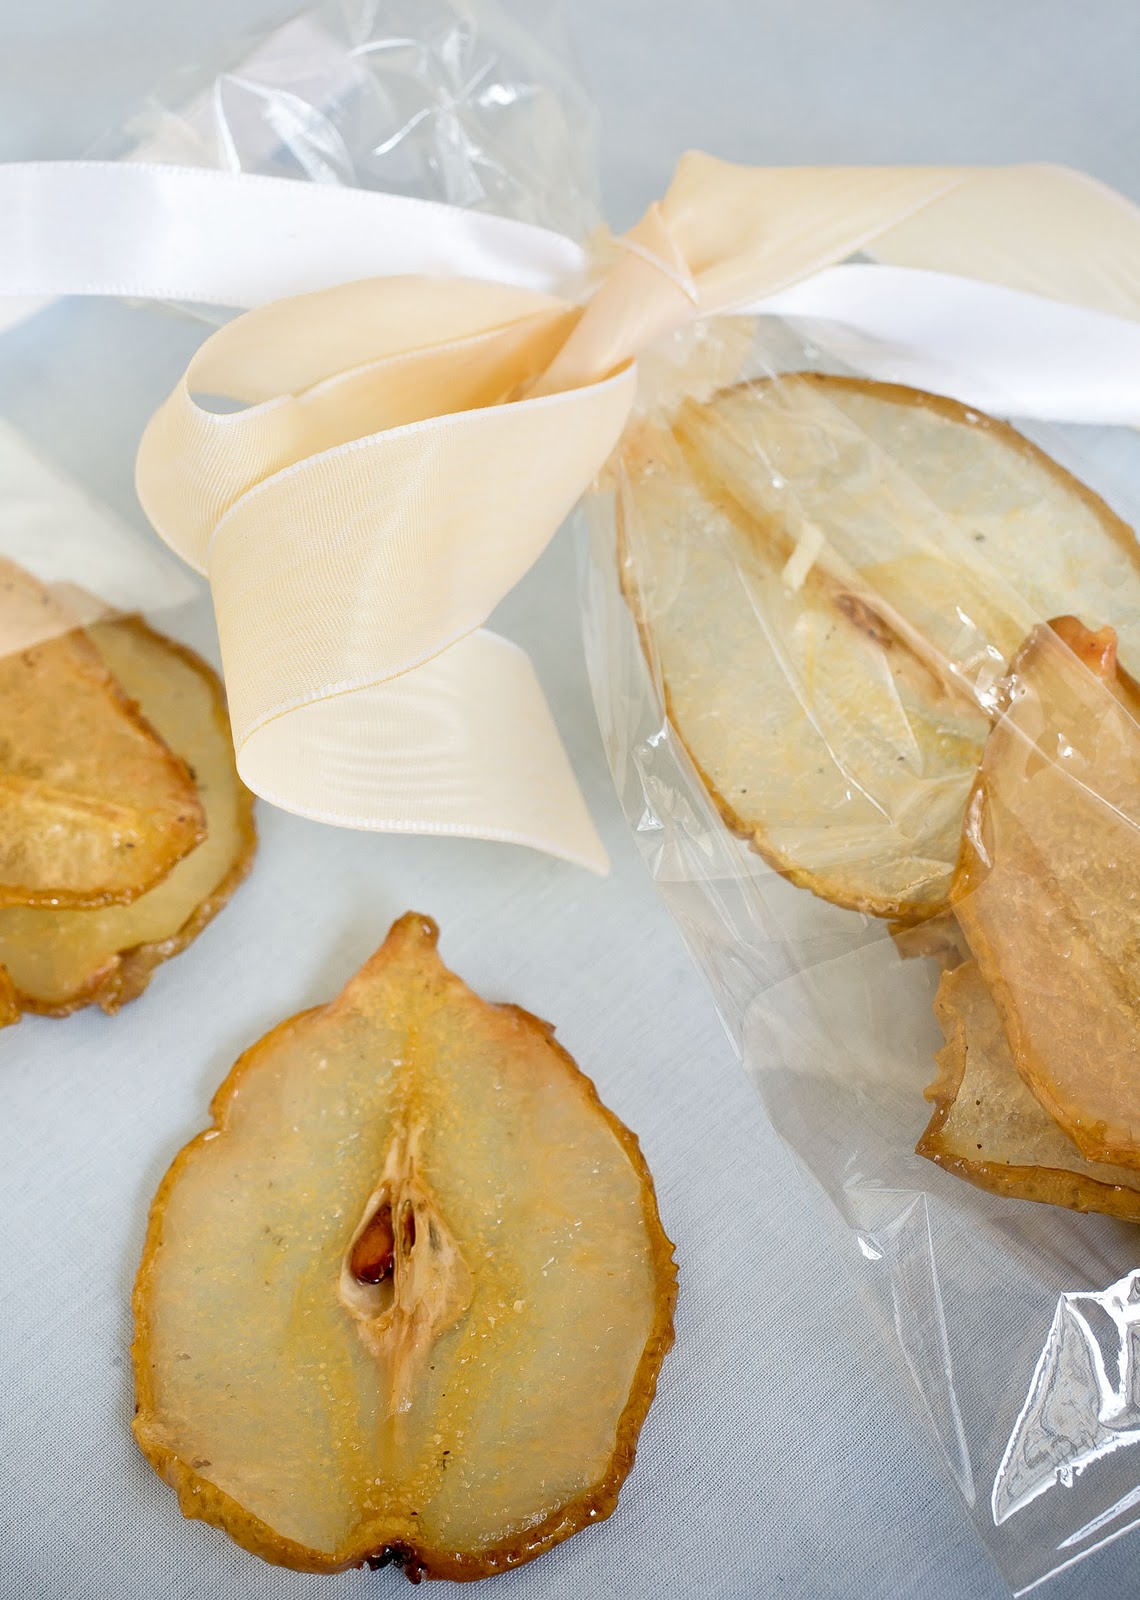
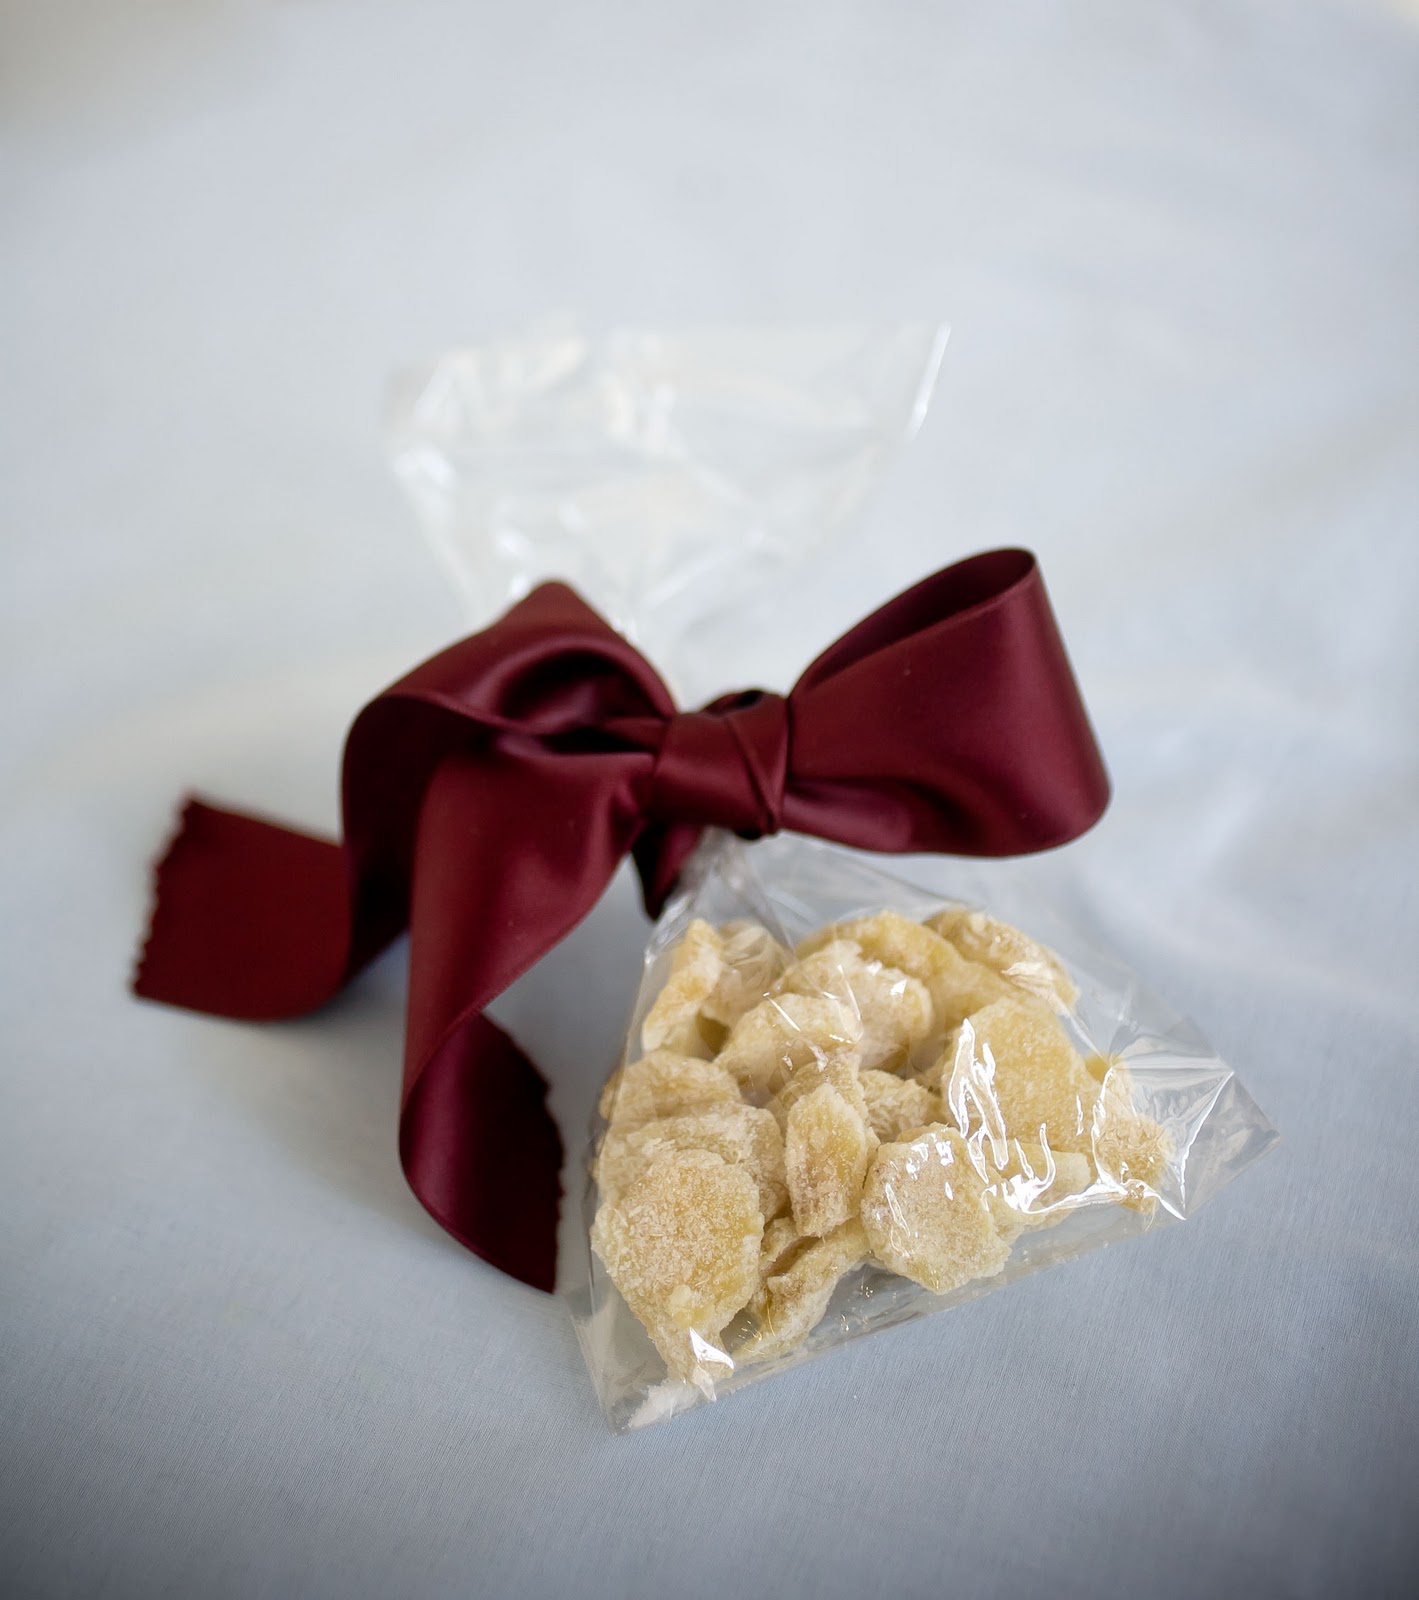
I bottle mine in smaller bottles when giving them away. They can be tucked into bags with other treats, given as pairs or sets, and it doesn’t impose the receiver to give up too much fridge or counter space. Besides, little jewels are also so much more delightful, and who doesn’t like jewels?
Hot Oil Infusion Method
No quantities here, this is by your taste- but a good start is one bunch of fresh herbs to every quart of oil or 3T of spices. Use a mild olive oil over a plain vegetable oil.
Warm oil to 185˚ in a heavy duty saucepan.
Add bruised fresh herbs or combine all in a blender for more intense and faster results.
or add spices that have first been dry toasted in a pan stovetop. Toasting releases the oils and aromatics to get the party started.
Once cooled  and rested overnight, taste the oil for flavor balance. Add more oil to the batch if it’s strong or rewarm and add more flavoring. The flavors do take a few days to develop so don’t expect too much at first, by day 3 or 4 you are truly there.
Cold Oil Infusion Method
Take bottle, add herbs or spices, pour over oil. Done. Good. Mostly.
I made the lemon oil by whizzing a cup of oil with the zest of one lemon in a blender then added it into a quart of oil. All that beating and battering released more oils into the base and can I tell you? divine. It left the oil cloudy at first but a few days later- sparkling lemon flavor and a clear oil.
Bruise any fresh herbs first, let them steep in the oil in a bucket or large jar for at least 2 weeks and then strain. If you like the look you can put fresh pretty herbs and spices into the gift bottles for a nicer presentation.

Share this:

  • Click to share on Pinterest (Opens in new window)
  • Click to share on Twitter (Opens in new window)
  • Click to email a link to a friend (Opens in new window)
  • Click to share on Facebook (Opens in new window)
  • Click to print (Opens in new window)
  • Click to share on Tumblr (Opens in new window)

Filed Under: GF, gifts, gluten free Tagged With: basil, flavored oils, gifts, gluten free, holiday gifts, lemon, paprika

{Day 5} Cowboy Candy- Jalepeno Happiness

December 6, 2011 by Gail Watson

This September I posted about this simply awesome condiment after stumbling upon it on a blog called Foodie With Family. If you haven’t visited this blog I recommend it. Rebecca, the mother of a brood of young active boys, writes in a rye slapstick style that is absolutely hilarious. Her Cowboy Candy is even better.

Jalepenos are stewed in a vinegary, sweet, spiked concoction and the result is a heat freaks nirvana. If you’ve followed my blog at all you know that I am one of those very freaks. I am not the “let me blow my head off to prove to you I can” type, I just love the layering effect that heat has on my palate. Spice blooms in the mouth, and there is just no other eating sensation that does that. This condiment offers not just heat, but a wonderful balancing act.

Cowboy Candy I would say is middling low on the heat scale. Jalepenos have a decent kick, but they won’t make you sweat or make your nose run like the chilis in Thailand. The best part of Cowboy Candy is that the heat gives you a short slap, but the vinegar sweetness of the juices is the forgiving kiss afterwards. Eat these the way you would pepperoncini- on a sandwich to give it a kick, or serve with a cheese board. It’s great on a burger or pour over grilled chicken.

The other added bonus of making this gorgeousness is the remaining syrup after the chilis are bottled. I use it to make a killer base for a spicy Margarita- but more on that later- there will be a post soon on cocktails that you’ll love.

If you have Spice loving friends or family on your Xmas list, this one they will really enjoy- I promise you.

Cowboy Candy by Foodie with Family

please click on name above to link to Rebecca’s post. You’ll be glad I sent you there.

Enjoy!

Share this:

  • Click to share on Pinterest (Opens in new window)
  • Click to share on Twitter (Opens in new window)
  • Click to email a link to a friend (Opens in new window)
  • Click to share on Facebook (Opens in new window)
  • Click to print (Opens in new window)
  • Click to share on Tumblr (Opens in new window)

Filed Under: condiments, gifts, gluten free Tagged With: condiment, gift food, gifting, hot sauce, jalepeno

{Day 2} Candied Fruits For Sweet and Savory Treats

December 3, 2011 by Gail Watson

The Winter fruits can become jewels under the right conditions. There is magic in the glistening, translucence that comes from the candying process. As the days grow gray and the light turns to darkness sooner and sooner I love the deep vibrant colors that sparkle on the plate.

The real miracle is it’s so easy to do and delightful to give.

I’ve come up with three different candied fruits. Pear Slices, Spicy Tangerine Sauce and Candied Ginger. Yeah, I know, the ginger is nothing really new- but the resulting leftover syrup you get from the process is going to be used for a future post for something I promise you will adore- so don’t discount the ginger.

Making jewels by candying fruit is basically a two step process. First the fruit is combined with sugar, either directly in the case of the pears, or in a syrup. Next comes the heat. The pears are baked for a short while and then flipped, and the ginger and tangerines simmered in the syrup until it reaches it’s translucency.
I’ve paired the pears here with some blue artisinal bleu cheese and toasted walnuts. A lovely gift is to put the trio into a package. But the pears are also great along with a chunk of high quality chocolate for a dessert plate. My friend Priscilla Martell, a cookbook writer, chef and all around exceptional person- shared with me a link to an artisanal cheese maker in Connecticut for Cato Corner Farm. She says, “One of those little local success stories.” If Priscilla recommend them I suggest you might give them a look see.
The tangerines are remarkable. I cannot begin to tell you how delectable they are. The sweet tangy orange is made bright with a hit of chili flakes. Shown here drizzled over a goat cheese log- but can I tell you? Set this up with some ice cream and your friends will get down on their knees and praise you.
I recommend packing the Tangerines in a jar with the slices ringing the outside of the jar and then fill the middle with the chunky syrup. The presentation is show stopping.
Packaging is always where it’s at and can transport the mundane into a delight. If you plan to put the pears into a bag I recommend using cellophane. This will prevent them from getting sticky, which is what happens when placed in plastic.
The same with the ginger. Though the ginger would be excellent in a jar as well.
*Check the Holiday Resource page to find links to find bags, bows and jars*
Pear Slices
recipe taken from Donna Hay Magazine
 
Slice pears on a mandoline or in even 1/8 inch slices.
 
Press each side into sugar and place onto a parchment lined baking sheet
 
Bake at 350˚ for 15 minutes~then flip the pears and bake another 15. Take care doing this since hot sugar can cause nasty burns
 
Once out of the oven carefully transfer the pears to a drying rack and allow the pears to fully dry. If you live in a humid place placing the rack in a turned off oven with a pilot light will do the trick.
 
 
Spicy Tangerine Sauce
a Gail Watson recipe
 
This recipe is in ratio, so you can make as little or great as you would like. I used 3 tangerines for the recipe shown
 
Slice top and bottom off of the tangerines and reserve. Make 1/8″ thin slices of half of the fruit and rough top the other half, including  the tops and bottoms.
 
Measure out the volume of fruit and place into a sauce pan.
 
Next add equal amounts of sugar and water to the pot- 
2c tangerines:2cups sugar:2cups water
 
Add a generous pinch of chili flakes and 3 star anise cloves to every 3 tangerines.
 
Bring all to a boil and then reduce to a low simmer. 
 
Simmer the fruit for 30 mins or until the rinds are soft and the slices are translucent.
 
Can properly into jars, or jar and keep in the fridge for 3 weeks.
 
Warm sauce over cheese is amazing.
 
 
Candied Ginger
 
This is another ratio recipe. Purchase ginger that is firm and thin skinned- which is spicier in the end. Older ginger is fine if that is all you can find, but nothing dried out and shriveled. The ginger shrinks as you cook it, so get triple the volume you will need.
 
Scrape the skins off the ginger using a teaspoon. This works remarkably well and preserves the most flesh. It’s also so much easier to work around the knobs and ends.
 
Slice the ginger into 1//8-1/4″ slices. I made coins, but you can do long strips etc.
 
As above, into a pan measure 1:1:1 ratio of ginger to water to sugar.
 
Simmer in pan on the stove until the ginger is tender. Mine took a good 30 minutes, but it will just depend on the thickness of your slices.
 
Strain the slices and RESERVE the syrup (I’ve got an great use of it in a future post)
 
Lay the slices on a drying rack and allow to dry to a tacky state. This is important. If you rush the sugaring process you can end up with a gooey mess, so be patient.
 
Once dry enough toss the ginger in some sugar and you’re good to go!
 
{btw-I used this gingered sugar for the pears- can’t say it really added anything, but it couldn’t hurt}
 
Keep the ginger in an airtight container so it doesn’t dry out. It will keep for 3 months if stored well.


Share this:

  • Click to share on Pinterest (Opens in new window)
  • Click to share on Twitter (Opens in new window)
  • Click to email a link to a friend (Opens in new window)
  • Click to share on Facebook (Opens in new window)
  • Click to print (Opens in new window)
  • Click to share on Tumblr (Opens in new window)

Filed Under: dessert, GF, gifts, gluten free Tagged With: candied fruit, dulce de leche, ginger, gluten free, pears, tangerines

« Previous Page
Next Page »

Primary Sidebar

Thank you so much for your LIKES!

Thank you so much for your LIKES!
The Inner Circle
Join the Inner Circle For Exclusive Content
No Worries. This is just between us.

Top Posts & Pages

The {Famous} NY Times- No Knead Bread
Country Pate {Pate de Campagne}
Warm Chocolate Pudding Cake with Caramel Creme Anglaise, Day 4: Irene's Beans
Roasted Lamb With Balsamic Vinegar and Red Wine Jus
Power Packed Oat Scones: One healthy, the other healthier
Chocolate Mousse {No Cream}
my healthy aperture gallery
Certified Yummly Recipes on Yummly.com
Homemade Hot Sauce Link~ HuffingtonPost

Copyright © 2026 · Genesis Framework · WordPress · Log in