• Skip to content
  • Skip to primary sidebar

A Stack of Dishes

Something good is cooking...

  • Home
  • About
  • Recipe Index
    • Bakery
    • Dessert
    • Chocolate
    • Appetizers
    • Healthy Recipes
    • Main Course
    • Small Meals
    • Breakfast
    • Gluten Free
    • Side Dishes
    • Cocktails
    • Condiments
    • Gifts
  • Delicious Links

gluten free

Thai Spring Rolls with Fire-y Chicken

September 16, 2011 by Gail Watson

spring roll, thai spring roll
Crunchy Spicy Minty Tangy Deliciousness
Spring rolls used to be too daunting for me to consider making. Those papery skins looked too fragile and tricky to work with. At the beginning of my cake career (ca. 1987) I shared a kitchen with a caterer who made the spring rolls regularly. One of the beauties of sharing that space was being able to peek over shoulders and learn about things I knew little about.
Their method for dampening the rice paper was to use a spray bottle with fresh water. There is a lot of control in the amount of moisture with this method, and they could really hustle through the piles of rolls that they needed to make. I’ve never been able to keep such a dedicated bottle in my house, and so afraid that some cleaner might have snuck in by one of my kitchen staff, so I revert to the “dip method”, which is to slide the sheet into a bowl of cool water and out immediately.
The sheet will still be stiff at first, but by the time I load it up, it’s soft enough to roll. I can work 2 at a time if I’m feeling swift, but I recommend not rushing it as torn rolls are frustrating and a sad sad thing….


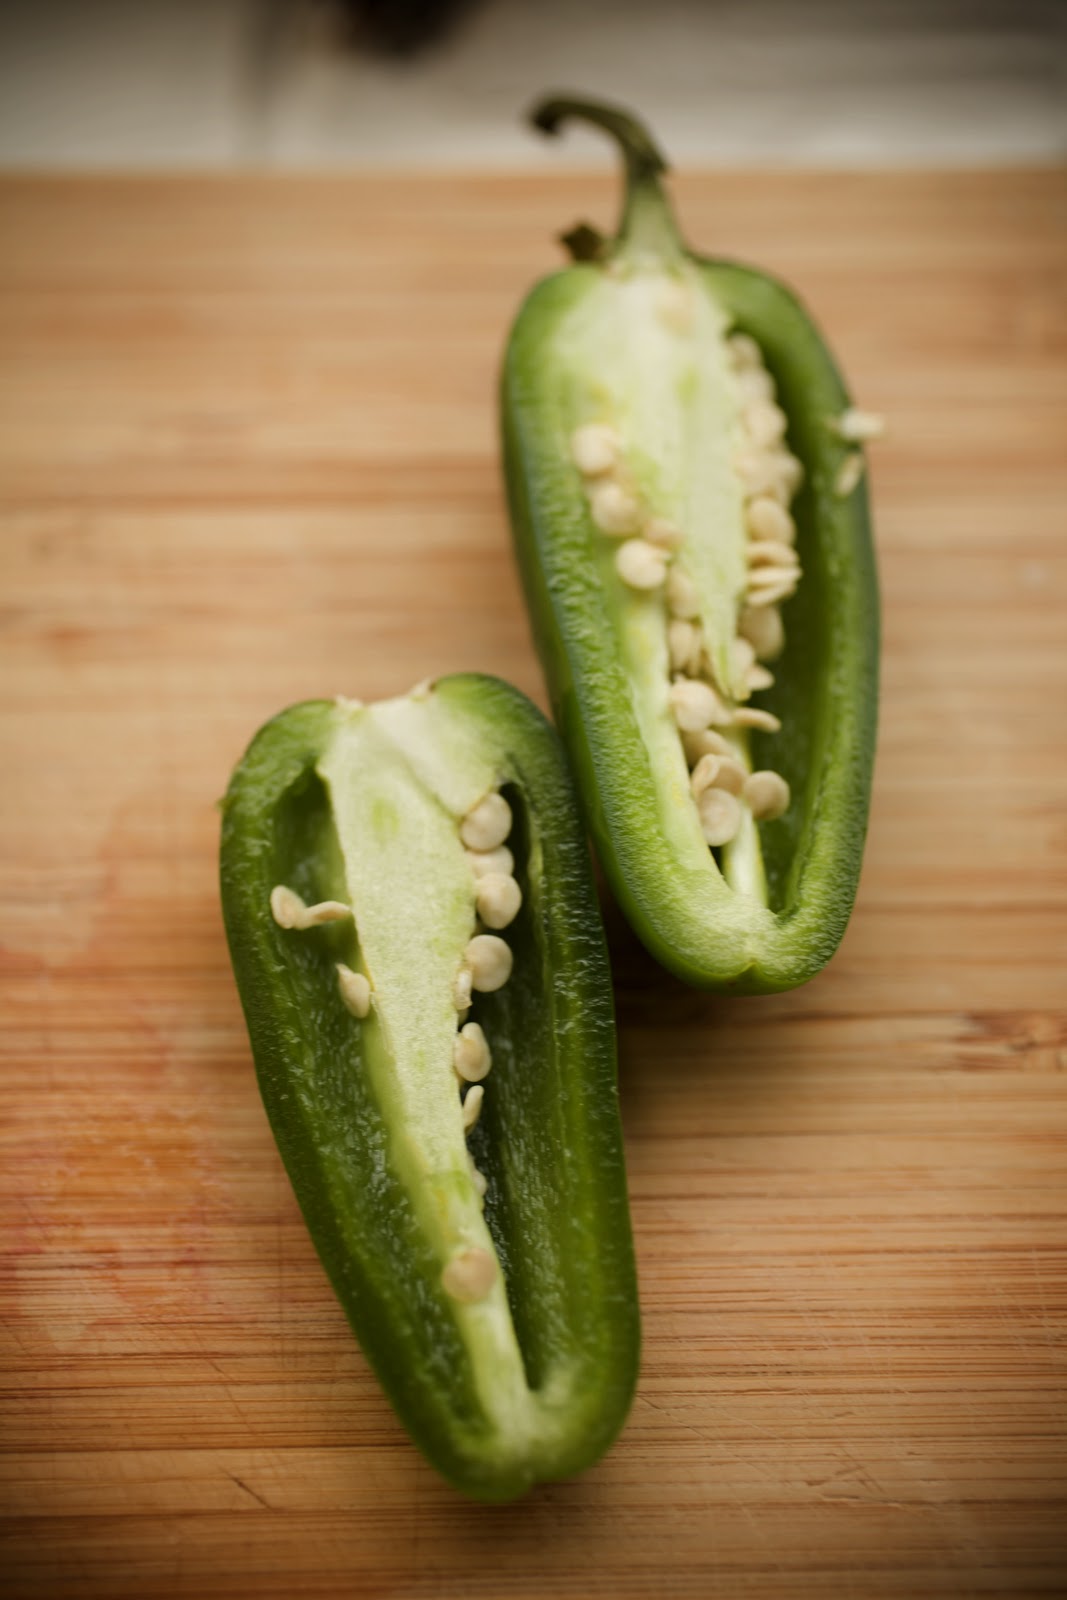
For this recipe I make my own ground chicken. It’s super easy to do, and into the mix I put in chilies, garlic and onion. It takes two seconds in the cuisinart and I love the slight green tint the chilies give to the meat. Since I typically purchase chicken breasts in bulk and have them portioned out in the freezer, I can defrost and whip these up whenever the mood strikes. Actually, truth be told, it’s more like when I have mint and cilantro in the fridge that I get the inspiration to make these jewels.
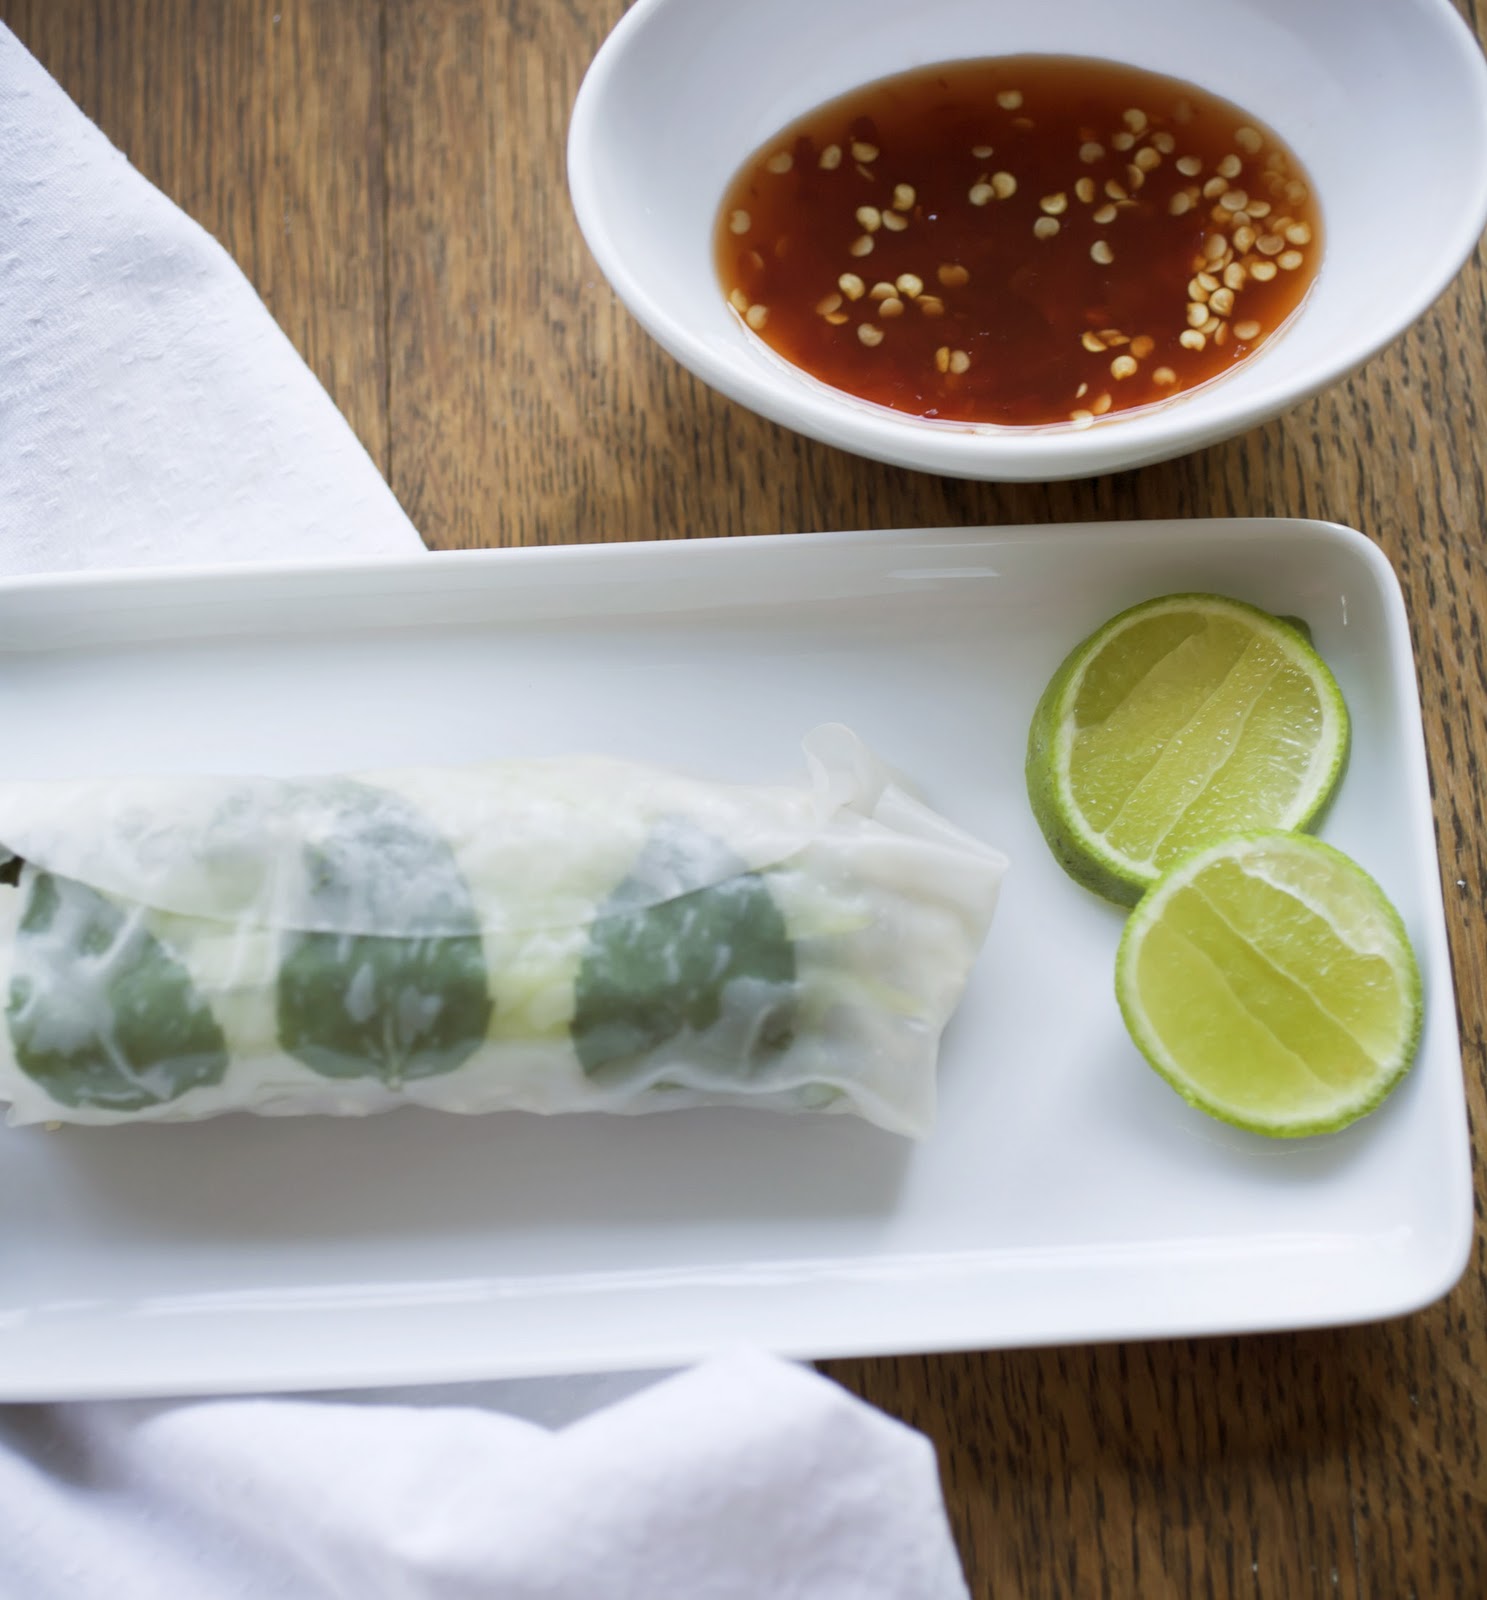
You can serve these with any kind of Asian sauce, but I prefer my Soi 5 Chili Sauce. When my fiancee and I were in Chiang Mai last, my favorite place to eat was an outdoor Gai Yang place. You could spot the place a block away from the billowing fragrant smoke of the grilling chicken, which they did right on the sidewalk. You have to walk past the grill master to get into the rustic restaurant that is filled with locals all day long. With side the chicken is served this rocket hot and amazing chili sauce (and Som Tom and sticky rice, ohhhhh). Since they make it there themselves I tried to get the recipe, but I was Thai-politely told that regrettably they could not share it. After returning home I put to task recreating the sweet tangy and super spicy sauce. I will have to return to Soi 5 (Fifth Street) to compare, but I think my version is damn close.
Thai Spring Rolls with Fire-y Chicken
 
1# Chicken breast- feel free to substitute pork, shrimp or chicken thighs here, cut into small chunks
1 small white onion minced
3 cloves garlic, rough chopped
Thai chilies to taste is preferred, or jalepenos which I used here (1), rough chopped
rice paper wrappers
cucumber sliced thinly into long strips
red onion, french sliced thinly
fresh mint leaves
fresh cilantro leaves
fresh lime
Soi 5 Chili Sauce (recipe coming soon)
 
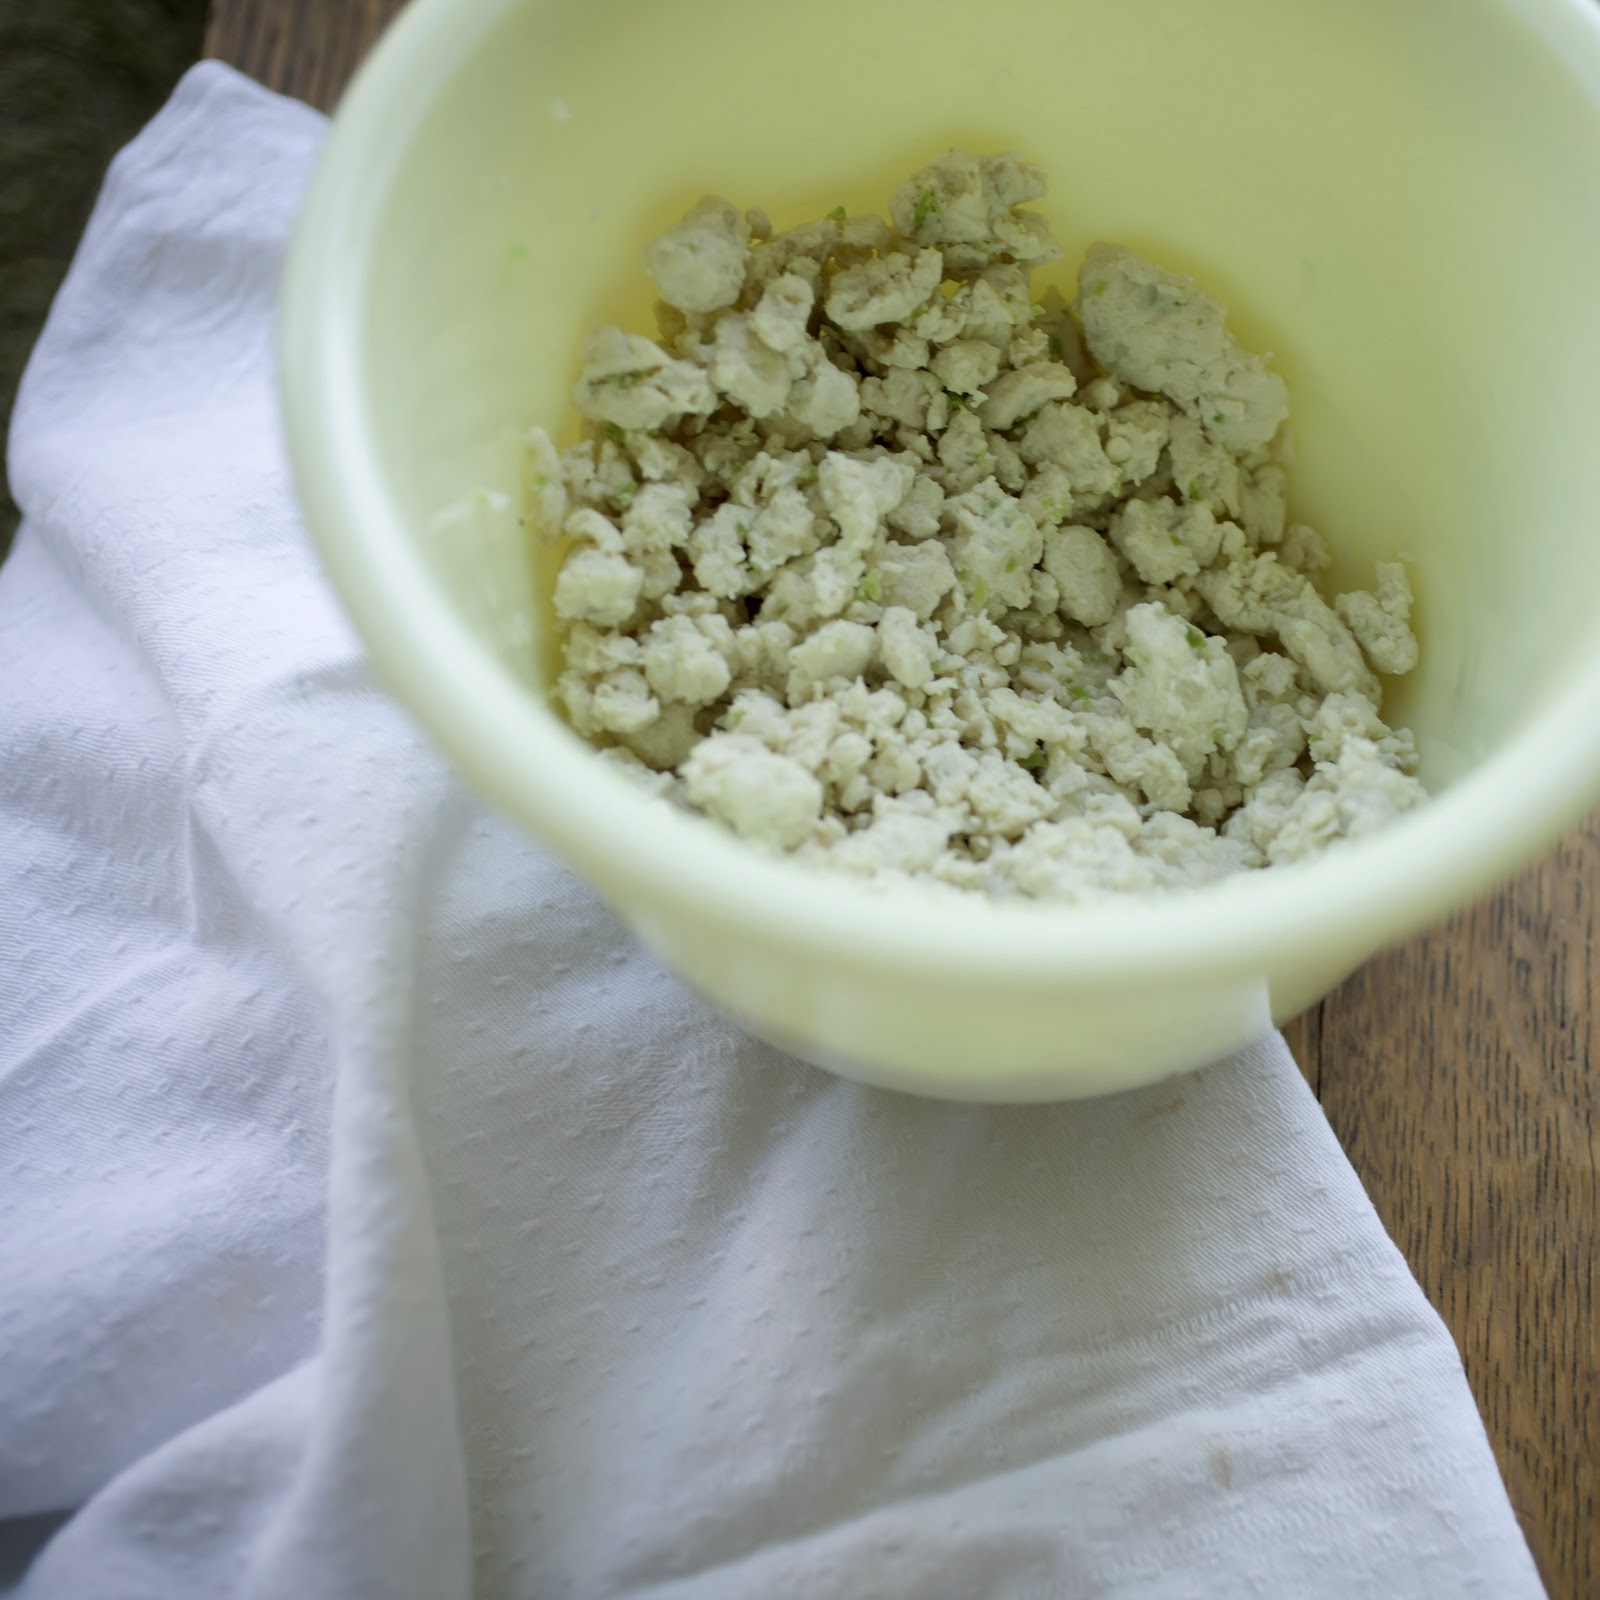
In a food processor place the onion, garlic and chilies and give a whir to mince more finely. 
 
Add chicken and pulse until uniformly incorporated and chicken is thoroughly minced.
 
Heat frying pan to medium high. With a small amount of oil in the pan cook the chicken mixture until just cooked through, just a few minutes. You may add some S&P if you like here. Remove from heat and allow to cool.
 
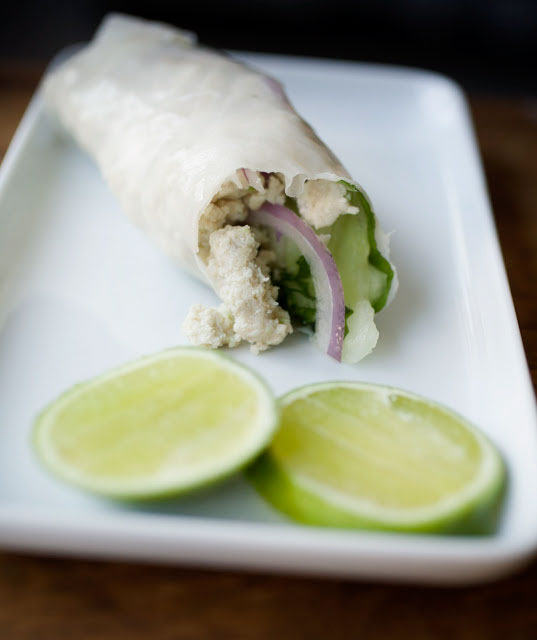
In a bowl of cool water dip the rice paper wrapper and lay on cutting board. Working quickly, on the bottom half of the round first lay the mint leaves nicely, as they will show through the paper.
 
Then lay down a row of cucumber, cilantro, red onion and a few tablespoons of the chicken mixture, then spritz with a hit of lime.
 
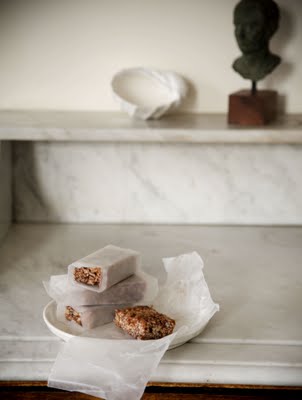
With the finesse of a Thai master, roll up the same as you would an egg roll. Try to roll as tightly as you can without tearing the paper. The paper may be sticky. Dipping fingers into water will make it easier to handle. Carefully place the rolls onto a tray lined with parchment or wax paper. As they sit they will dry and become less tacky to the touch.
 
Serve and eat as soon as possible. They are the best fresh. Or cover in the fridge for up to a half a day. If the paper dries out you can refresh with a little cool water.
 
I have made these with several friends and family over the years. The first roll or two is typically pretty frightful looking- though just as delicious. It only takes a little practice to get tight pretty rolls. I say eat the first once right off while standing over the board. It will give you the sustenance and incentive to become Master roller.


Share this:

  • Click to share on Pinterest (Opens in new window)
  • Click to share on Twitter (Opens in new window)
  • Click to email a link to a friend (Opens in new window)
  • Click to share on Facebook (Opens in new window)
  • Click to print (Opens in new window)
  • Click to share on Tumblr (Opens in new window)

Filed Under: appetizer, gluten free, Healthy Recipes, main, main course, Small Tagged With: appetizer, chicken, healthy main course, healthy recipes, healthy small meal, spicy, thai

Potato Red Beet Gratin

September 13, 2011 by Gail Watson

Oh my dear readers, how I have missed you. It has been an unusual Summer with traveling and preparing my apartment to be sold. The end of the days leave me in a heap, hardly wanting to cook, let alone shoot.
But now the grind is easing up and I am getting my verve back at the stove. The drier, cooler temps also help tremendously.
And so, the first creation out of the kitchen comes this gratin. I am a bit proud of myself as this is of my own making. A bit of inspiration from here and there and thus we have it. Beautiful isn’t it? and remarkably delicious as well. I can’t wait now to have a dinner party, I think this would make a remarkable talking point.
I made this in a smallish ramekin/souffle dish. 4″ in diameter to be exact. I am cooking for one these days as my fiancee is away at our home in Louisiana and remain behind in NYC until the apartment sells. So no need for anything larger. Half for today, half for tomorrow.
Potato Red Beet Gratin with Goat Cheese
 
2 medium red beets, peeled
2 medium potatoes, peeled
1 clove garlic, rough chopped
2oz goat cheese, chevre
fresh thyme leaves
3/4 c milk
S & P to taste
 
Oven at 35o˚
 
 
First I prepared the dish by greasing it up with some oil.
 
On a mandeline I first sliced the potatoes into very thin slices. I layered half of them along the bottom of the dish interspersing thyme, s & p
 
Then on the same setting I sliced up the raw beets and layered them on top of the potatoes, trying to keep an even layer and not allowing them to pile too much in the center.
 
Finishing off the dish with the rest of the potatoes, thyme and seasoning.
 
In the blender I placed the cheese, milk and garlic and gave it a healthy whiz. 
 
Carefully, allowing the liquid to seep around the slices, I poured the milk mixture to the rim.
 
Into the oven it went with a light cover of foil to start out with.
 
After about 40 mins I removed the foil and baked for another 20 mins or so until the top was  browned and the juices had been absorbed into the potatoes and a fork pierced through the center confirmed doneness.
 
After removing it from the oven I let it sit for about 20 mins, then turned it out onto a dish by flipping it over.


Share this:

  • Click to share on Pinterest (Opens in new window)
  • Click to share on Twitter (Opens in new window)
  • Click to email a link to a friend (Opens in new window)
  • Click to share on Facebook (Opens in new window)
  • Click to print (Opens in new window)
  • Click to share on Tumblr (Opens in new window)

Filed Under: GF, gluten free, Healthy Recipes, sides Tagged With: beets, gluten free, goat cheese, potato, vegetables

Power to the Power Bar

July 20, 2011 by Gail Watson

I am proud to say that I’ve been pretty good about going to the gym lately. It’s about time I dropped the 10 pounds I gained sampling my way through Thailand (NO regrets!) 

It is my usual practice to snack on a Balance Bar post workout. Sort of a treat but in a healthy way. I am also a fan of post work out refueling, it definitely helps my physical recovery and my mental attitude. So a snack that has quality carbs, protein, tastes good and can be dropped into my gym bag wins. 

I have my favorites and I don’t mind schlepping to Trader Joe’s to stock up, but the last time my little pile cost me some coin for, well, such a little pile. 

I certainly have all the stuff to make my own, and so, there you have it- the kernal, the spark, the moment of genesis. I love it when my kitchen becomes laboratory. 

I like crunch and I don’t like too sweet and I prefer a jolt of protein for good measure, so that was the challenge. 

I went hunting around online for some ideas and didn’t really like anything I saw, but I liked some concepts and discovered what I didn’t like. Not too cakey, not too nutty or granola-y either. 

I settled upon a sortof kindof rice crispy treat thing. I have a bag of chia seeds in the fridge and this seemed like a perfect vehicle. I also had some dried goji berries from my trip to Thailand and a jolt of chocolate is my idea of healthy antioxidants. 

The entire batch cost me approx $5, much less than the 16 bars would have cost me. I am pleased with the combination but have some more ideas for the next time. Gotta sneak in some more protein and more fiber. The nutritional breakdown is pretty good though, so no complaints really. (see attached to printable recipe). 

I wrapped them in wax paper and stored them in plastic bags. Easy to grab either coming or going to the gym. 

 
Rice Crispy Power Bar
(printable) 

3/4 c agave syrup
3/4 c fresh ground peanut butter
1 T gelatin softened in 3 T of water
3 C rice crispies
1/4 t salt
2T Chia Seeds
1/2 C Dried Goji Berries
1/2 C chopped semi sweet chocolate
In saucepan combine agave syrup and peanut butter. Warm over medium heat, stirring smooth, until bubbly. Remove from heat and add gelatin. Stir thoroughly until completely incorporated. Stir in salt.
In separate larger bowl combine the rice crispies, chia seeds, goji berries and stir to combine. 
Pour peanut butter mixture over dry ingredients and stir to incorporate. When cooled a little bit add chocolate and quickly and gently combine.
In baking pan sprayed with cooking spray, dump mixture in and pat evenly with hands. Allow to cool completely.
Remove from pan and cut into 16 equal pieces.

Share this:

  • Click to share on Pinterest (Opens in new window)
  • Click to share on Twitter (Opens in new window)
  • Click to email a link to a friend (Opens in new window)
  • Click to share on Facebook (Opens in new window)
  • Click to print (Opens in new window)
  • Click to share on Tumblr (Opens in new window)

Filed Under: bakery, GF, gluten free Tagged With: gluten free, snacks

« Previous Page
Next Page »

Primary Sidebar

Thank you so much for your LIKES!

Thank you so much for your LIKES!
The Inner Circle
Join the Inner Circle For Exclusive Content
No Worries. This is just between us.

Top Posts & Pages

The {Famous} NY Times- No Knead Bread
Country Pate {Pate de Campagne}
Chocolate Mousse {No Cream}
Warm Chocolate Pudding Cake with Caramel Creme Anglaise, Day 4: Irene's Beans
Roasted Lamb With Balsamic Vinegar and Red Wine Jus
Power Packed Oat Scones: One healthy, the other healthier
my healthy aperture gallery
Certified Yummly Recipes on Yummly.com
Homemade Hot Sauce Link~ HuffingtonPost

Copyright © 2026 · Genesis Framework · WordPress · Log in