 |
| Homemade Nutella
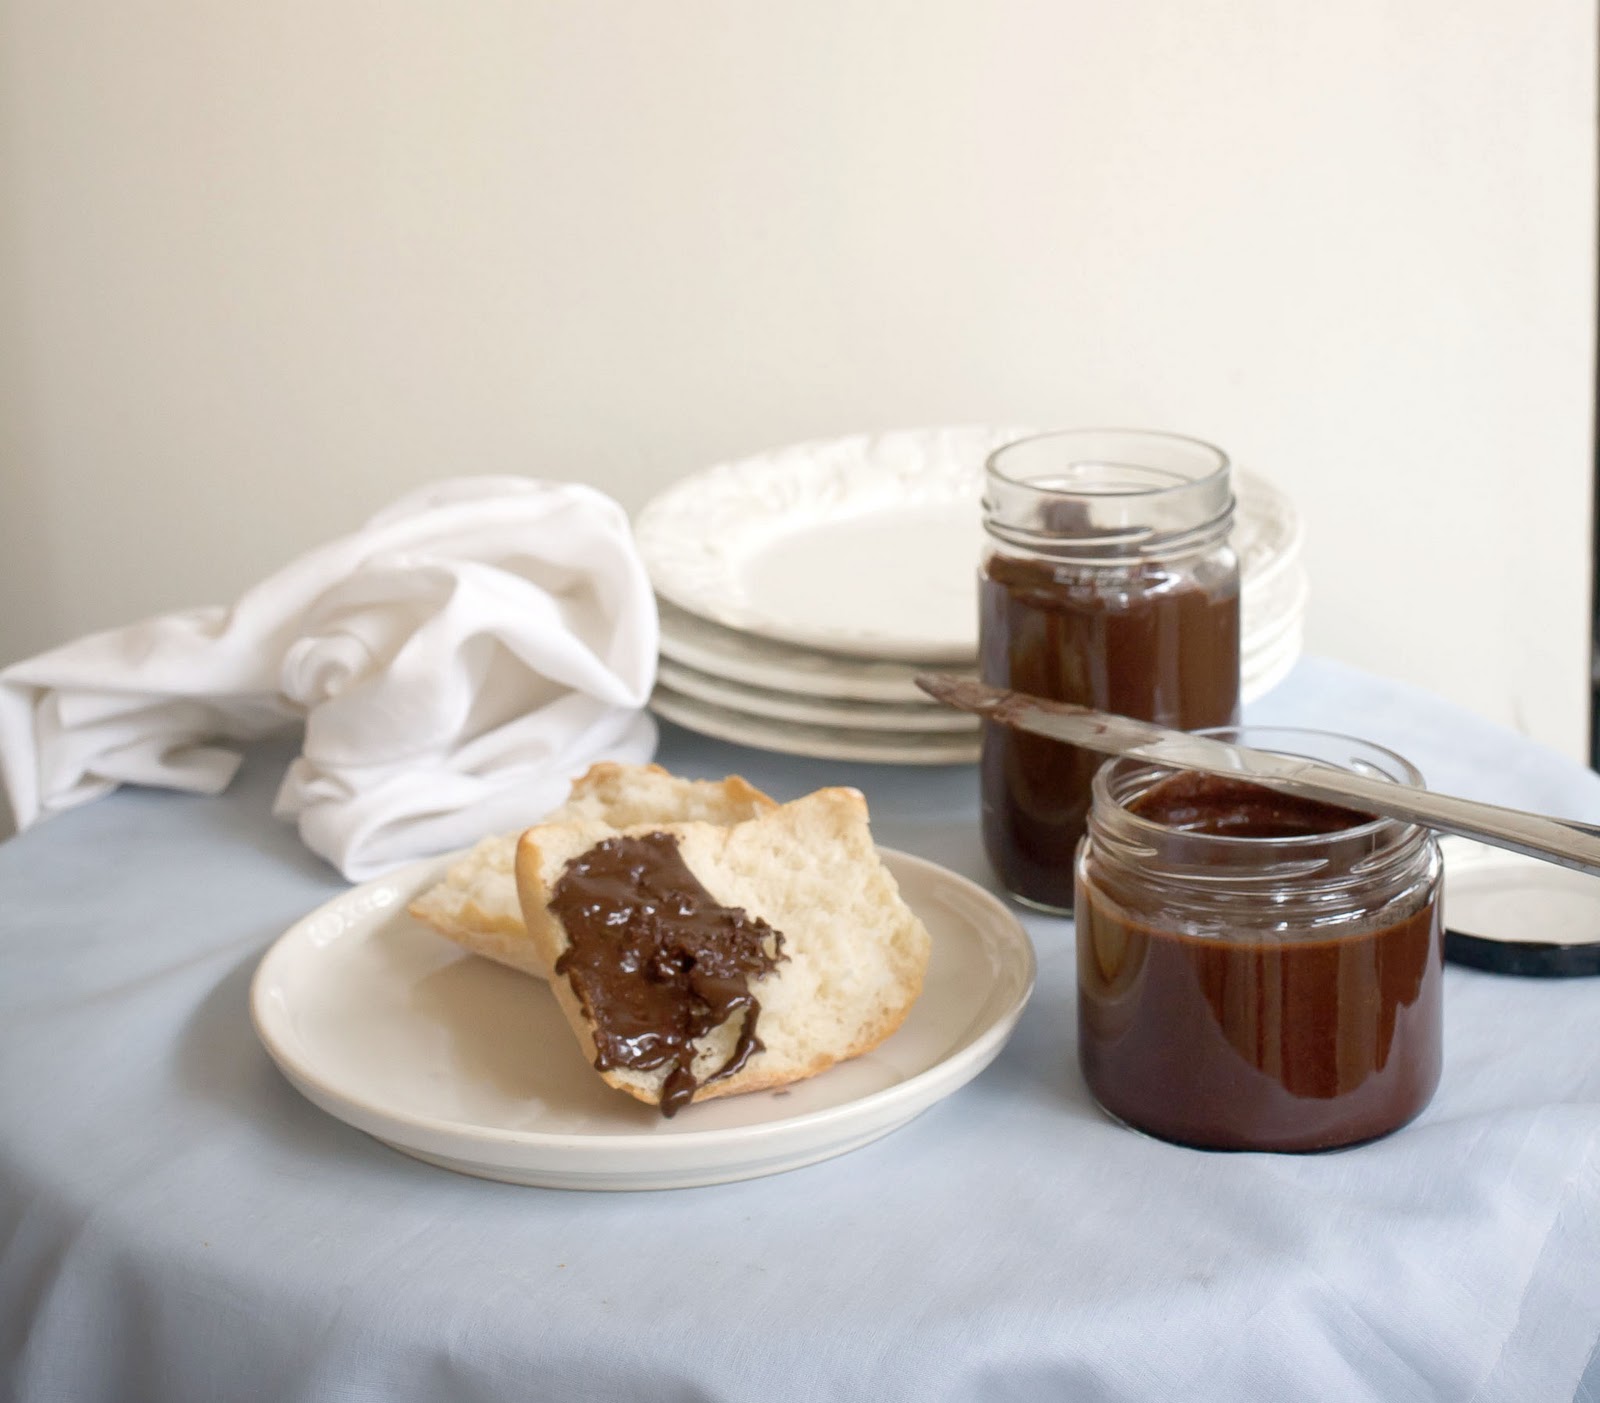
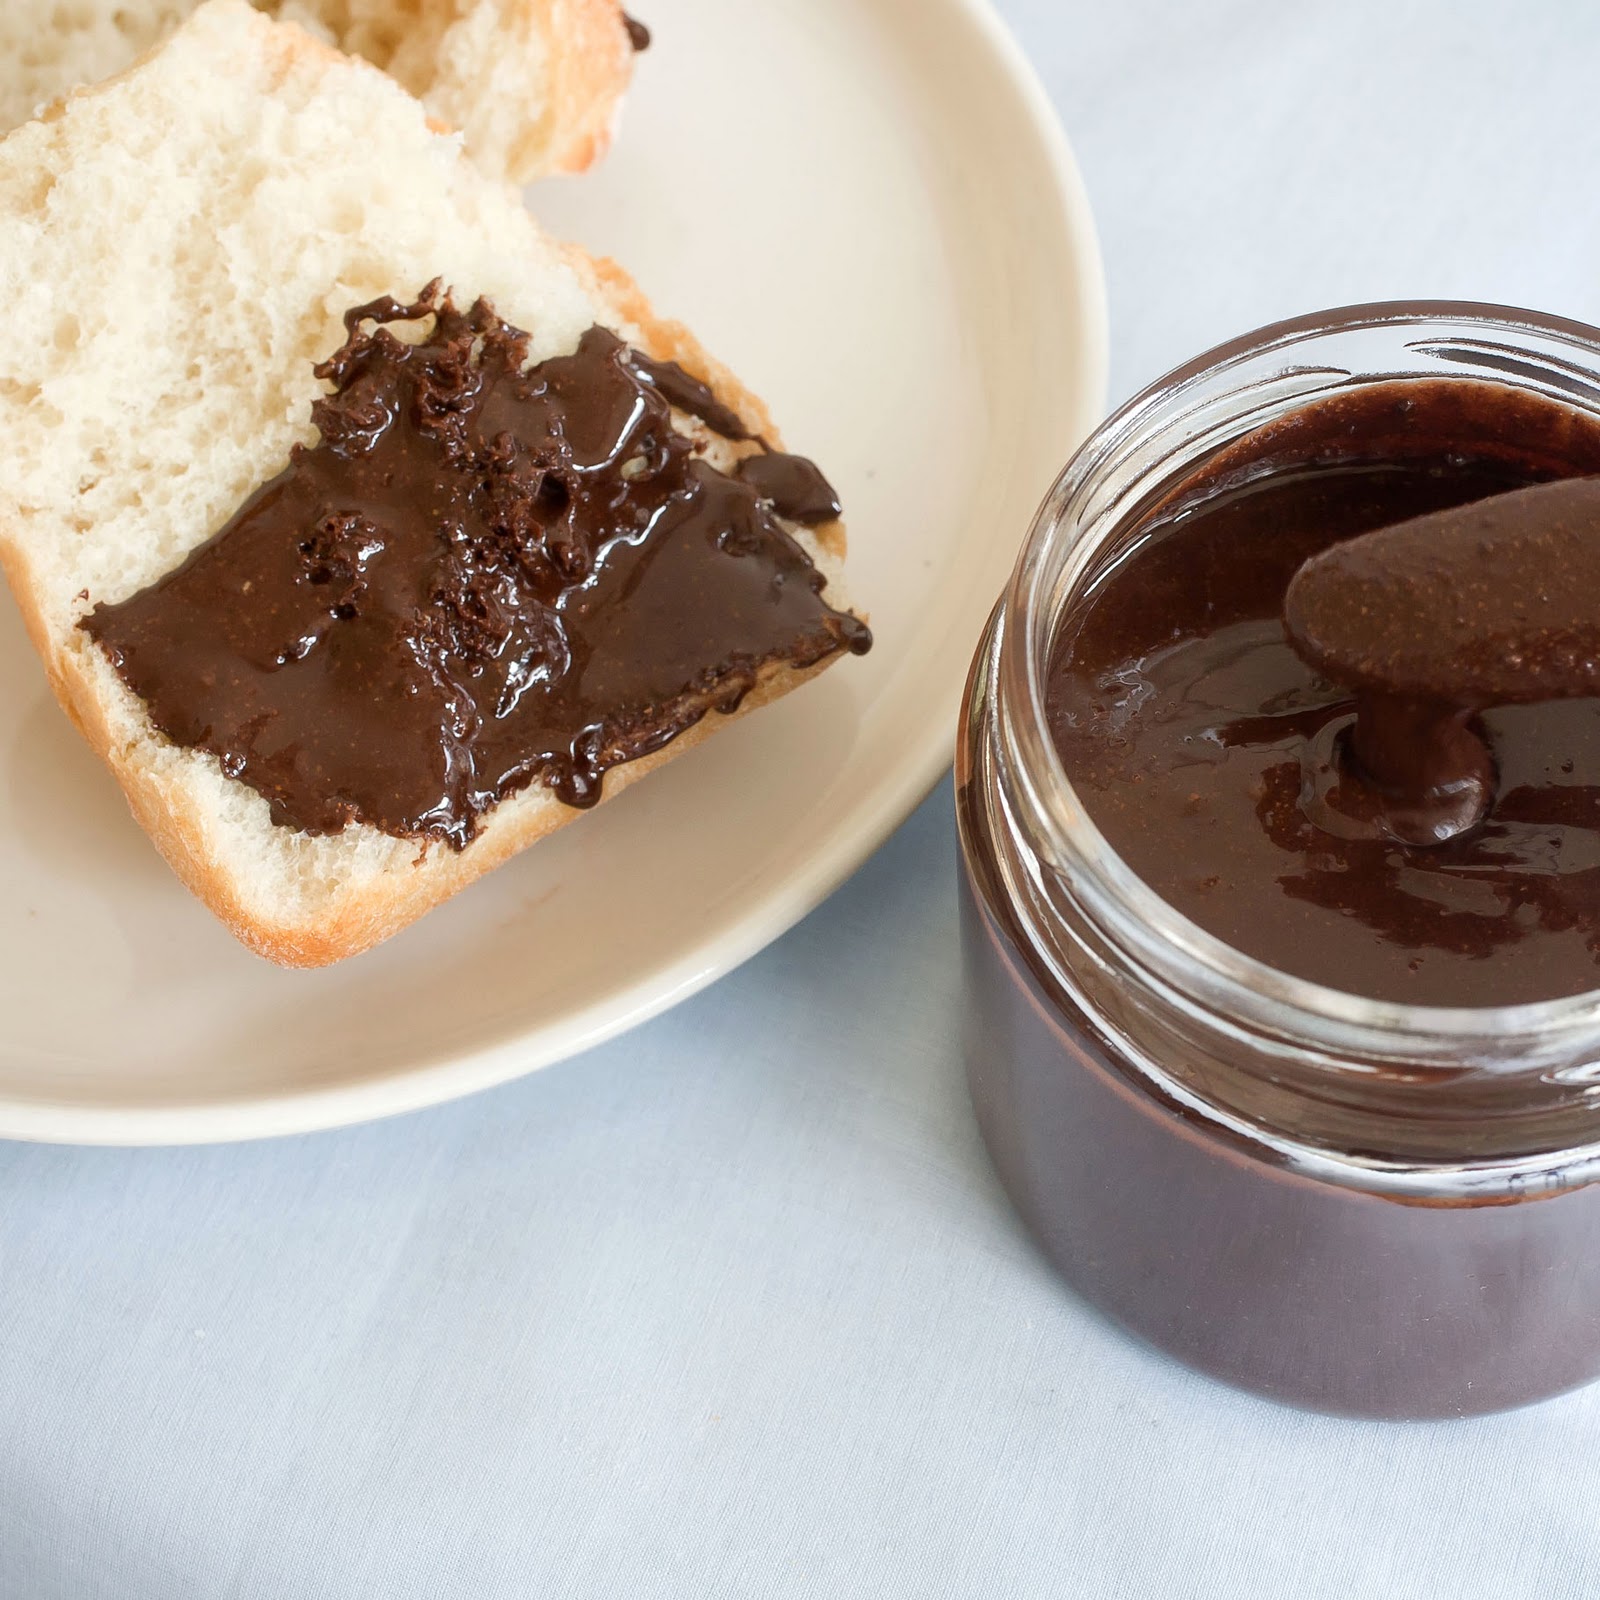
Nutella is one of my family’s favorite things. It is a Christmas tradition in my home that a jar of nutella is wrapped and placed at the toe of everyone’s stocking. Once the gifts are unwrapped, the jars are brought to the breakfast table and enjoyed as part of the Xmas morning feast.
When I was a young girl, my parents took my brother and I to Spain to visit our family in Valencia. Traveling back in the early 70’s was a big deal in those days, and waking up in another country after cramped little sleep was mind boggling for a 10 year old. It was a gray chilly March morning and the apartment we were staying in was tiled with stucco walls. It was a rustic sort of a place in my memory and the house was kept much cooler than we did at home. Jet lagged, dazed, cold and hungry was how my first moments of that trip were starting out. Not happiness for a small girl.
Shortly after we woke my Mother went straight out that morning and brought home a sack of foods for breakfast. In her sack was a loaf of bread still warm from the corner baker and a jar of Chocolate Hazelnut spread. The warm crusty bread turned the Nutella into gooey heaven, which was a far far cry from my typical American breakfast of a hearty bowl of Frost Flakes Cereal. Suddenly I was being transported into kid heaven and having the time of my life. I fell in love with Spain and that very moment and never fell out.
Making Chocolate Hazelnut Spread in my own kitchen is a dream and a fantasy that I would have never imagined. Even better is the ability to tweak a bit here and there to make it my very own.
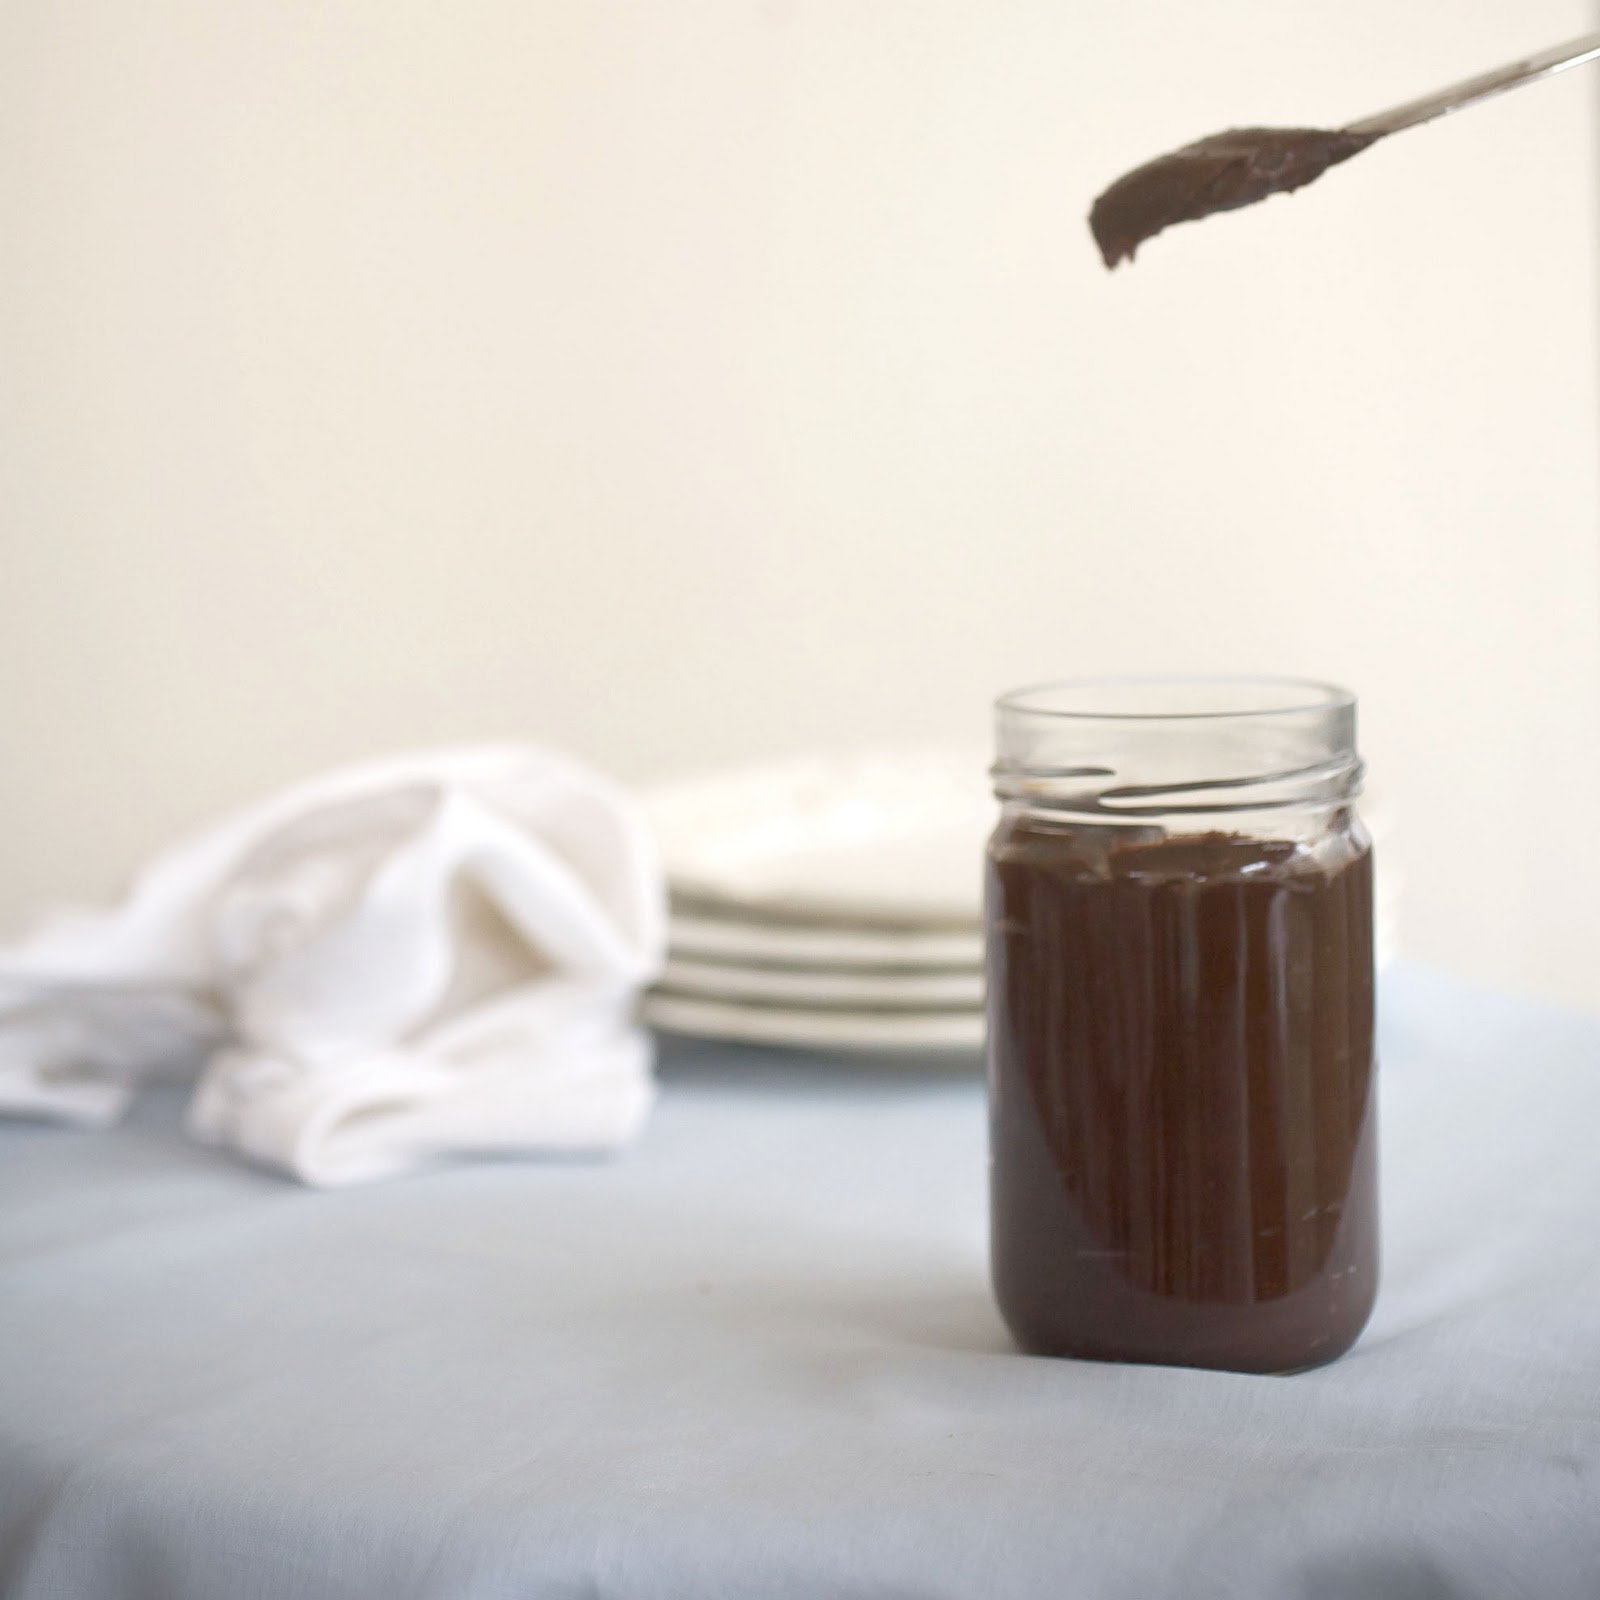 My version contains more chocolate that the original. I also used cocoa nibs that added a slightly smokey bitterness and an interesting little crunch. I can see adding some other accents such as cinnamon or espresso (grind some beans in there??) but I’ll leave that to you.
Gifting jars of this heaven would make you a hero in my house. Make a healthy batch and keep some on the ready. It’s great on toasted bread, fantastic in crepes, awesome with some ice cream. Nutella makes a quick icing on a cupcake or a filling for a layer cake- or just dip in a spoon and have at it.
 Homemade Nutella If purchasing your nuts preroasted, toss onto a baking sheet and place into a 350˚ oven for 10 mins to release the oils and fragrance Place cocoa nibs in a dry frying pan and on medium heat warm until the nibs are glossy Combine nuts in a food processor and grind into a smooth paste. The nuts will go from grainy and thick to a smooth oily cream as the nuts are broken down. Add the cocoa nibs and cocoa and grind for 2 mins. Add sugar, oil and salt and continue to blitz until smooth with a slight grit to it if you like the crunch. *note* this is some heavy work on the processor. I did mine in stages giving the machine a chance to cool a little between steps. Taste your spread as you go and adjust to your liking. Place directly into clean jars. Can be stored in the cupboard or fridge. |
chocolate
{Day 3} The AFTER treat: Biscotti
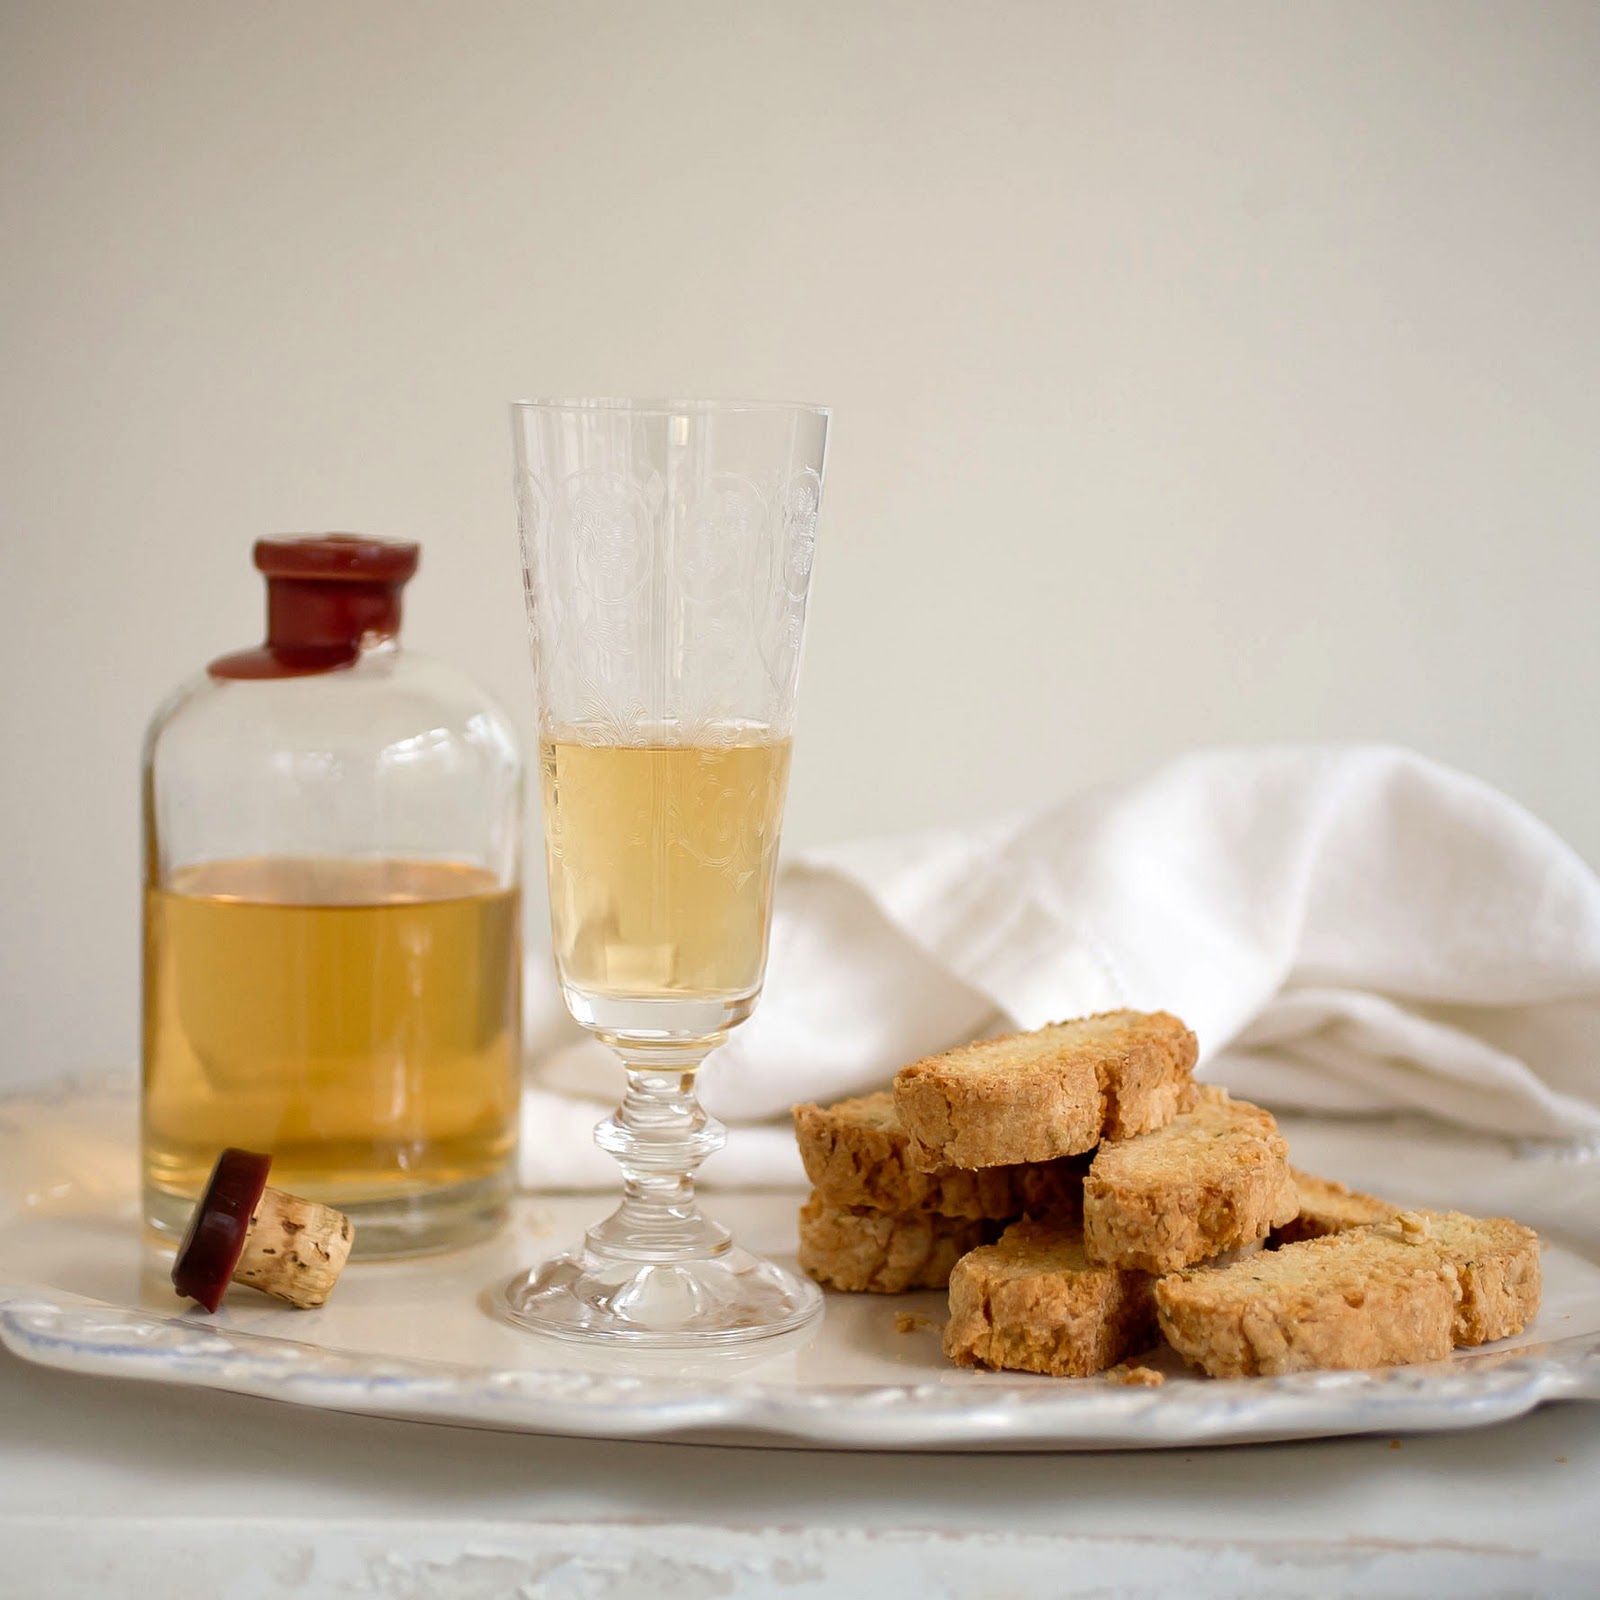 |
| Rosemary Lemon Biscotti served with Homemade Chamomile Cordial
Biscotti is always the “after”. Afternoon, after dinner, after a long morning…. This crunchy treat offers a mild sweetness that is just the right kind of soft kiss an after requires.I try to keep a jar of these around- but they have a great tendency to disappear in short order. Though the baking of biscotti is a two step baking process, the good news is this recipe is so simple that it only takes minutes to pull it all together and create a new batch. Not too long ago, right before a dinner party I decided a gift of wine was just not enough to bring along- so while I showered the first baking was complete, and while make up was applied, the second go round was finished off. I can’t say I recommend this method, but it can be done when you need to.
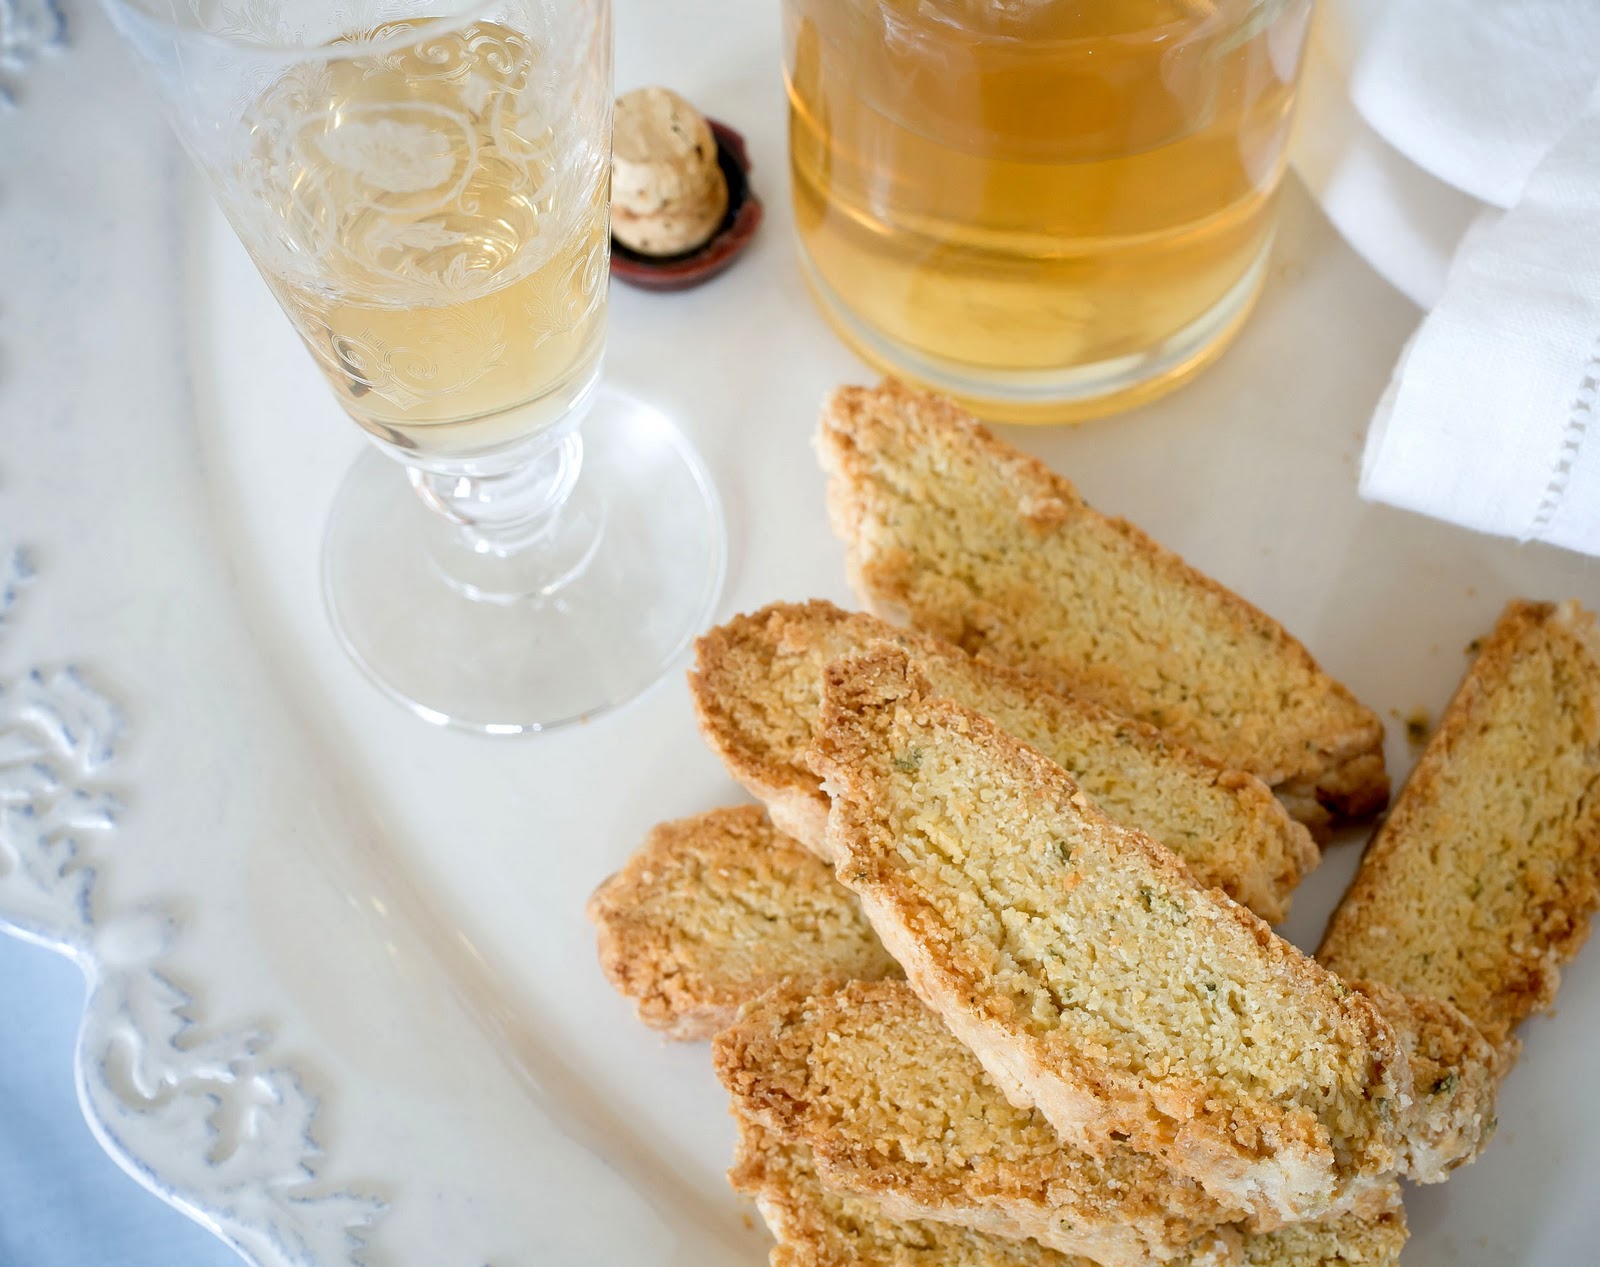 The secret to this recipe is that these are made with Olive Oil rather than butter, which is always on hand and no need to wait for it to soften like butter does. I created two versions for today. The first is a Lemon Zest and Rosemary, which is really lovely as a digestive. I serve it up with some gorgeous Chamomile Cordial that I made. {The recipe will be in a future post} These two together offer a soft sweet ending to a long meal. No cloying thump to your sensibilities here.  The second version is Dark Chocolate Cherry. Chunks of 72% chocolate are tossed in with plump dried cherries. This is a slightly sweeter version than above and it perfect for that afternoon pick me up. When gift giving it’s best to package these up into cellophane bags- which you can get from Glerup {see Resource page} The cellophane not only makes a beautiful presentation but also keeps the biscotti crisp and snappy. 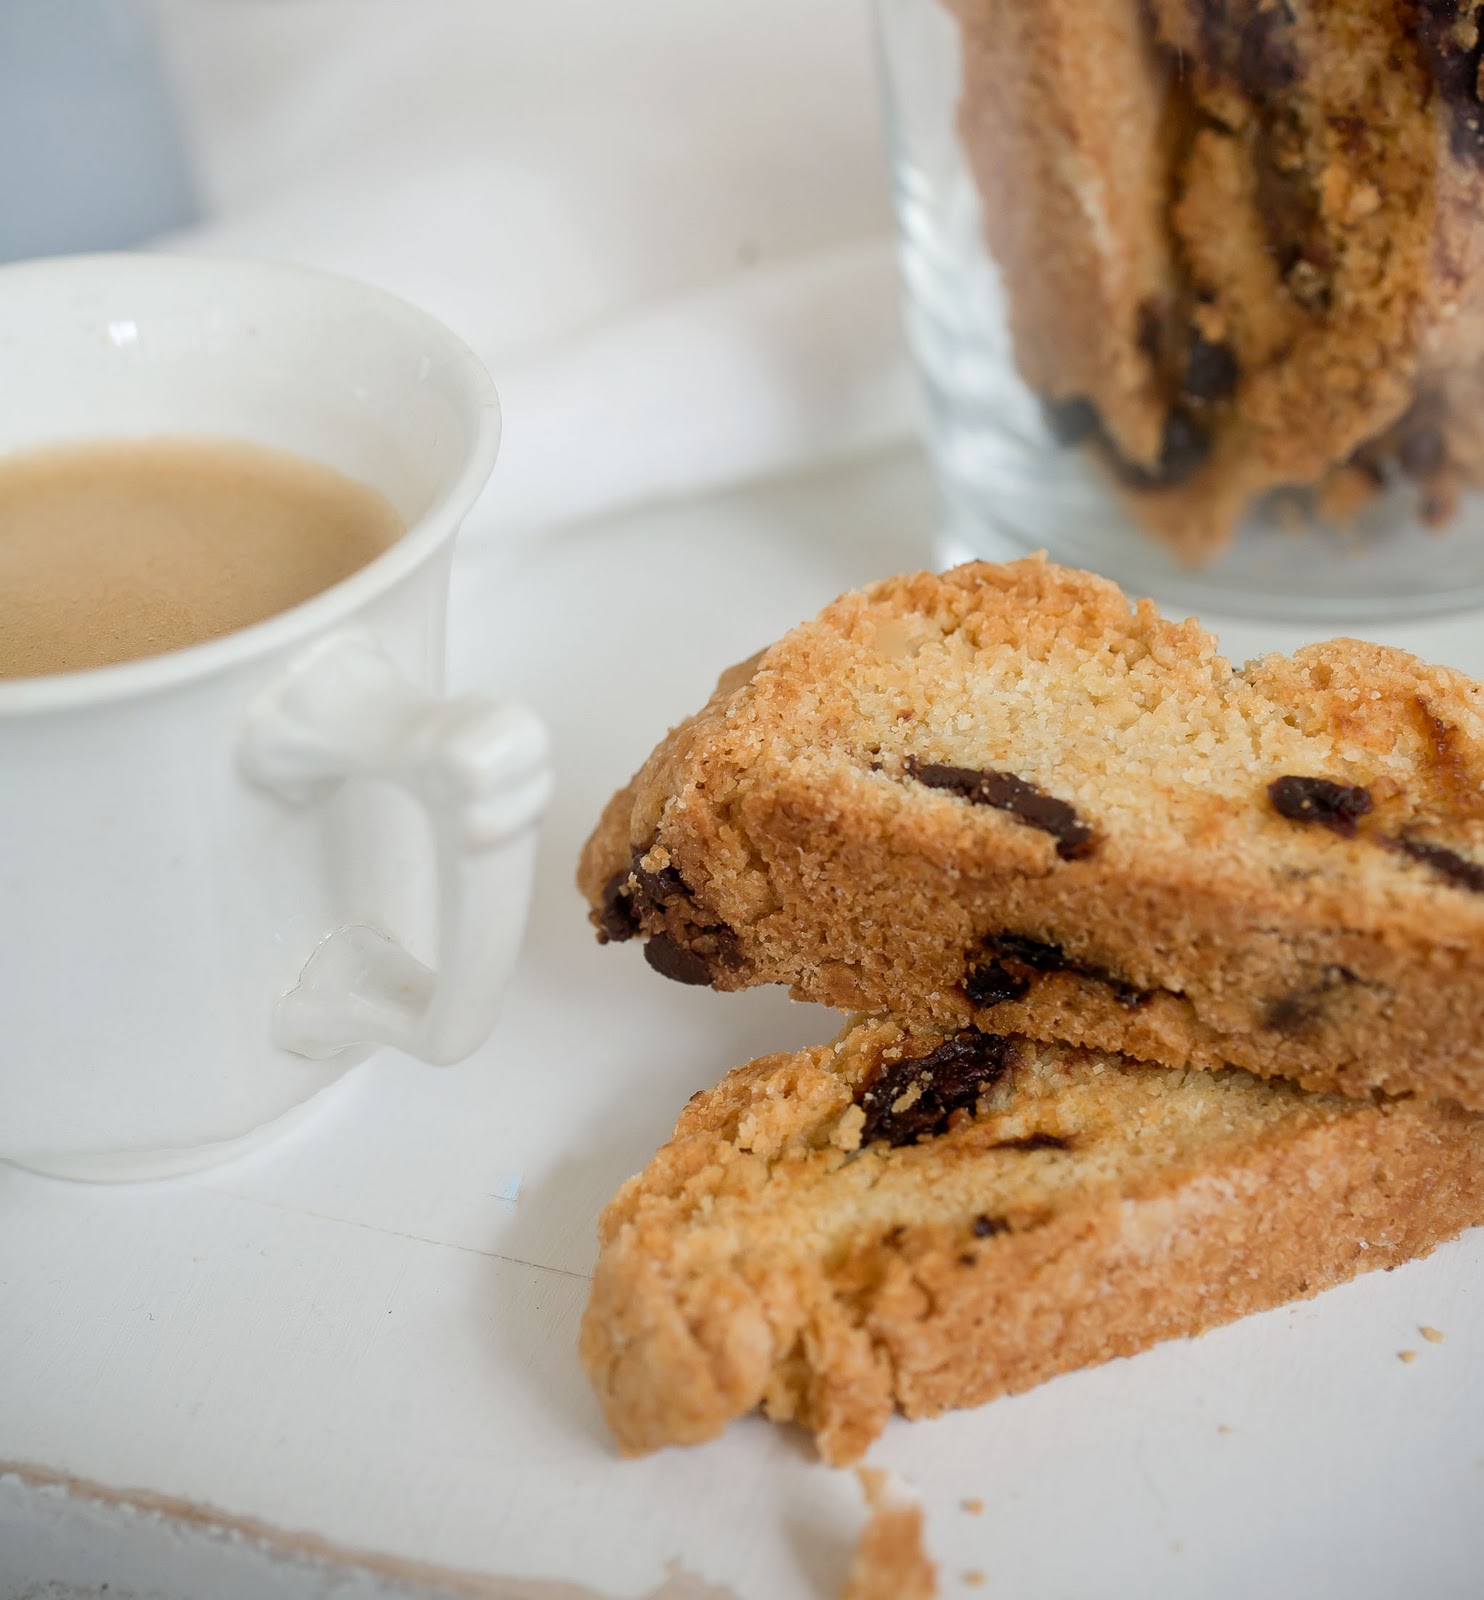 Lemon Zest Rosemary Biscotti
makes 24-30
.5 c mild olive oil
.75c granulated sugar
.25c Light brown sugar
3 large eggs
3.25 c AP flour
1T baking powder
1/4t salt
2T chopped fresh rosemary
zest from one lemon
juice from one lemon
In a large bowl combine sugars, flour, bp, salt, rosemary and zest. Stir to combine
In separate bowl combine eggs, oil and lemon juice- mixing thoroughly
Toss the oil mixture into the flour mixture and stir to combine. I use my hands to get the dough even. It will be a little thick and like a soft cookie dough.
Make two long logs about 3″ wide on a baking sheet
Bake in a 375˚ oven for approximately 20 minutes until golden and there is only a gentle spring when the tops are touched. If it gives too much the biscotti are not done in the middle and give it another few minutes.
When ready remove the biscotti from the oven and allow to cool for 15-20 minutes. I am always impatient about this but it’s really worth the wait, the slices will be neater.
When cool(ish), using a sharp serrated knife cut the biscotti into 1/3″ slices and arrange on cookie sheet.
Return to oven and bake 10 mins until golden and toasty looking. Then flip each cookie and bake again for another 10 mins or so.
Dark Chocolate Dried Cherry Biscotti
I used the exact same recipe as above with these changes:
Replace the rosemary, lemon zest and juice with a .5 c of dark chocolate chopped into chunks and .75c of dried cherries
Enjoy!
and remember- the cordial recipe is coming soon- sign up for the mailing list and be sure not to miss it.
|
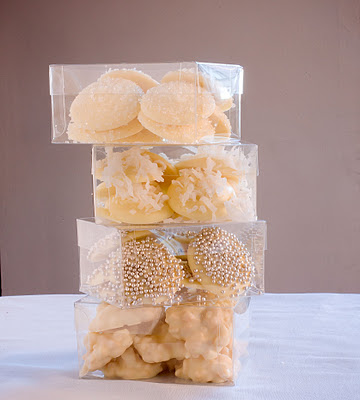
{Day 1} White Chocolate Candies
Candy making is a true science. They say that about baking but truthfully there is sooome leeway in baking- candy making? not so much- but SO satisfying and your friends will be mega impressed.
Making chocolate candies like a pro requires tempering of the chocolate. This is a process of melting and cooling the chocolate that develops the cocoa crystals. The result is a glossy snappy chocolate that doesn’t streak or bloom. This can be a little on the fiddly side, but I promise, it absolutely is doable.
My best advice is to give yourself plenty of time and an uber clean work environment and then relax and enjoy. Water is an enemy of chocolate tempering, so if your melting your chocolate over a double boiler take extra care not to let any drips get into the bowl.
The method highlighted above is simple and direct. You can use an instant read thermometer like the one you stick in the Turkey bird. There is a specific glass chocolate thermometer with a narrow temperature range. Not an expensive investment, but not really necessary. Another word of advice- the greater the volume of chocolate the more stable it will be and temperature variables will be slower. The worst case? If you overheat the chocolate it will lose it’s temper, and like a sleep deprived 2 year old, there is no bringing it back to behave. Not a loss though, the chocolate is still delicious and can be used in baking, truffle fillings or icings.
When it comes to making chocolates, I use a chocolate tempering machine. I purchased my Revolation 2 about 15 years ago. I don’t do a ton of candy making or dipping, but man oh man, do I love this machine. If you can get your hands on one, or share one with a pal- it’s awesome. Remember, there are Valentines and Easter opportunities…
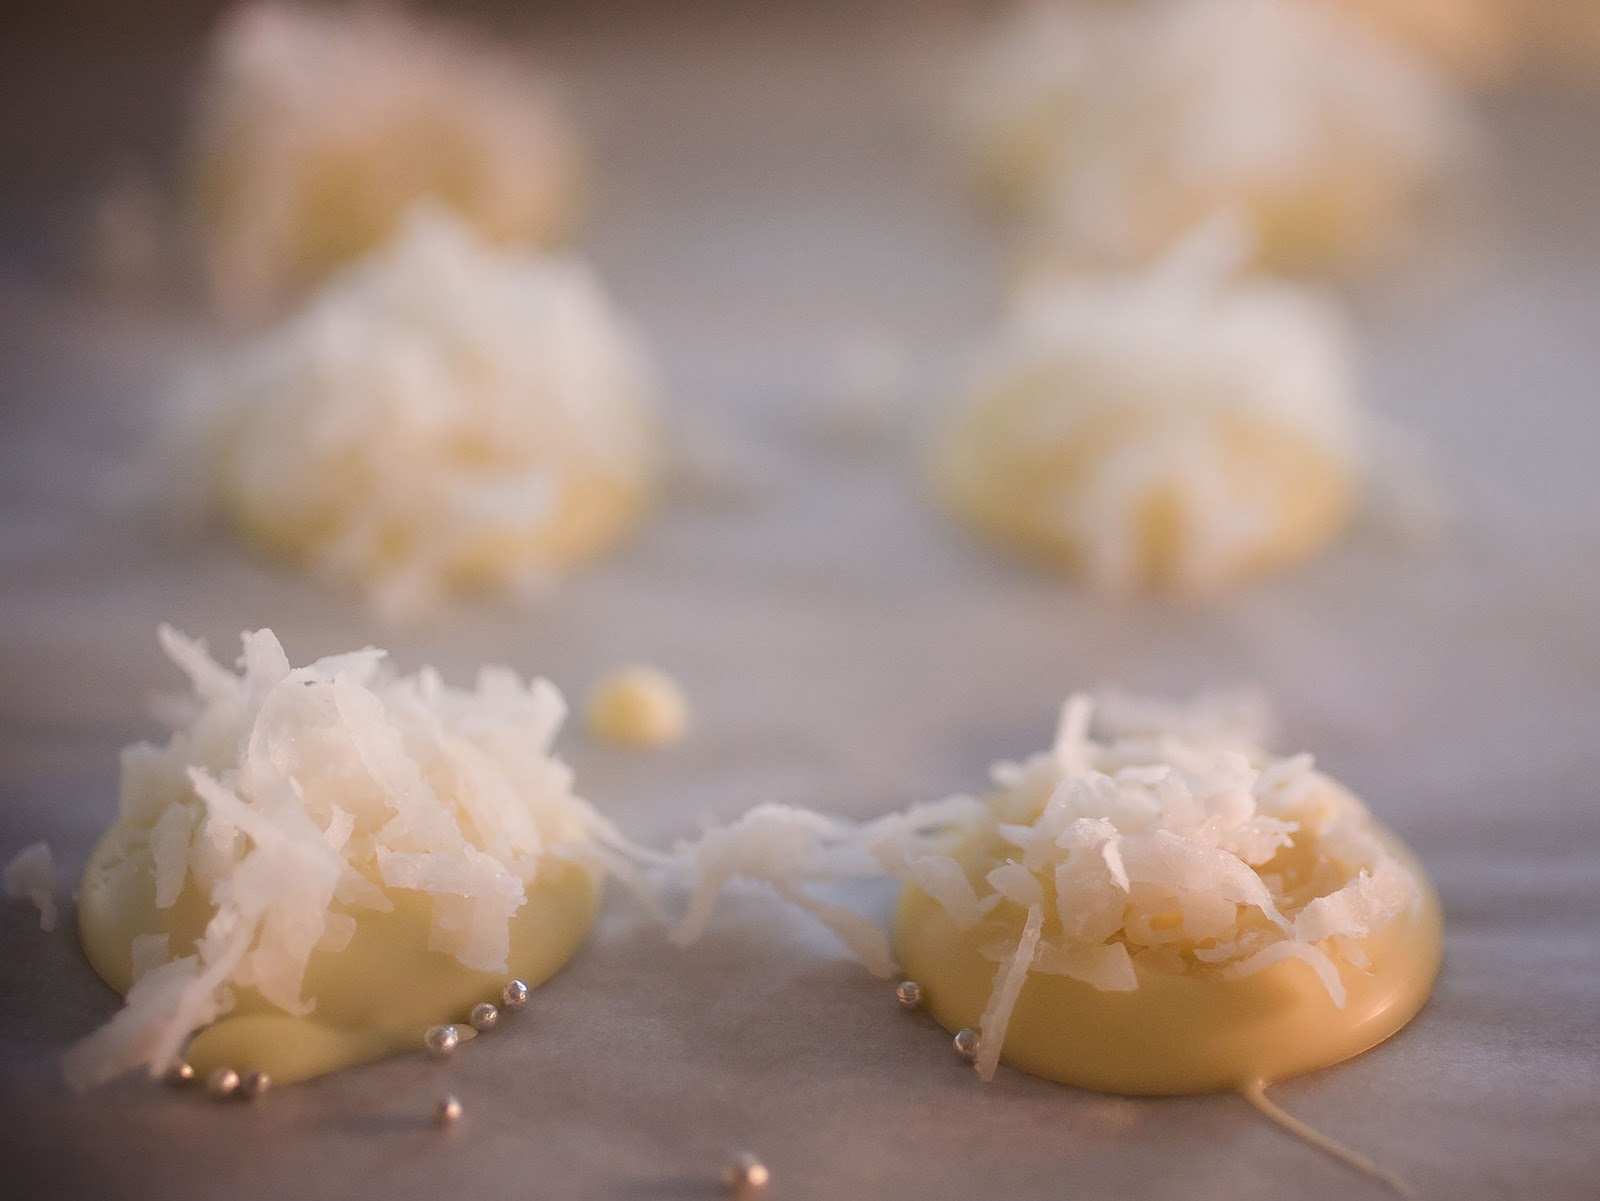
Tips on making Nonpareils:
These candies can be made with any color of chocolate but I just love the white on white for the holidays.
Make sure you get the smallest silver dragees possible. I used size 0- any larger and they are too crunchy to eat gracefully.
When decorating with the dragees let the chocolate set for a minute or two before sprinkling on the dragees. Because they are a little heavy they will sink into the chocolate when it is first poured. My method is to pipe out an entire tray and then decorate. Have all your goodies at the ready, cooling chocolate waits for no one.
When piping out chocolate use a CLEAN pastry bag or make a parchment cone. Any contamination in the chocolate makes it cranky.
Properly tempered chocolate that is left over can be melted and tempered again. Ain’t that a beautiful thing?
A word about chocolates- firstly, NO NOT use “coatings”. These are waxy substitutes for chocolate the way Velveeta pretends it’s cheese. Using quality chocolate is really worth the price and effort here. It’s best to buy chocolate in block form from a dealer and not buy bars at the supermarket. NY Cake and Baking supply sells in smaller and larger quantities and so do many other sources. If you plan on making chocolates for Valentines, investing in a slab, or 5 Kilo (11lb) block can be worth it as the cost is about half and it will keep. Just store in a cool place or wrap tightly and store in fridge- just keep the wrapping on when warming to room temperature. You don’t want to create any condensation on the chocolate (see above about water and chocolate).
Lastly- when adding things in to make clusters keep in mind the temperature of them. Whatever you use needs to be room temp otherwise it will throw off the temper. This goes for dipping cold centers since the chocolate that drips back into the bowl will be cooler. Watch the temperature level of the chocolate and keep it in range- my machine alerts me with a beep when the temp starts to slip out of range- so I just wait a minute until it brings the temp back on track (SEE why I love this thing so much?).
See the resource page at the top of the page for purchasing sources for all needs here.

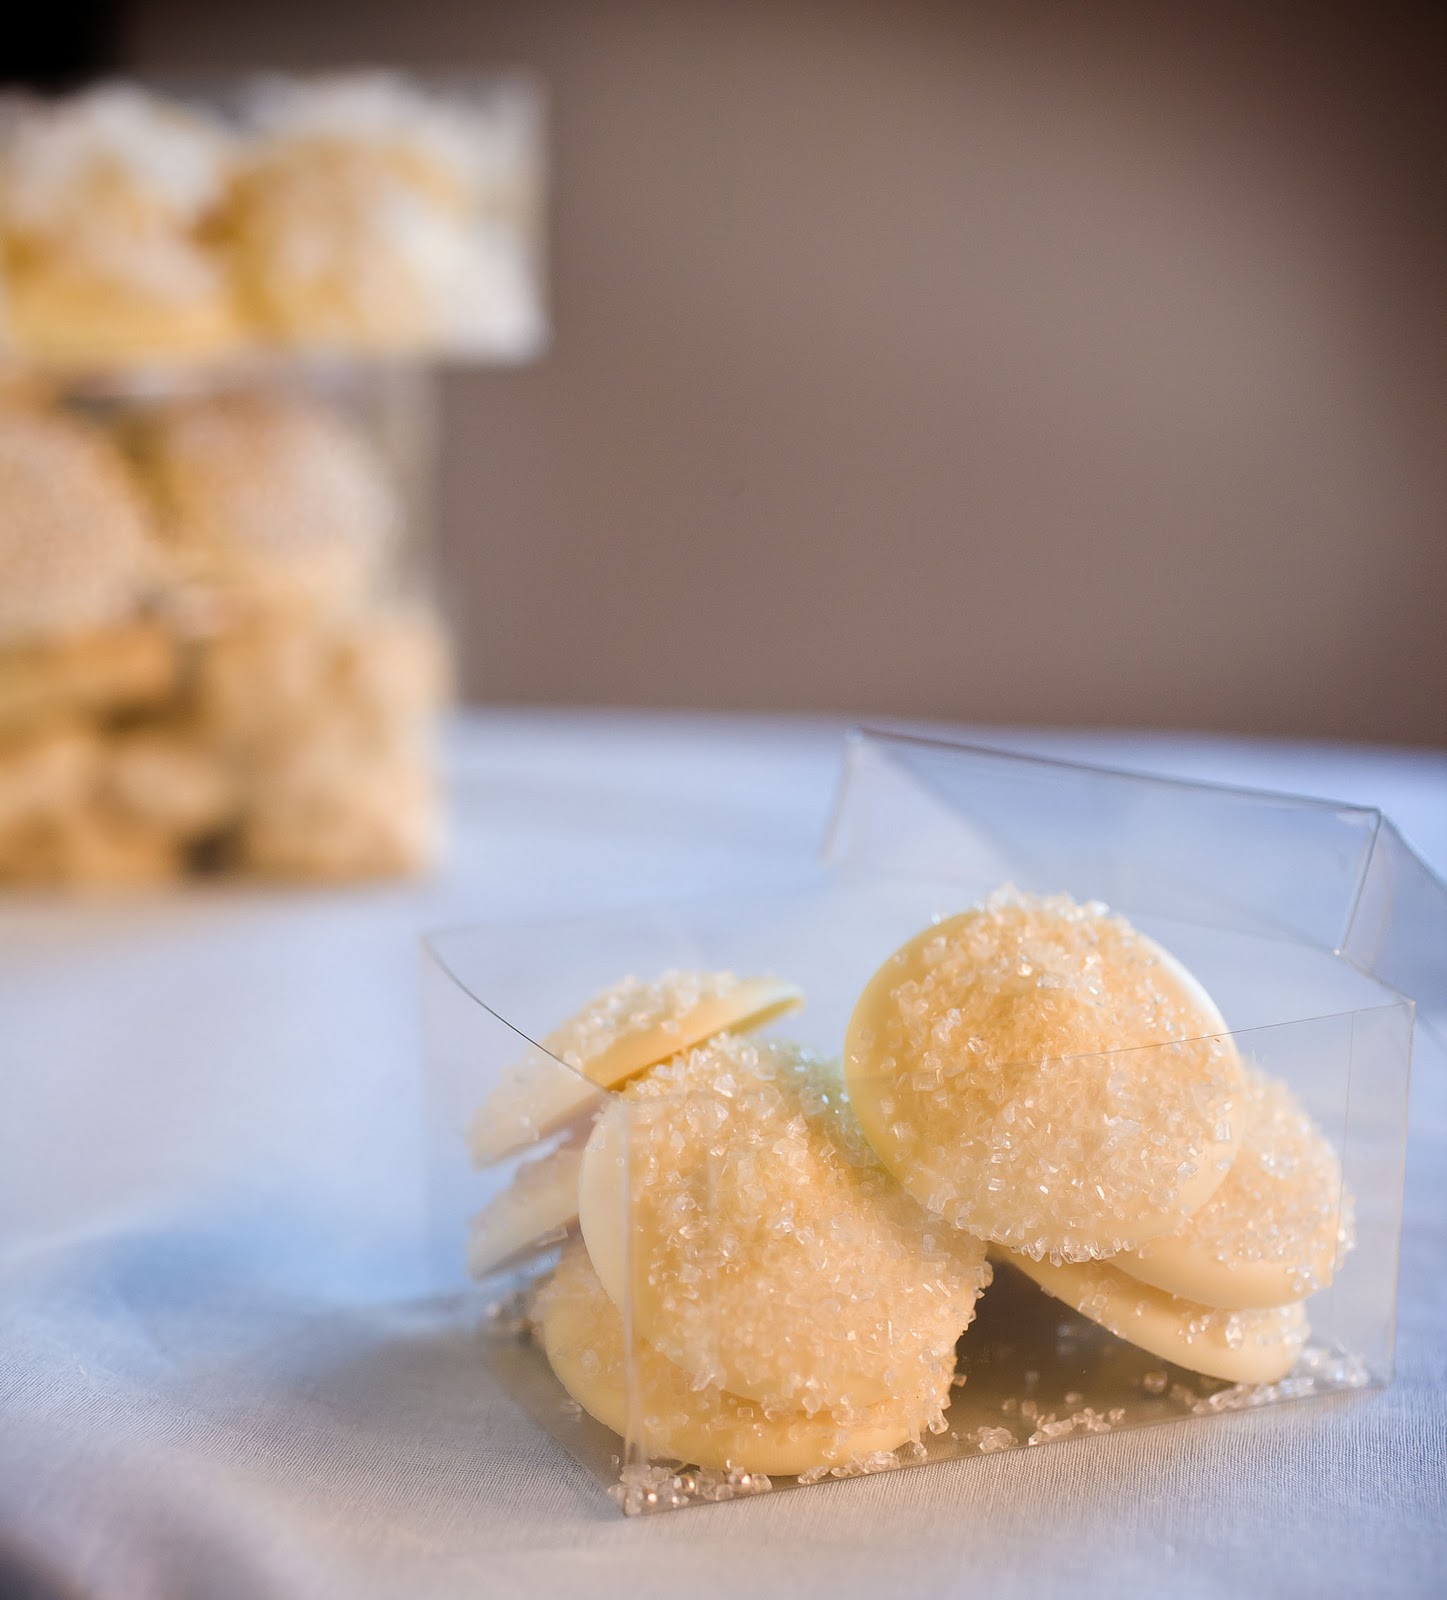
White Chocolate Nonpareils
2# of chocolate- produced about 8 of these boxes
silver dragees, size 0
sanding sugar
sweetened coconut
Round piping tip size 10
Clean pastry bag- disposable plastic bags are the best
Prepare a flat area with parchment paper. If you’re planning on making a big batch lining a counter is fine. The chocolates set in a few minutes and unless you have a ton of baking sheets this is just fine. A granite counter is even better.
Prepare pastry bag and fit with the tip and line up your toppings
When all is at the ready then start tempering your chocolate. No walking away from melting chocolate and I do not recommend using the microwave for making candies. I know people do it, but it’s too loosey goosey when it comes to temperature control, and hot spots in the chocolate will make it lose temper.
When the chocolate is tempered time to fill the pastry bag.
Turn down the sides of the pastry bag and fold back the tip to prevent the chocolate from leaking out. You can set this up in a jar or glass for better control. Once filled twist the top of the pastry bag to prevent the chocolate from oozing out of the top.
You are ready start your piping. Do this as swiftly as possible but with grace. Hold your finger over the end of the tip to prevent the chocolate from leaking out between piping.
Squeeze the bag while holding the twisted part closed between thumb and finger.
Try to make even sized rounds. I first measured my boxes to make sure my circles would fit nicely. However, no rules here- make ovals, squiggles, long bars, letters of the alphabet…
After a minute to allow the chocolate to juuust set- you can see the sides of the chocolates start to dull a little.
With a spoon sprinkle on the toppings. The dragees are best done on a baking sheet to capture stray beads which can be reused.
The coconut I “tucked” into the chocolate to make sure that there was a nice knot to bite into. To do this simply press the coconut gently down into the mound.
Allow the chocolates to cool and harden. Allowing them to slowly cool will create a greater sheen and a finer look. Putting them into the fridge is fine, but not my preference.
If your kitchen is very warm this can affect the process, so the cooler the room the better. Make chocolate on non baking days.
**if you’re finding your chocolates are just not setting up you can switch to “cold chocolates” that you will just have to keep in the fridge. Not a bad thing- so remember that’s always a back up**
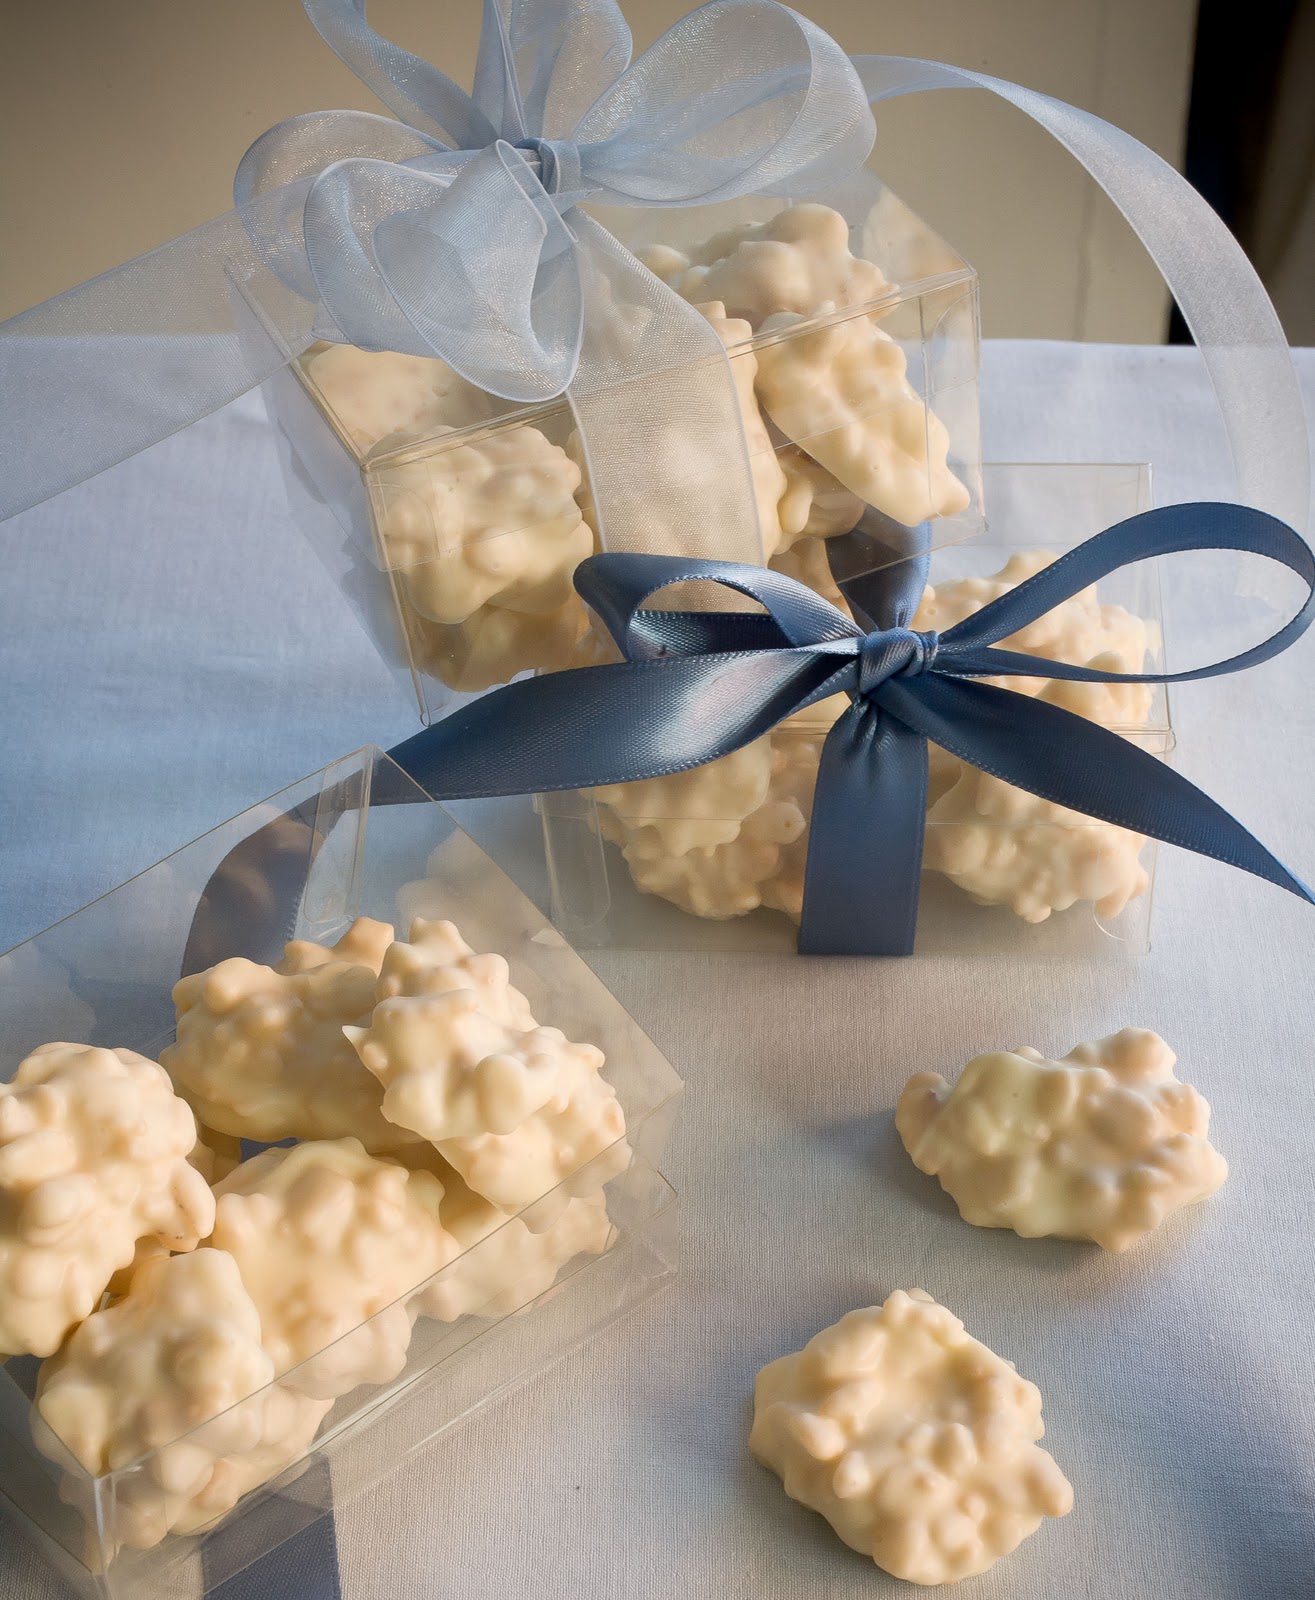
White Chocolate Rice Krispy Clusters
When I near the end of my candy making I like to use the remaining chocolate to make clusters. You can use a variety of things such as nuts, dried fruits or in this case, Rice Krispies- just remember, nothing wet like sliced berries…
There are no measurements here, just eyeball the additions. Factor a 1:1 ratio- there is really no right or wrong.
With a spoon drop mounds onto prepared parchment and allow to set as above.
Personally I like tiny clusters- it’s a nice treat to take petite nibbles rather than indulge in a big puck of chocolate.
***************************************
Once the chocolates and set you can package them right up.
Store in a cool dry place.
Please see the Resource Page in the header bar for links to boxes and ribbon sources.